There’s a reason why leather has remained a staple in fashion for decades. Any fall or winter wardrobe checklist is sure to include a leather or suede jacket, a skirt, or a Boho fringe bag (which is my personal favorite). This luxurious material can be buttery soft, coarse, sophisticated, or rugged. I always feel instantly polished when I incorporate leather into my outfit, and it even helps me temporarily escape yoga clothes!
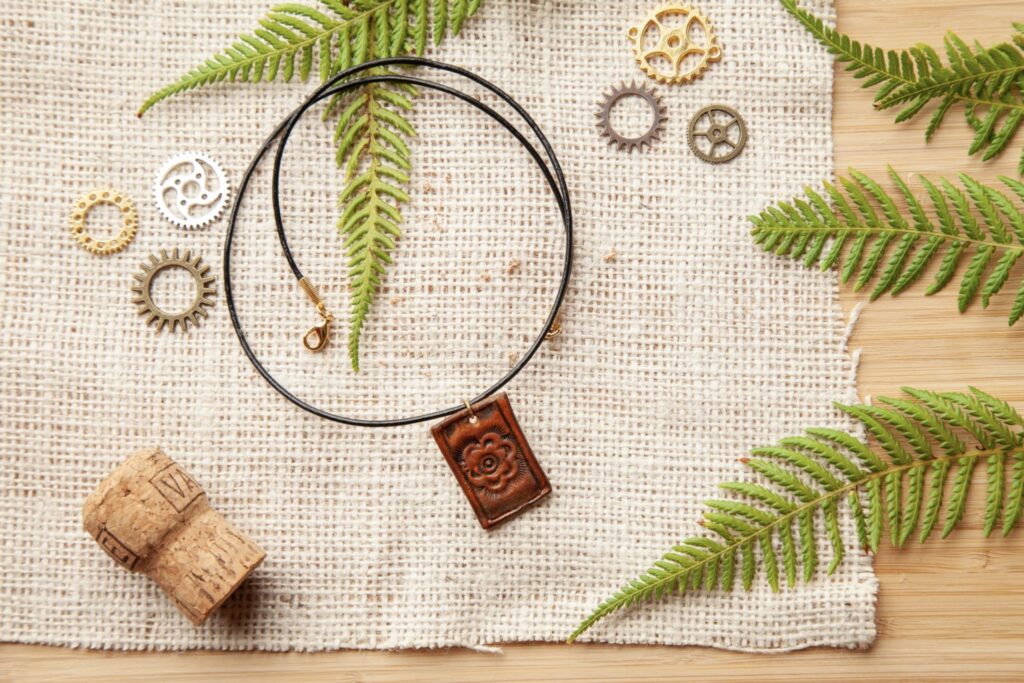
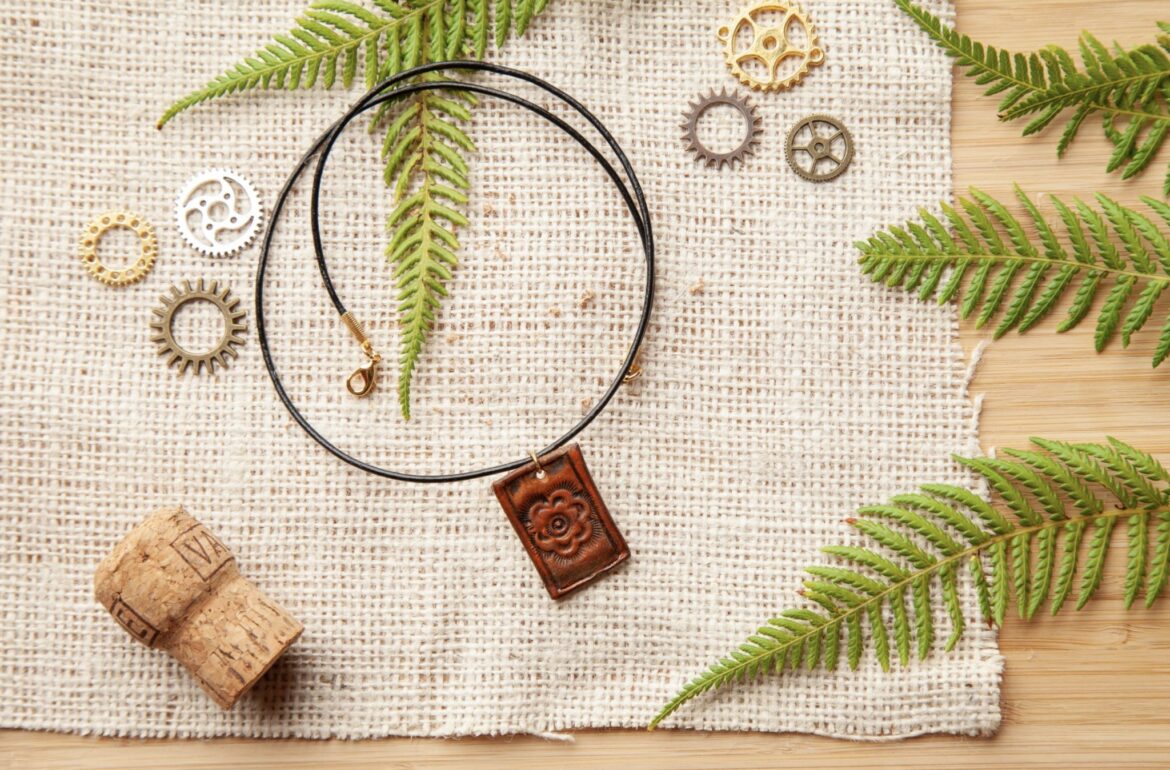
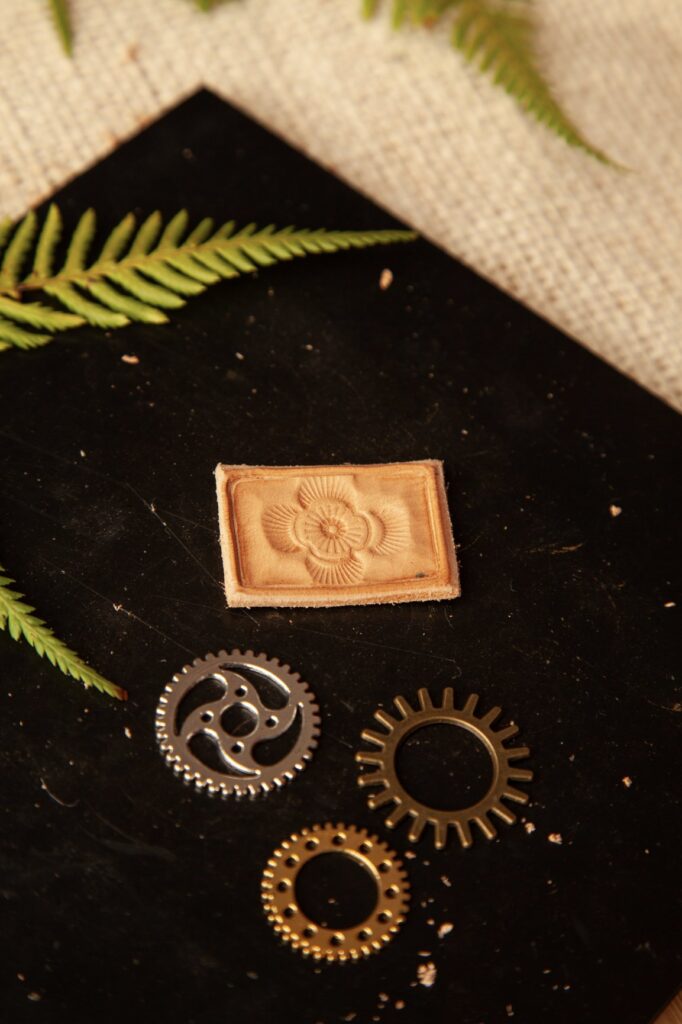
We have an excellent way for you to incorporate more leather into your life while also getting a feel for this unique material: our Leather Flower Pendant. This charming piece features a stamped flower on a rectangular leather base. If you’re not quite ready to dive into leather pants, this pendant is a stylish way to add some flair to your outfit!
The pendant is incredibly versatile; you can use it on a necklace, bracelet, luggage tag, or to embellish a journal or bookmark. Plus, you can create two pendants and turn them into earrings—how cool is that?
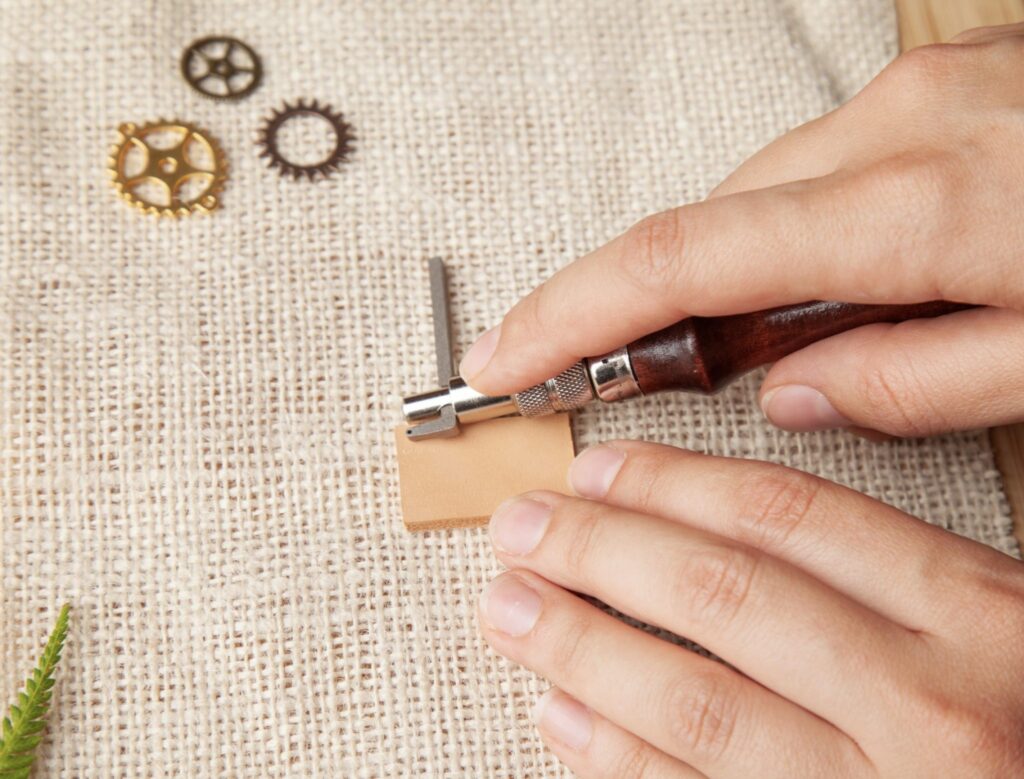
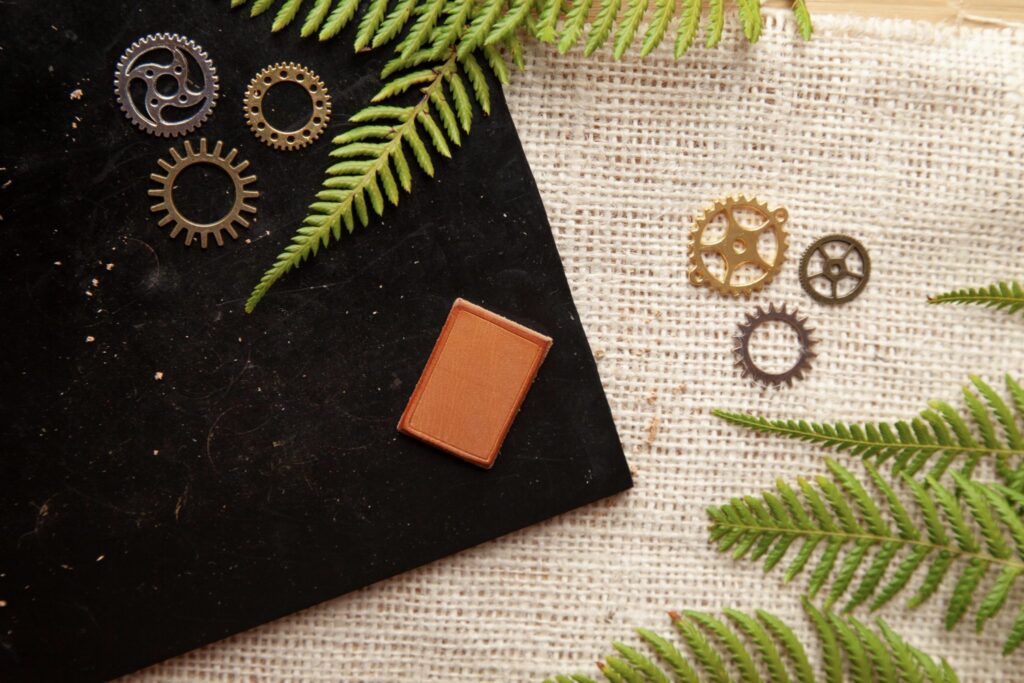
Step 1: Cut a piece of vegetable tan leather (VTL) in any shape you want your charm to be – we went with a classic, rectangle design, so we could create multiple pieces with the least amount of scrap materials. Straight lines are also easier to work with when you are first starting out with leatherworking.
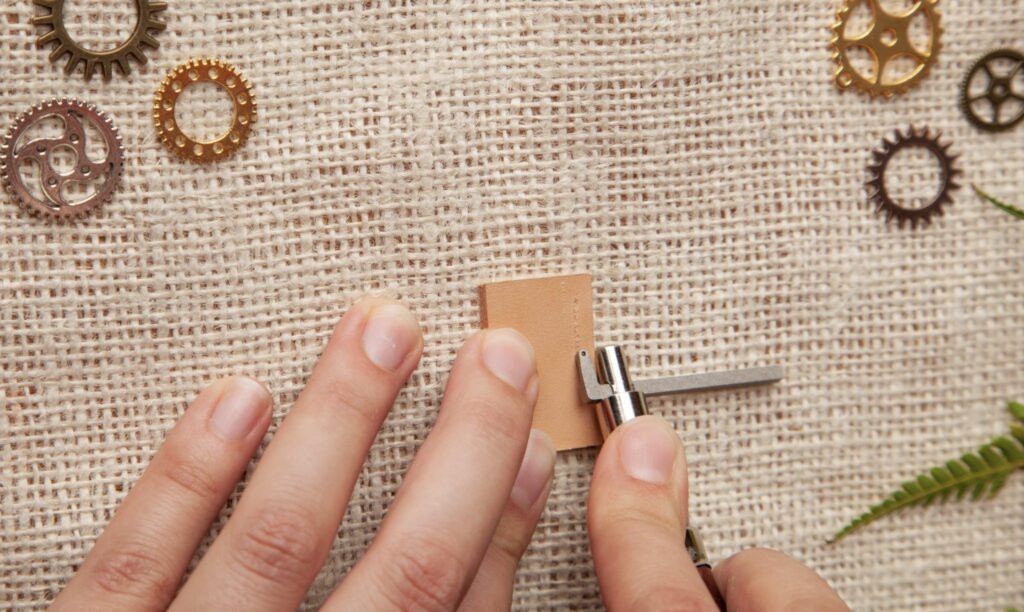
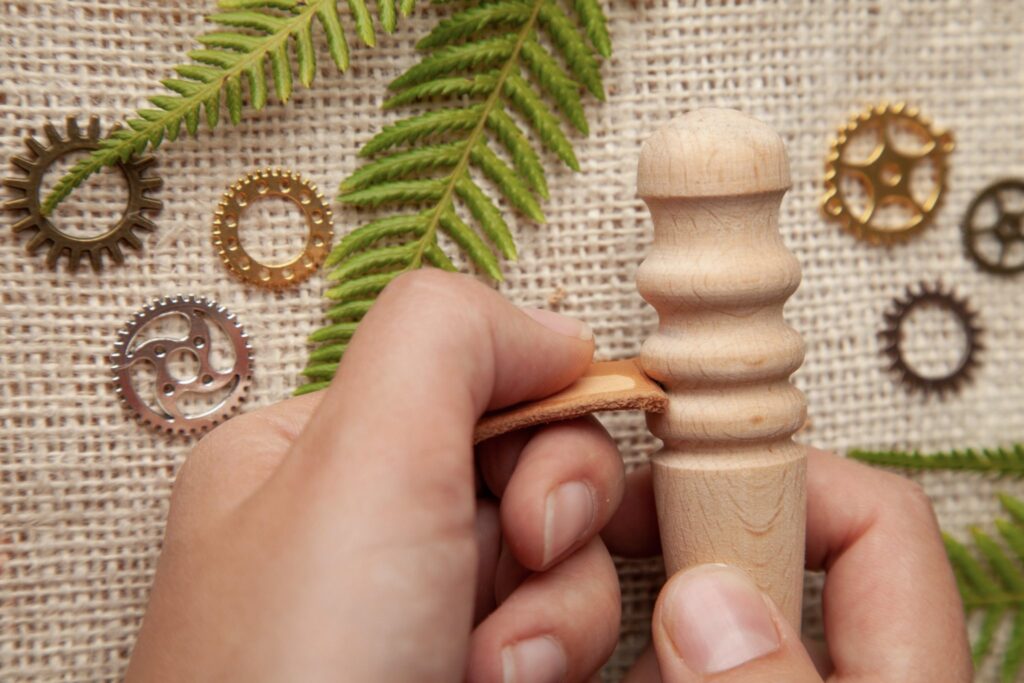
Step 2: Using your stitching groover, create a border for your design. Set your groover to the desired size, and using one strong and steady motion, drag the blade across the surface of your leather to carve out a groove. Do this on all four sides.
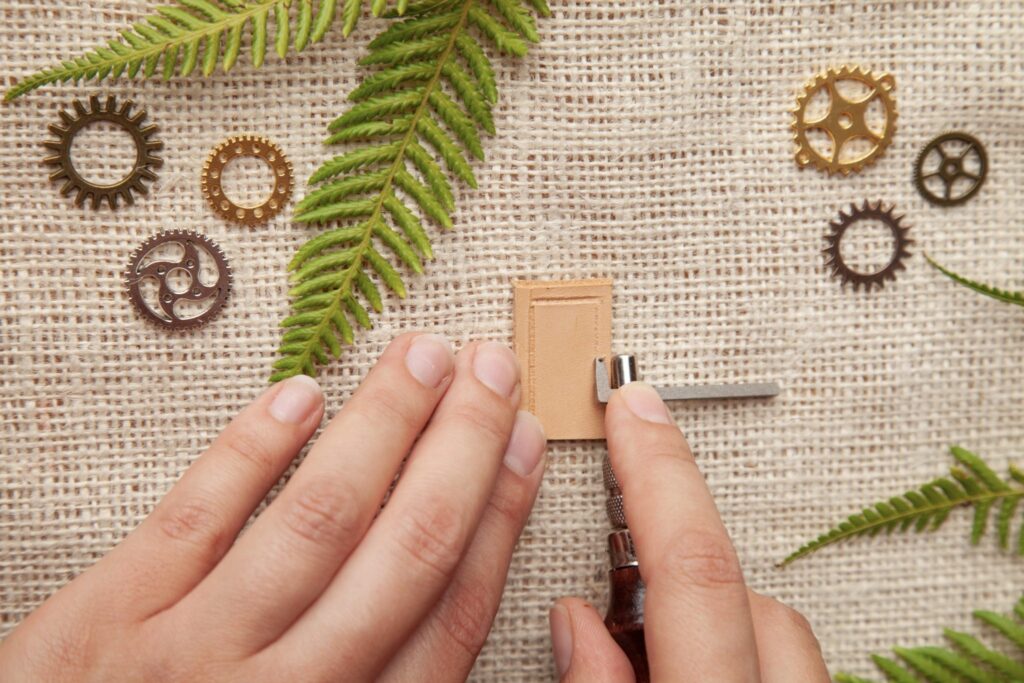
Step 3: Grab your edge beveler and carve away the sharp sides of your leather. Do this on all four sides of your pendant, both on the front and the back.
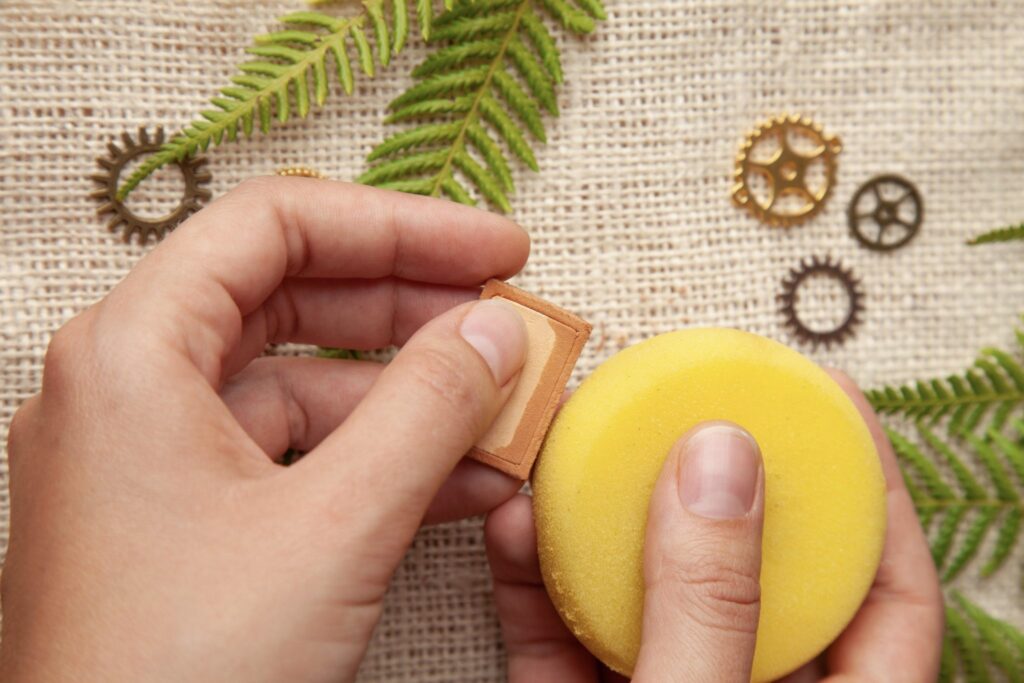
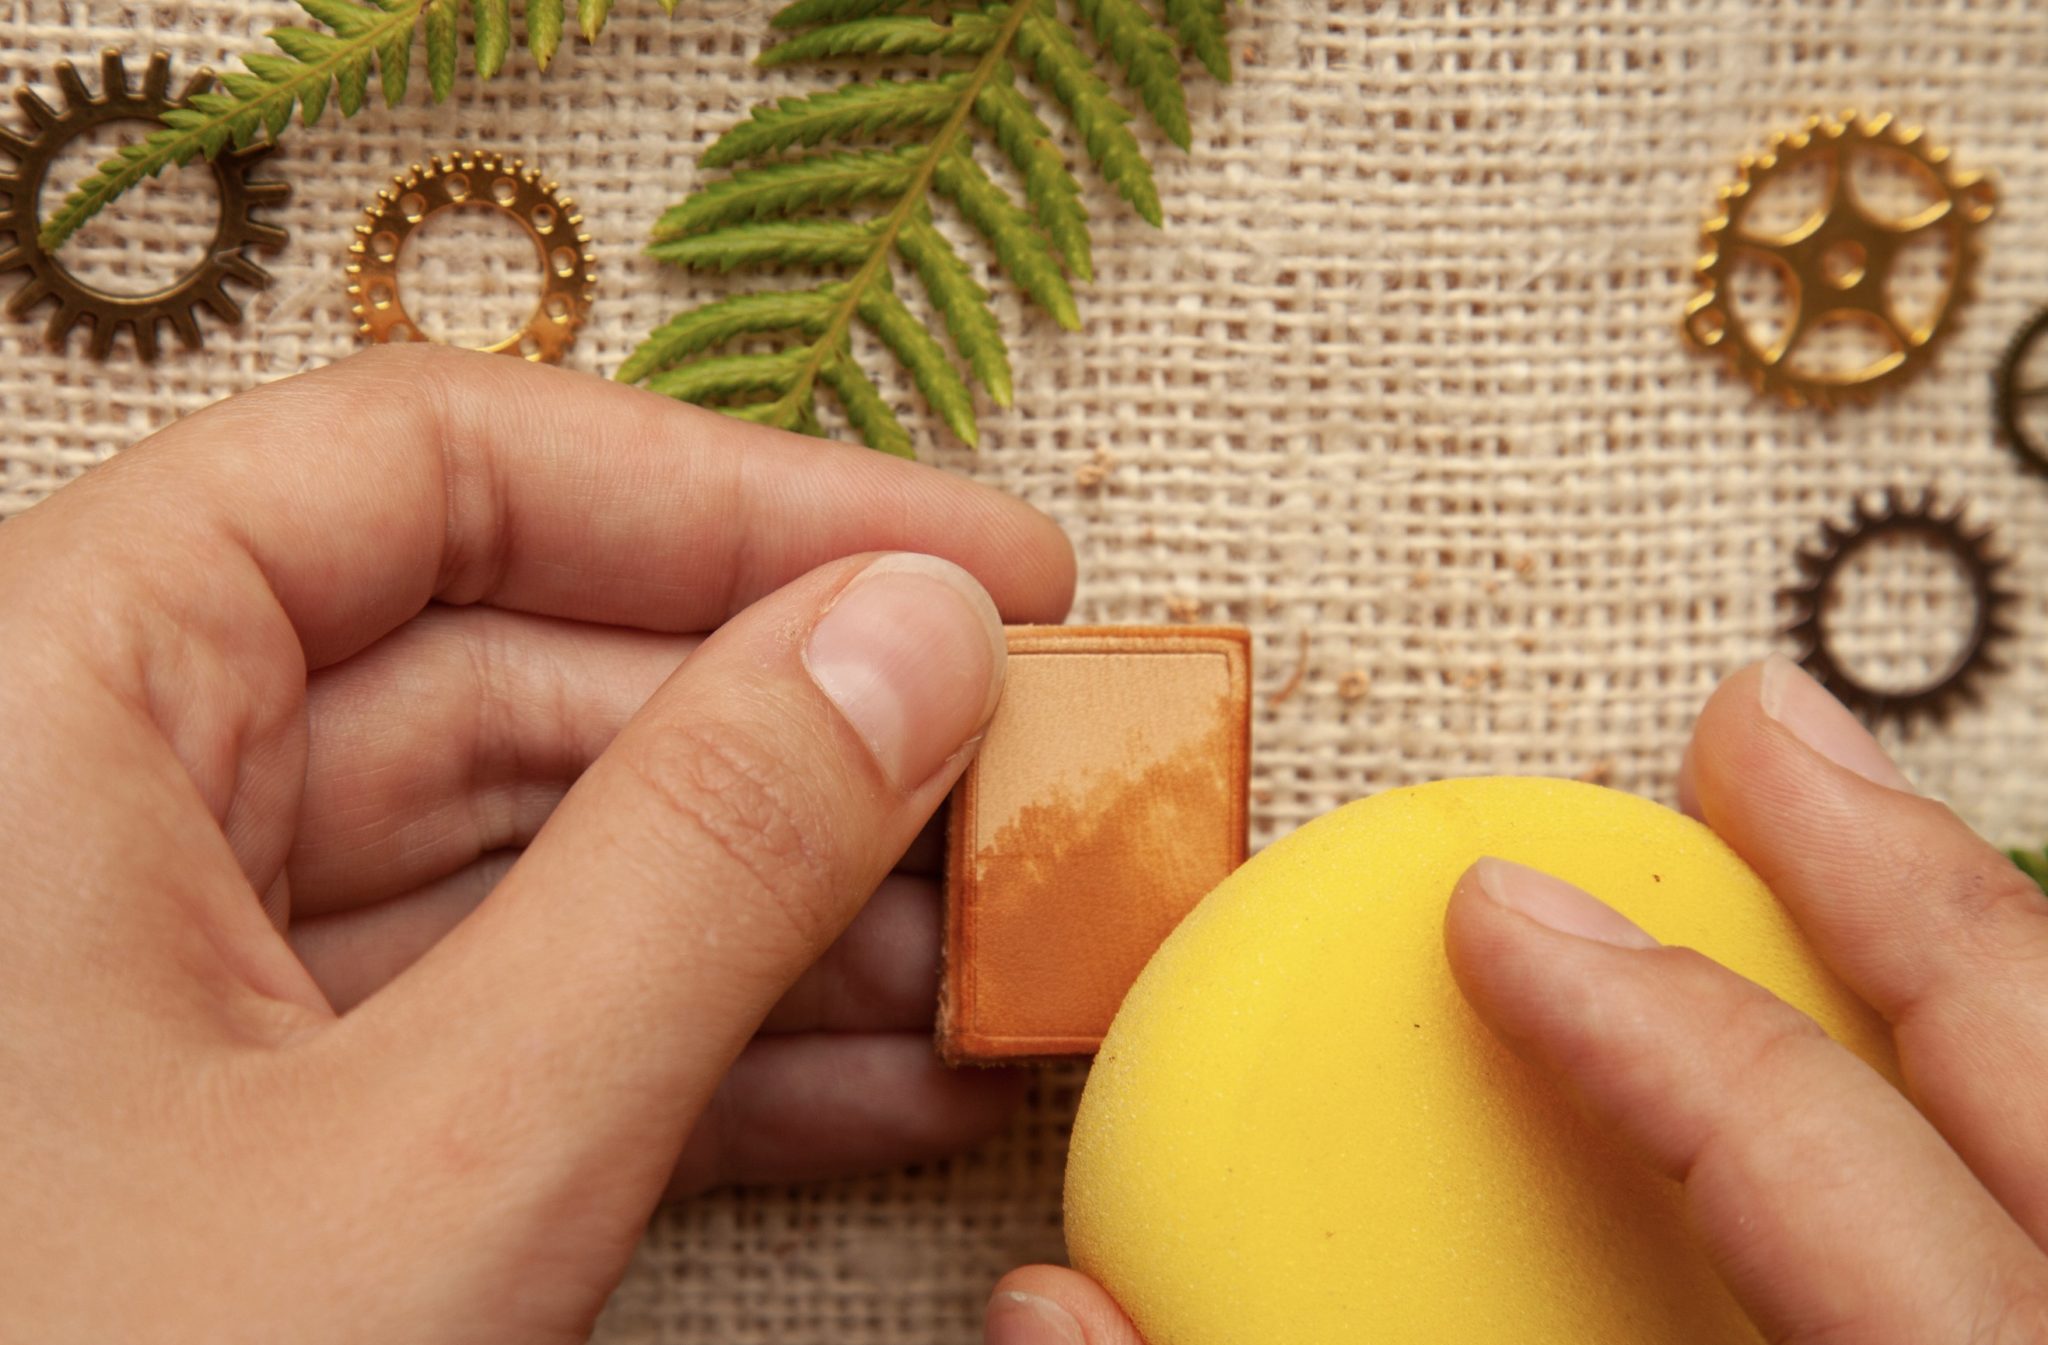
Step 4: Using a clean sponge, dampen the sides of your pendant. The water seeps into the leather, softening it, allowing you to use your leatherworking tools – note that these tools only work on vegetable tan leather! Chemically tanned leather has already reached its “final form” so you can’t carve it or stamp on it anymore.

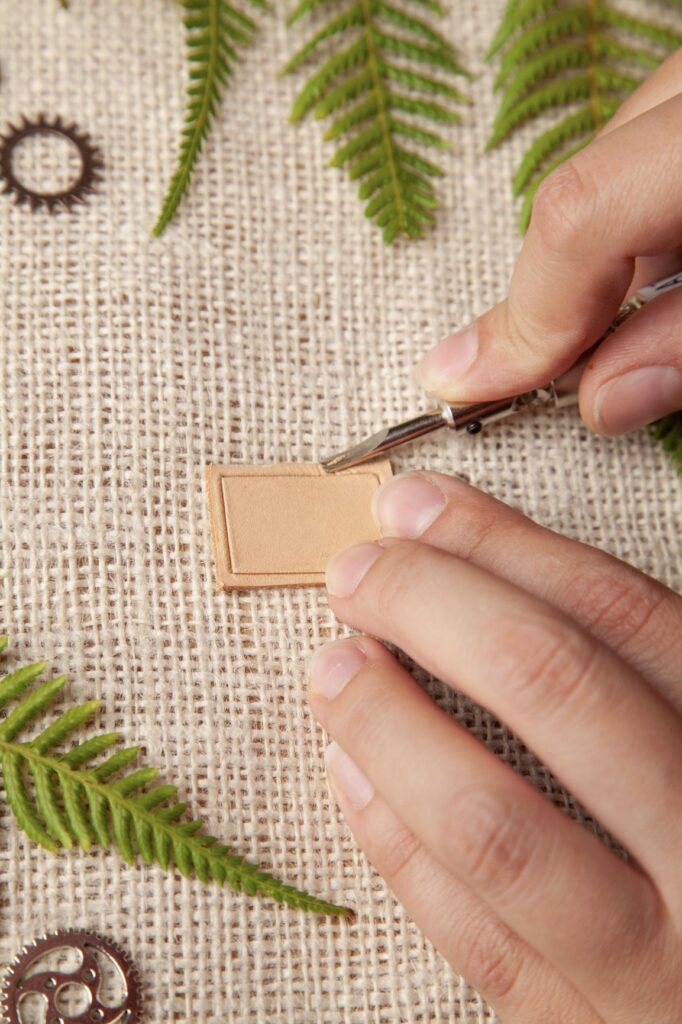
Step 5: Once the edges of your charm are damp, grab your edge slicker. Match the groove with the thickness of your piece of leather and with a repeated rubbing motion, slick the edges of your charm. This should give a nice, smooth, rounded edge on all sides.
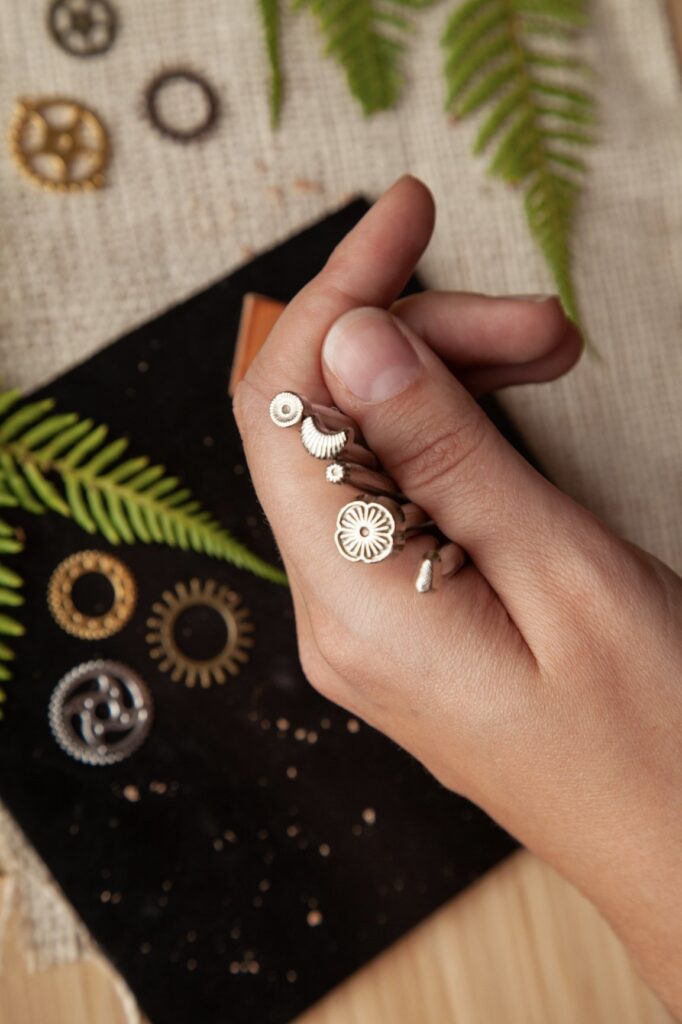
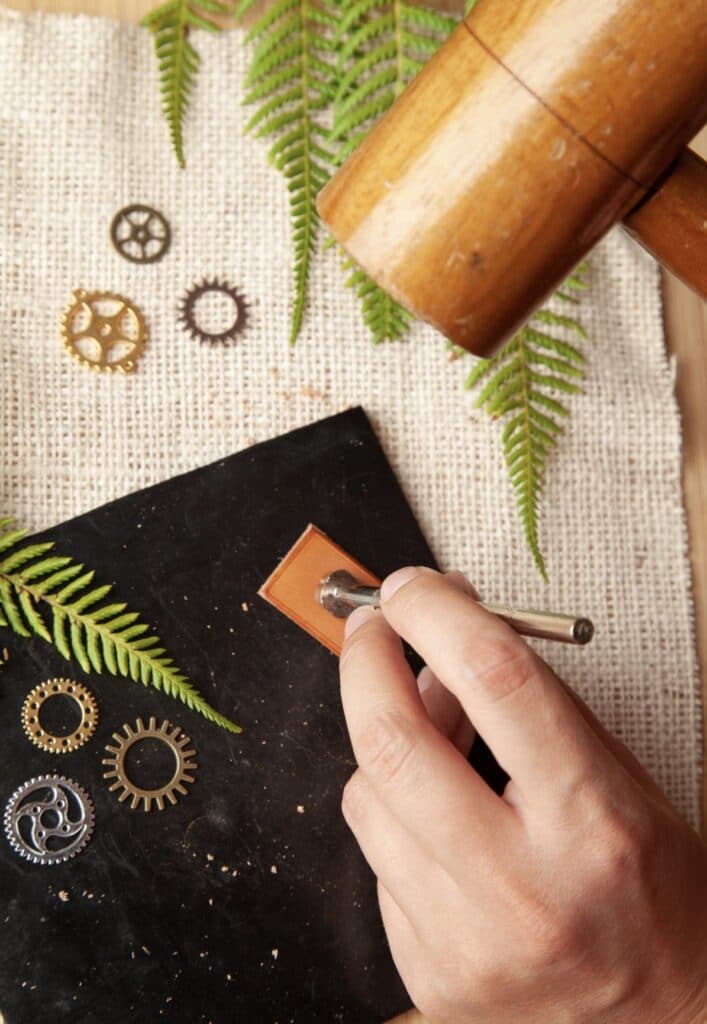
Step 6: Think of the design you want to stamp on your charm! We used several different leather stamps to create a textured look.
Step 7: Using your sponge again, dampen the entire surface of your charm.
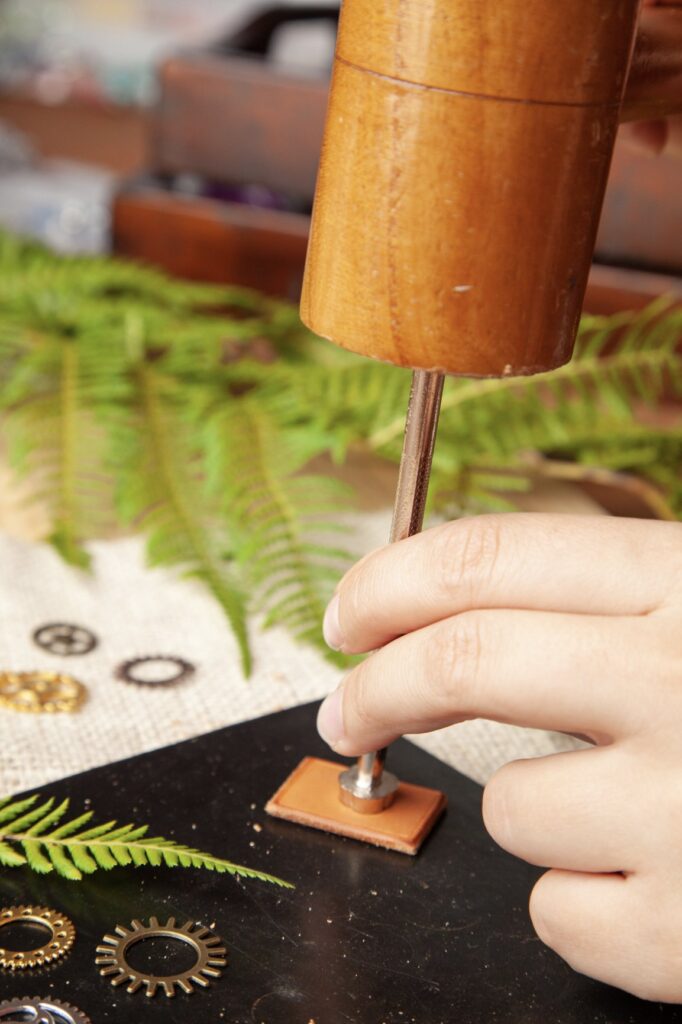
Step 8: When stamping, be sure to use a rubber mat to protect the surface you are working on. You will also need a mallet; rubber, plastic, or wooden mallets will work perfectly. To stamp your design, make sure to align the stamp correctly. If you are using letters or non-symmetrical shapes, double-check that they are facing the right way!
Step 9: With a single, confident, strong hit, stamp in your design. You want to avoid hitting the stamp with the mallet multiple times – this leaves space for your hands to accidentally move, and create a “shadow” image of your design.
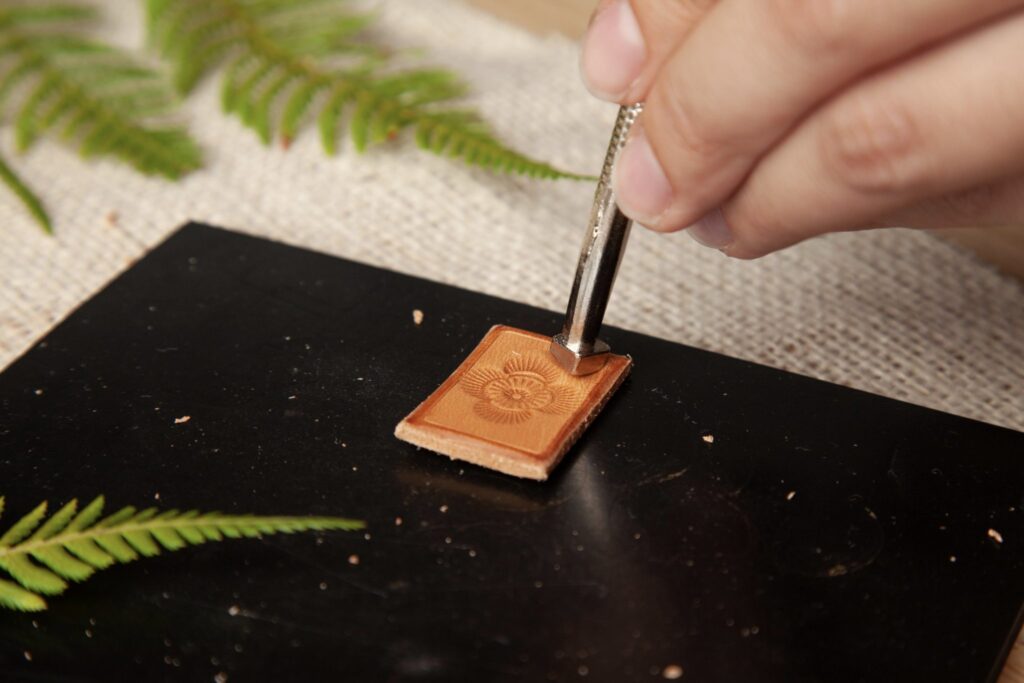
Step 10: We used several different types of stamps to achieve this look. We started off with a floral stamping stamp, then emphasized the center of it with a seeder stamp.

Step 11: We used camouflage tools to stamp around the petals of the central flower design.
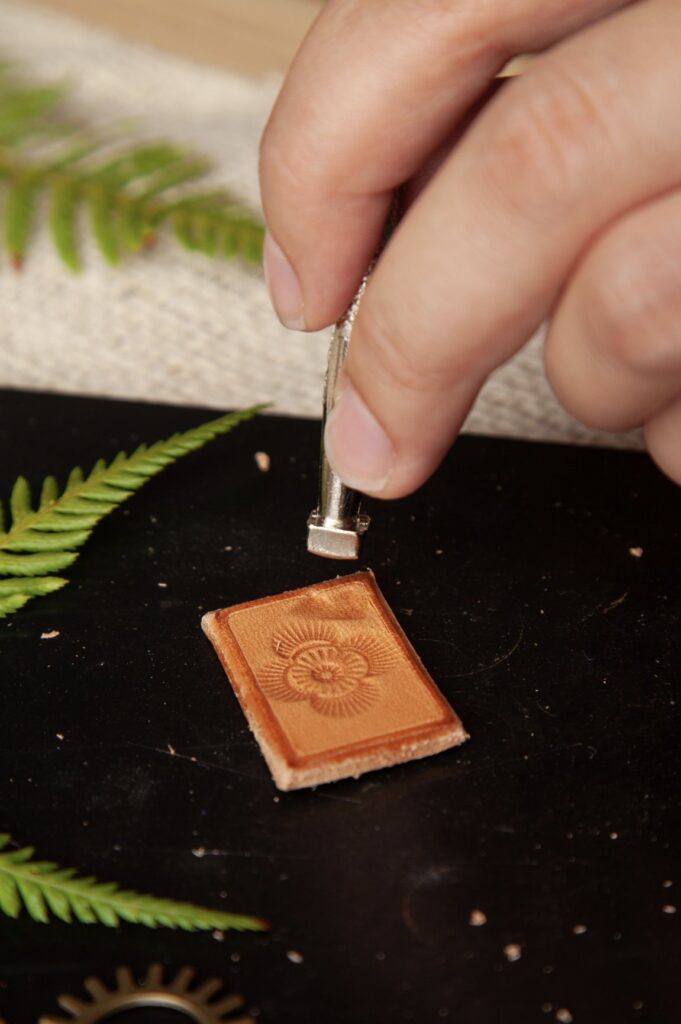
Step 12: For a pendant with more depth we used a smooth beveler stamp to further texturize the leather. You can also use shader stamps in different shapes for this purpose.
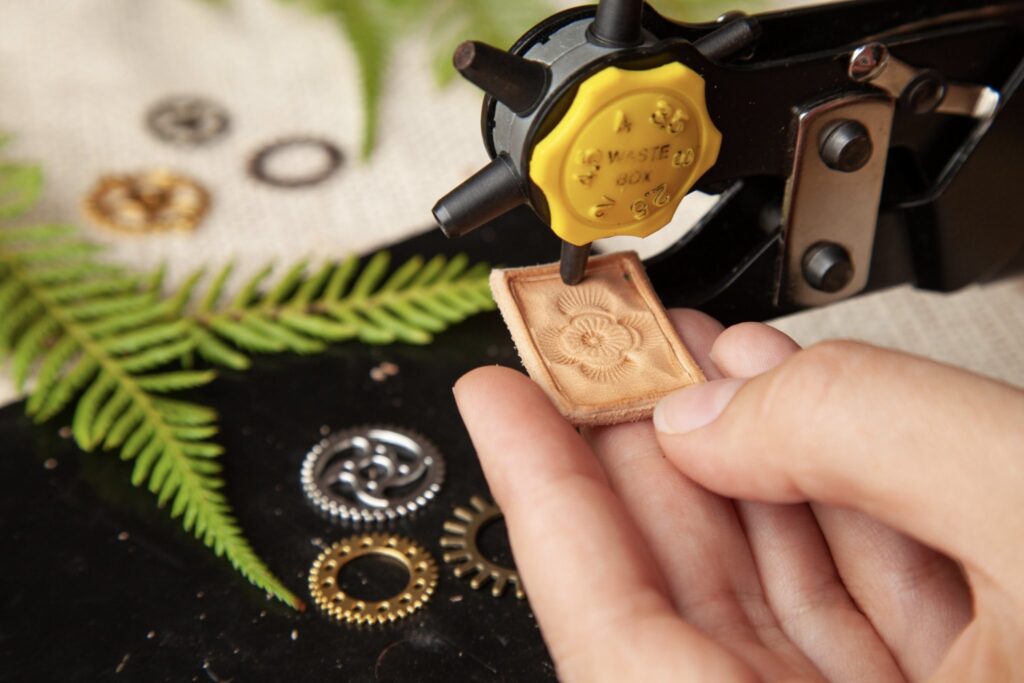
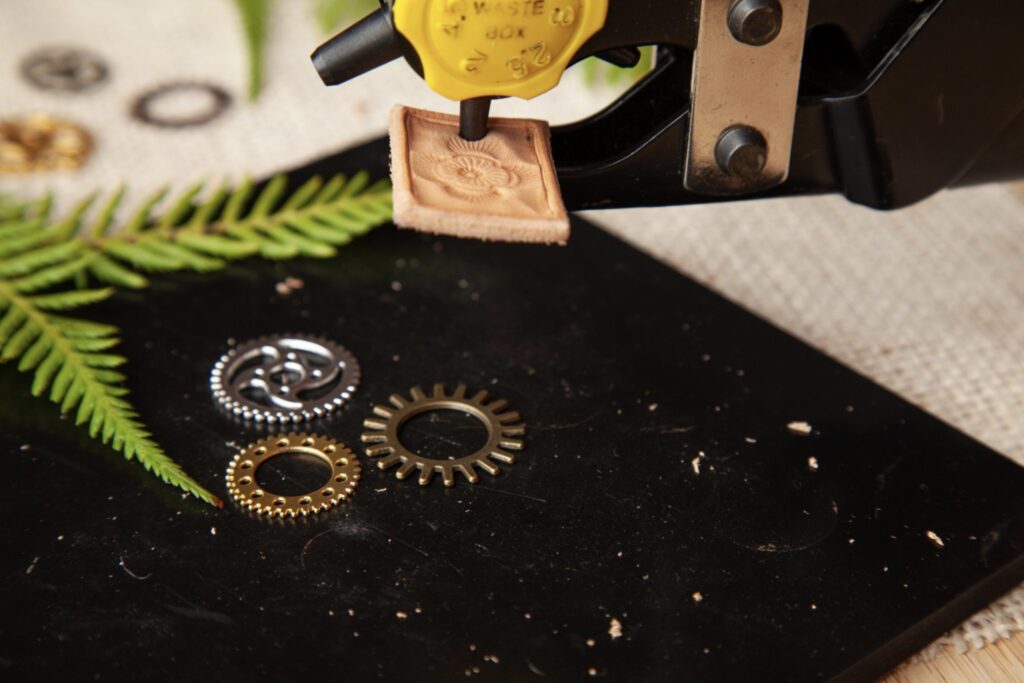
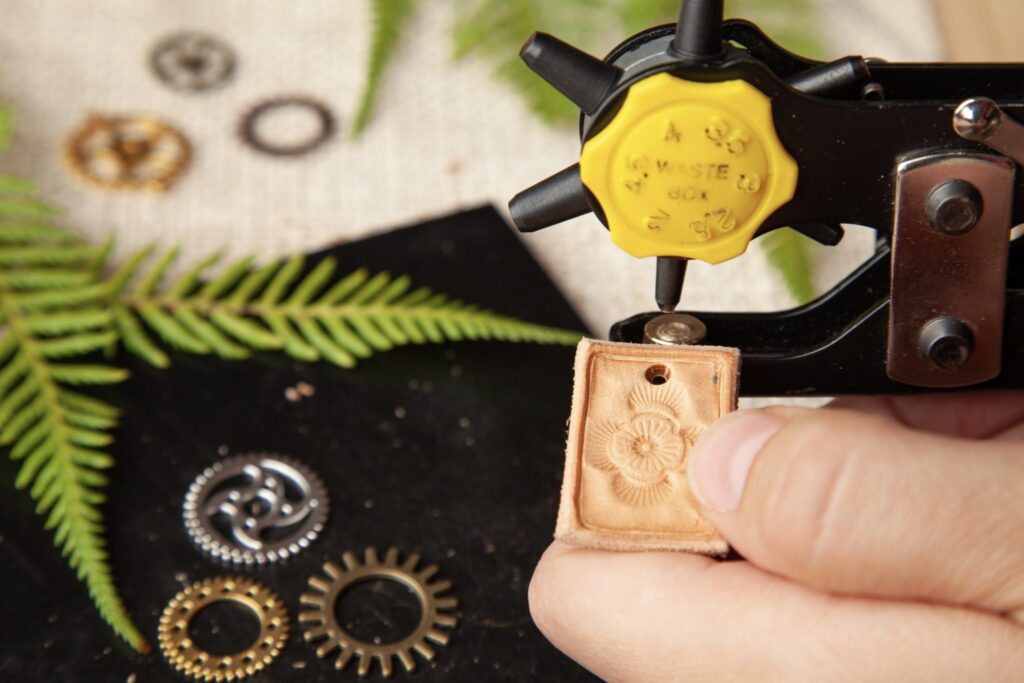
Step 13: Once you’re happy with how your stamped design looks, you can go ahead and punch a hole with your rotary puncher. A small (size 2) hole should fit your jump ring perfectly. Make sure that you punch your hole close enough to the edge of the leather so that the jump ring can fit, but not so close that you accidentally cut into the edge.
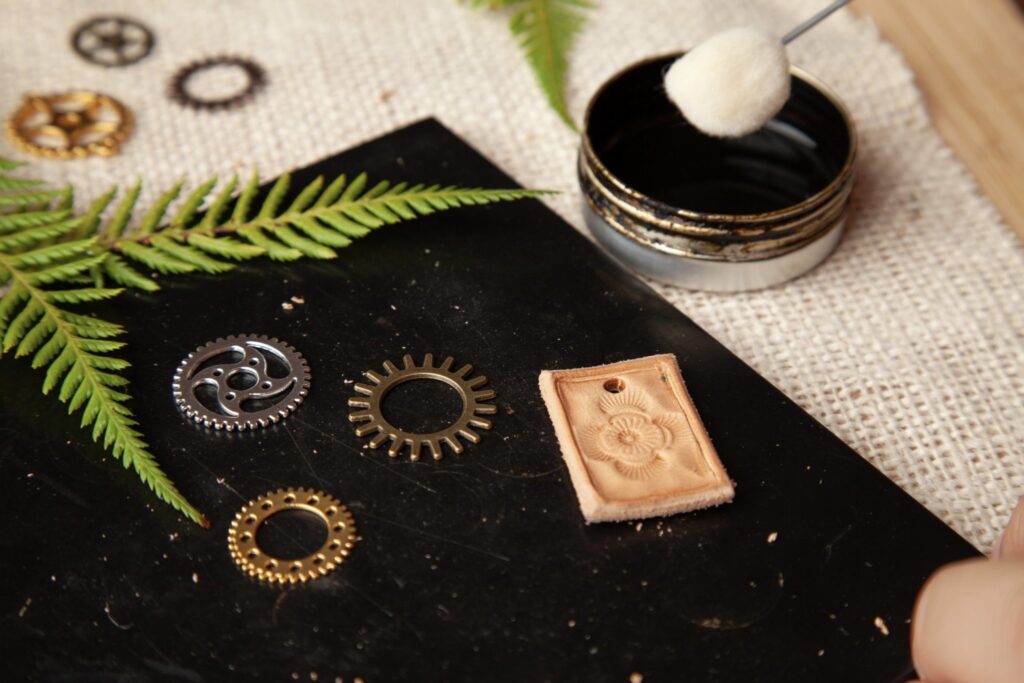
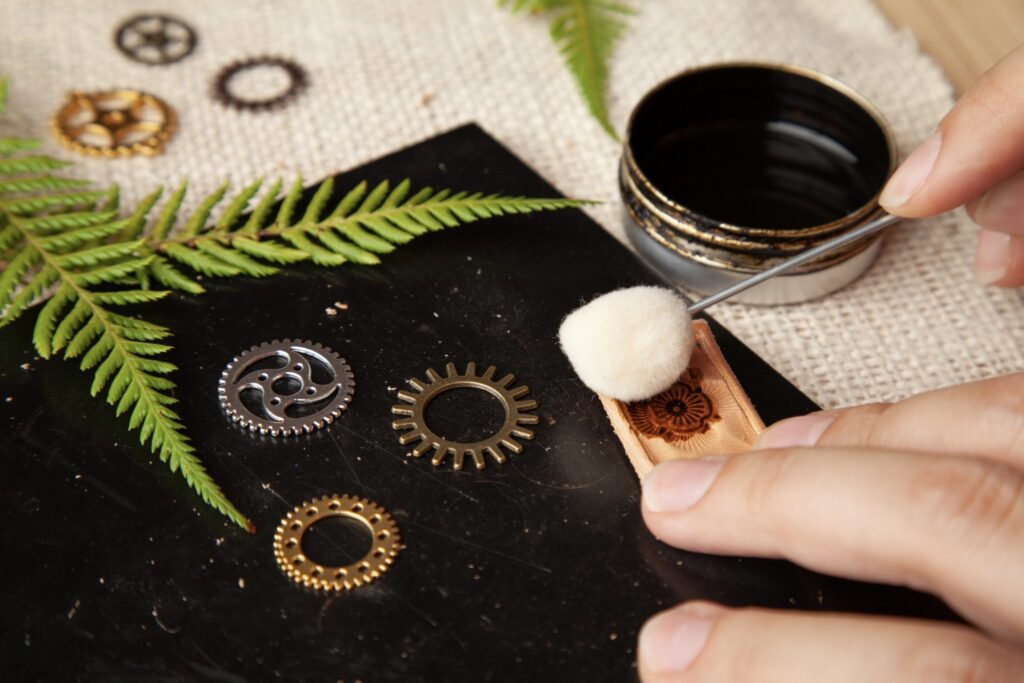
Step 14: Apply gel antique over the entire pendant to make the little nooks and crannies in your design stand out! Gel antique enhances all the details and natural beauty of leather. For a project like this, we recommend using this excellent material rather than regular leather paints or dyes.
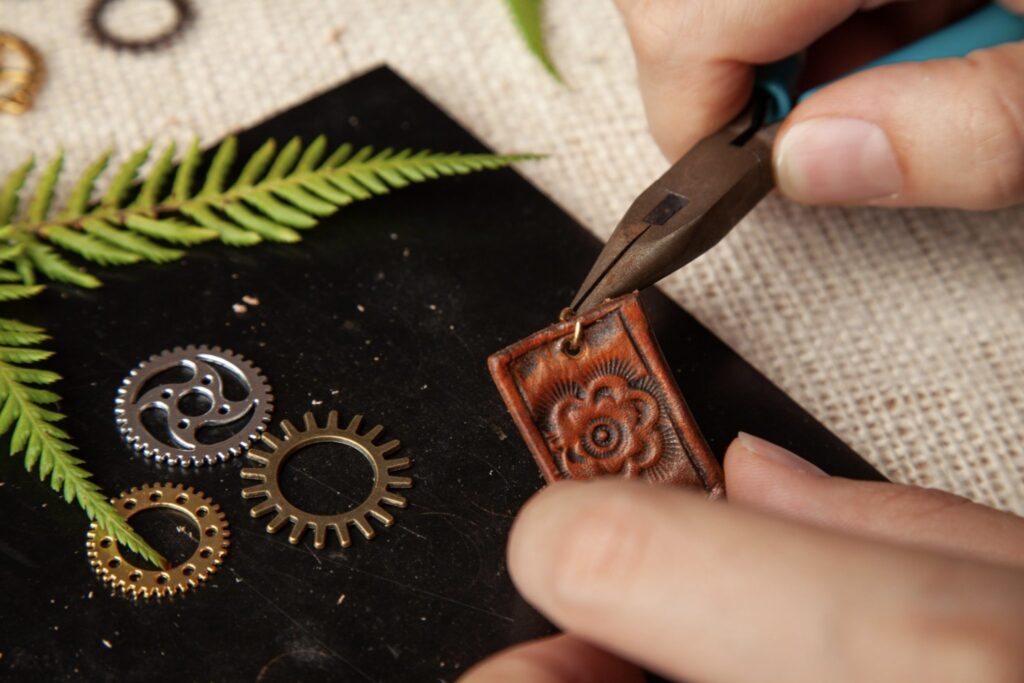
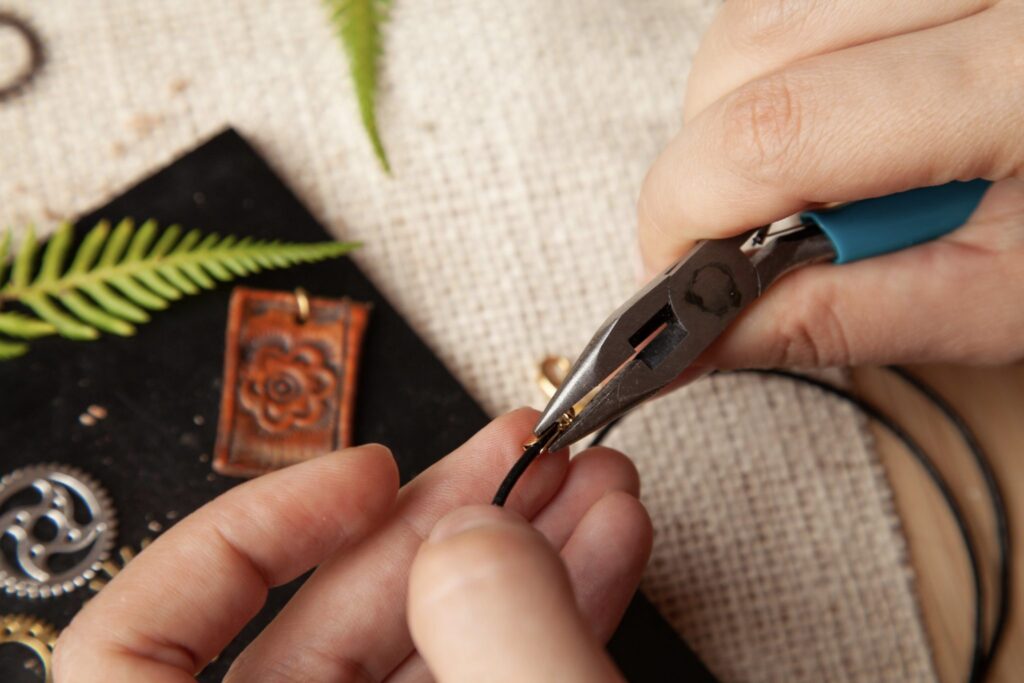
Step 15: Once the gel antique has dried, which should only take a minute or two, grab your jump ring. Using chain nose pliers, attach it onto your leather cord.
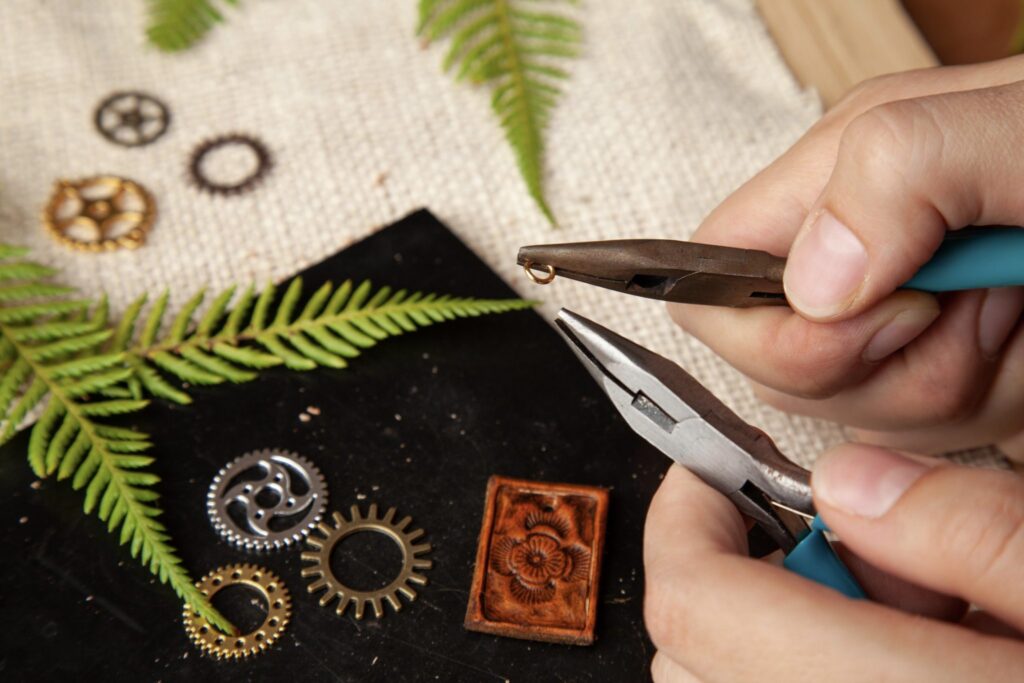
Step 16: Add your closures using chain nose pliers. You can use any clasp of your liking, but we believe that you can never go wrong with a good old lobster clasp and jump ring combo!
Step 17: Pocket all the compliments you’ll be getting daily on your new necklace!