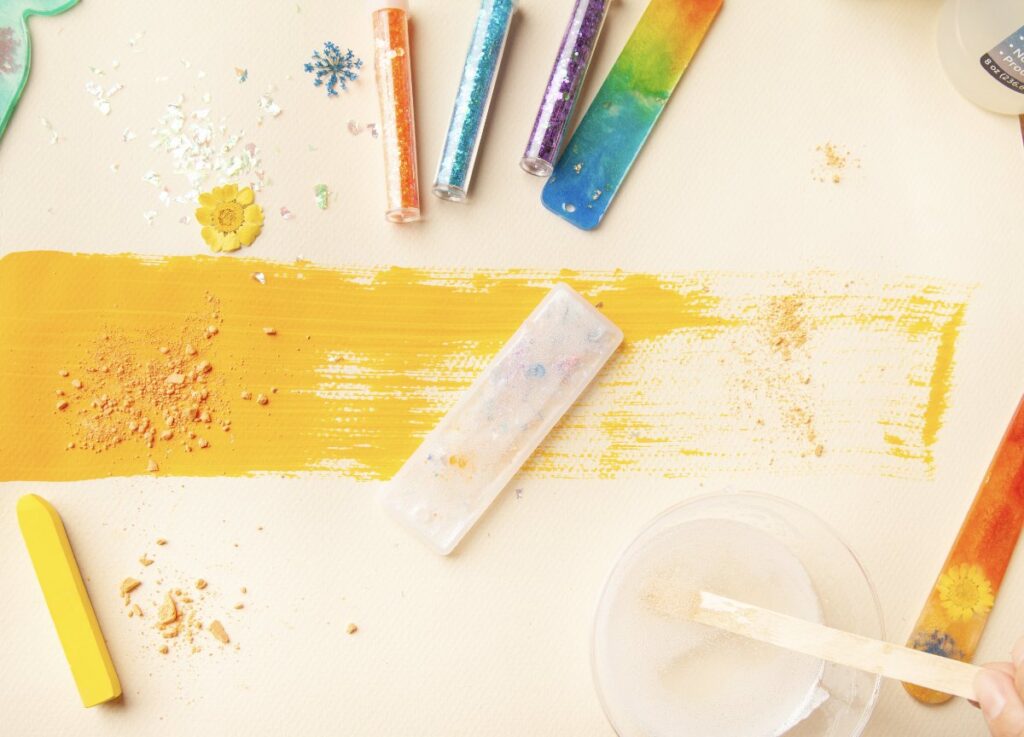
It’s always a good time to slow down and enjoy a creative project with your child—no matter the season. Whether you’re balancing busy schedules or looking for a fun weekend activity, hands-on crafts are a great way to connect. Our DIY Resin Bookmark project adds a spark of creativity to everyday reading and makes a thoughtful handmade gift for family and friends.
Step 1: Make sure your workspace is clean. You don’t want any wax, oil, moisture or dirt affecting your resin mixture. Lay down some wax paper.
Step 2: Pour 5 cc of resin into a graduated cup.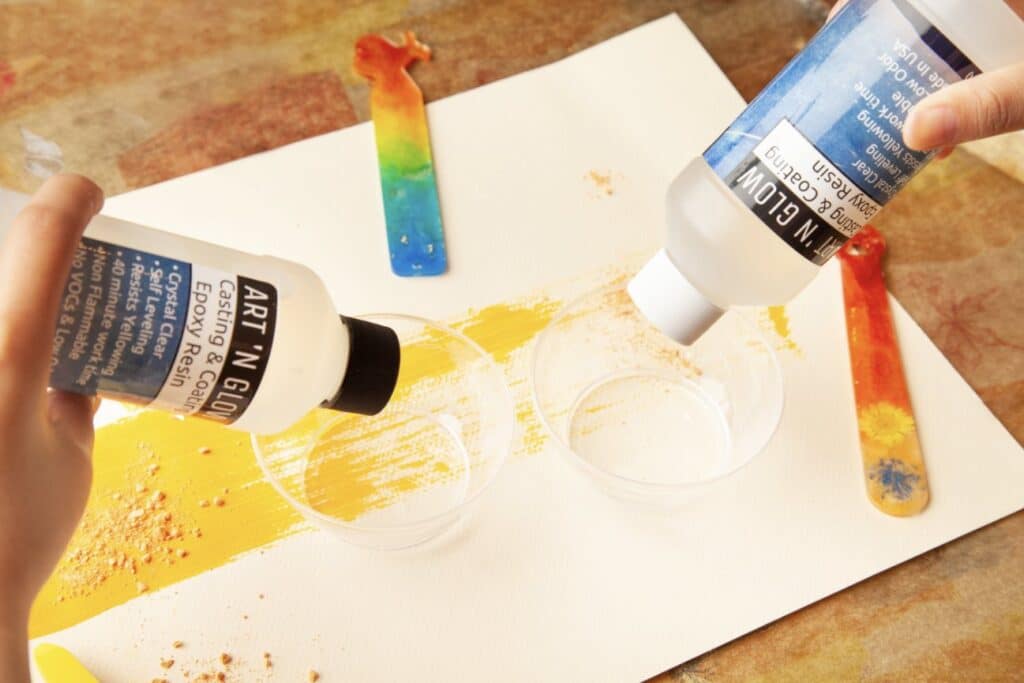
Step 3: Add 5cc of hardener for a total mix of 10cc (always pour resin first). If you’re making a larger mixture, make sure your ratio is always 1:1 to avoid issues with curing.
Step 4: Fold the mixture onto itself slowly so as not to create bubbles. Avoid vigorously stirring. When the mixture is fully mixed, it will be clear with no obvious streaks.
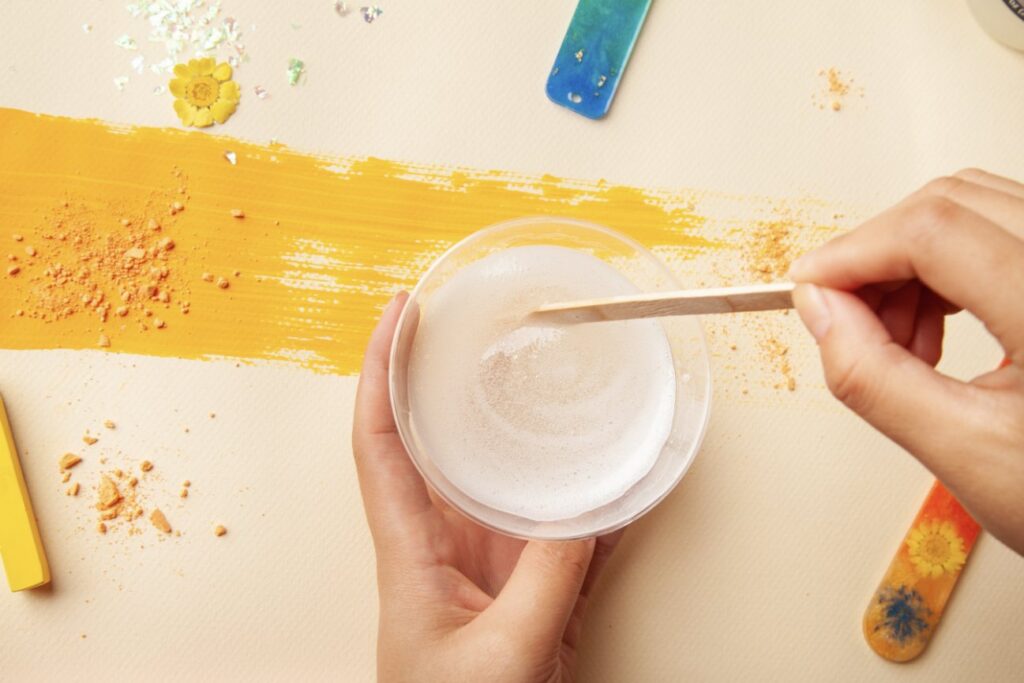
Step 5: Now that it’s mixed, the resin can be worked for 45-60 minutes. Pour into the bookmark mold. Before putting in your fillables, let the mixture sit for 5-10 minutes without disturbing it so the air bubbles can rise to the surface. You can gently tap the sides of the cup to help accelerate the process.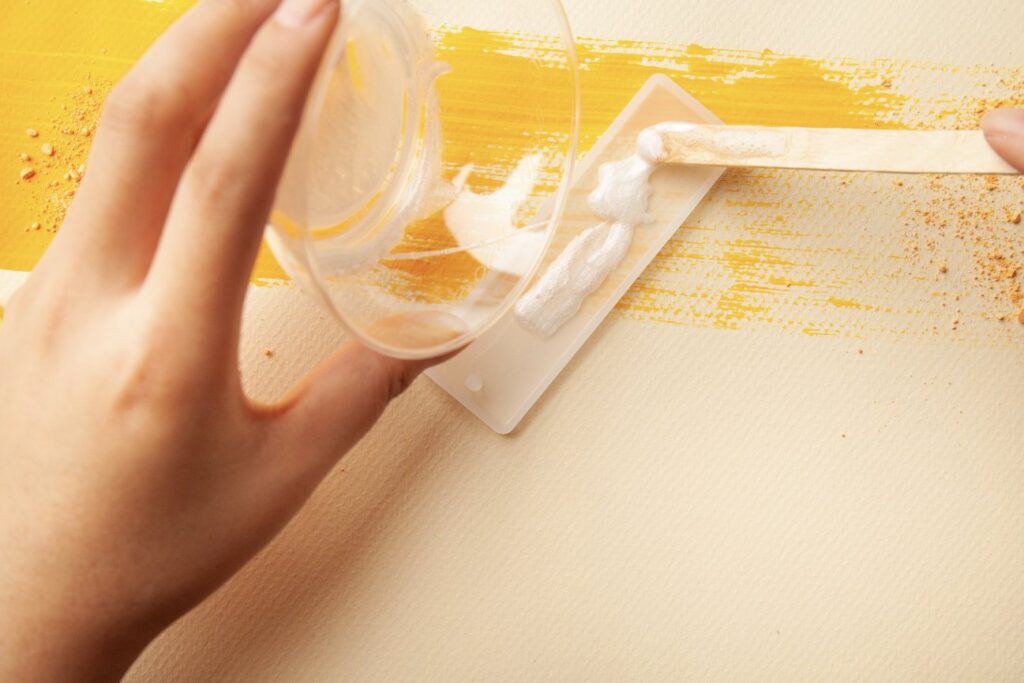
Step 6: Now add your fillables of choice.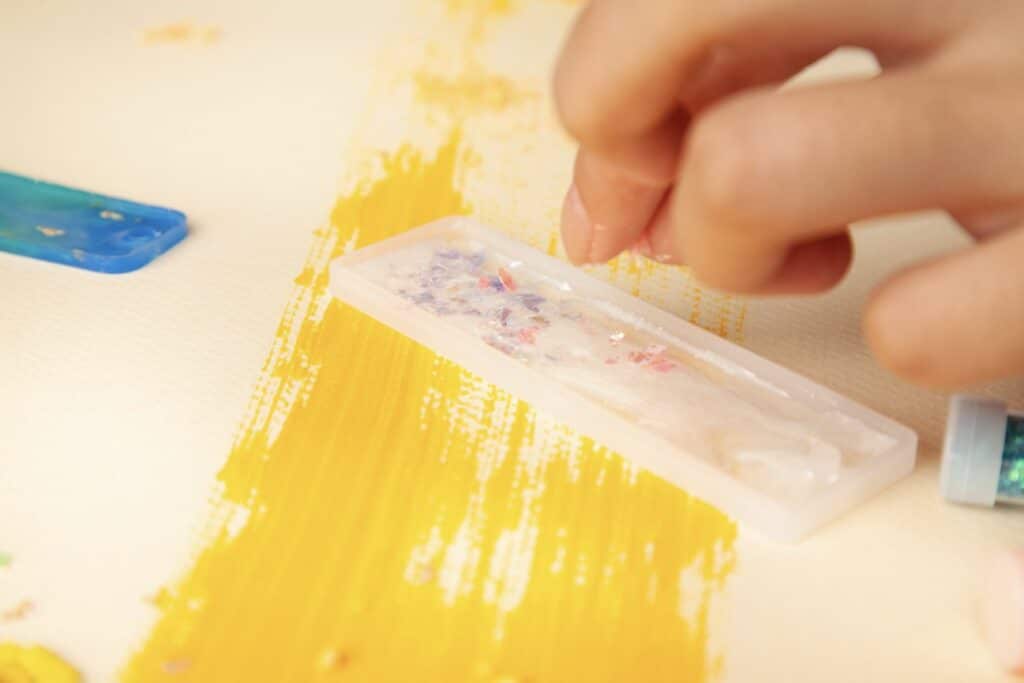

Step 7: Time to cure your bookmark! It needs 72 hours to sit in a room temperature space, ideally protected from dust, dog fur, or other potential contaminants. After one day, it will be hard to the touch but not fully cured. To heat-cure the resin mixture, follow the time chart below. Set the items on top of a toaster oven or similar low-temperature device, or under an incandescent light. Designate all devices you use for heat curing as non-food use.
Tip #1: When using a toaster oven, set the inside temperature to 350°F and stabilize for 10 minutes. Then reduce the heat back to the minimum temperature before setting items to cure.
Tip #2: Monitor the heat cure area with a flat thermometer placed on the heated surface to avoid overheating the resin mixture.
Heat Cure Time Chart:
With these simple steps, you’ll never lose your place making this Resin Bookmark – enjoy!