Pumpkin decorating doesn’t have to mean sharp knives and gooey messes—painted pumpkins are all about fun, color, and imagination! This no-carve craft is simple enough for little hands to join in (with way less cleanup for parents), and totally safe for all ages. Kids can dream up anything they like—silly monsters, magical creatures, or rainbow masterpieces—and parents will love that these creations last much longer than carved pumpkins. It’s the perfect way to celebrate the season together, without the hassle!

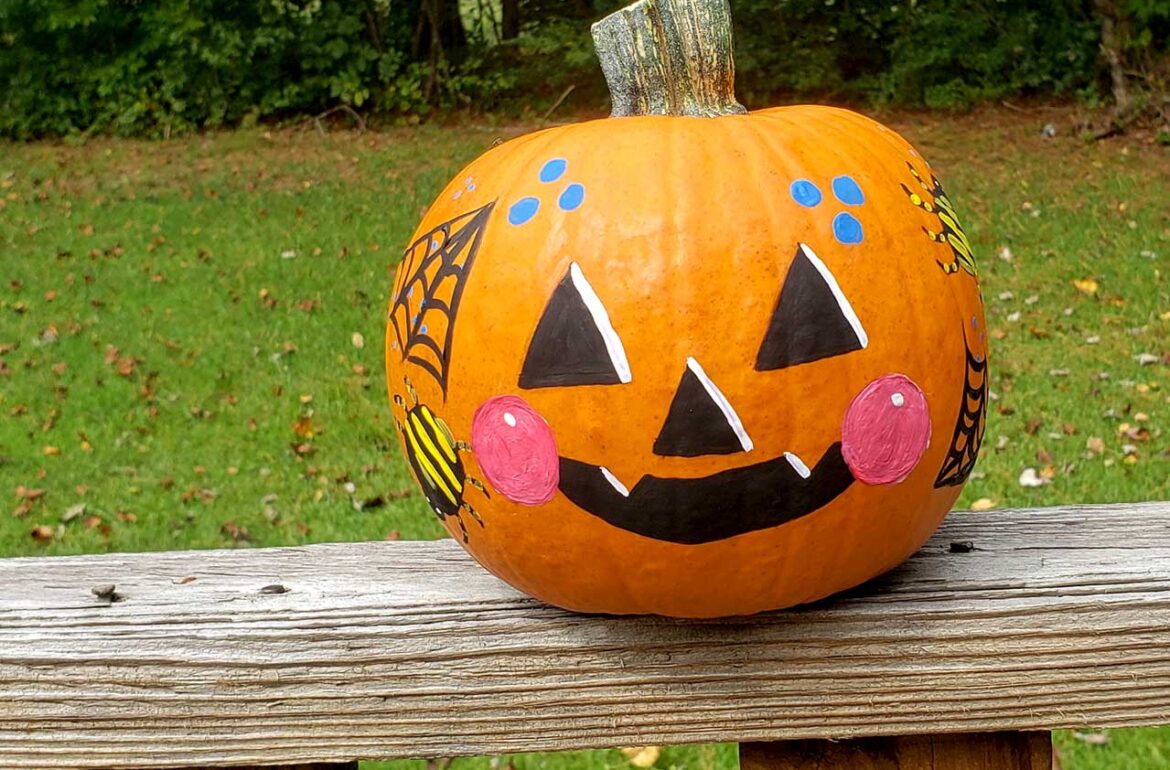
Step 1: Brainstorm what you want your pumpkin to look like. Do you want it to have a face, or do you want a cool design? Halloween-themed items like cats, ghosts, skeletons, or bats work very well. Use your marker to draw any faces or designs you would like to paint. We took inspiration from a beaded spider ornament and made a jack-o’-lantern face with spooky spiders!

Step 2: Once you’ve drawn out your face or design, decide what colors you would like to paint and start filling in your shapes with acrylic. At this step, you can go ahead and start mixing any colors you would like to use. Depending on the sizes of your shapes, you can use a small or medium-sized brush. If you can still see your pumpkin through the paint, just wait until your first layer is dry and paint a second coat on top of it. Don’t forget to try and cover up your marker lines.

While you are waiting for certain parts to dry, you can continue to fill in or add to other designs on your pumpkin. We used this time to fill in our spiders!

Step 3: Once the face had completely dried, we gave our pumpkin some blushing cheeks. To make them a lighter pink, we filled in two circular shapes with white to give the pink a brighter background. This trick also works for any other brighter color, like yellow, and helps make it more visible on a darker pumpkin. Once the white circles were dry, we painted over them with pink.

Step 4: Time for highlights! To give the pumpkin more of a 3-D effect, use white acrylic paint and outline only the right sides, which imitates light reflecting. Try to picture yourself holding a flashlight on the left side of the pumpkin and seeing the edge of the “holes” you painted glowing from the reflection. At this step, we also added some cheek highlights and eyes for the spiders.

Step 5: To give the spiders more color, we added bright yellow stripes. And, some blue polka dots for extra fun! This is a good time to add any details you may have missed on your designs. If you have ghosts, you could give them a face or a hat to wear. If you have a witch, you could give her a broom. You can add any kind of decorations you want to your pumpkin. Be creative and take up all the free space on your orange canvas! Once the blue dots and yellow stripes dried, we added a few spider webs for a finishing touch.


And just like that—your painted pumpkin is ready to shine! Whether it’s goofy, spooky, or sparkly, it’s sure to bring smiles every time you see it. The best part? You’ve created a one-of-a-kind decoration together that will brighten your home all season long. So grab some paints, let imaginations run wild, and make this pumpkin your new favorite fall tradition!