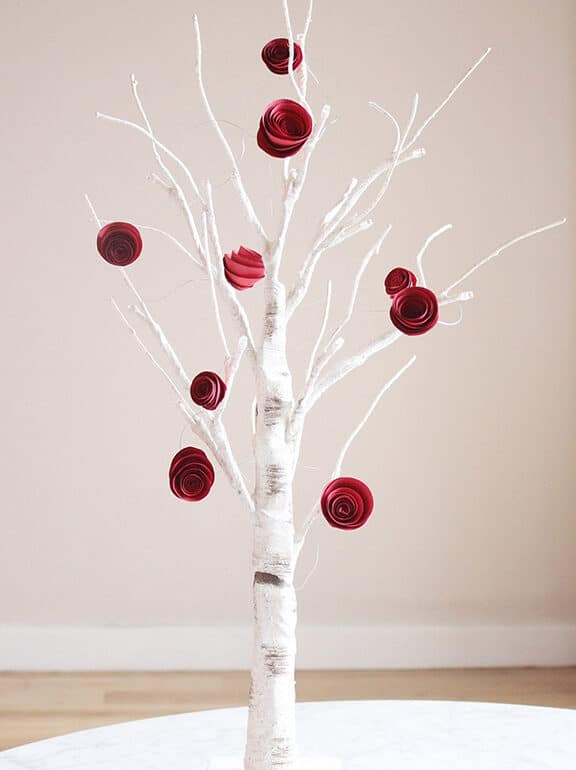
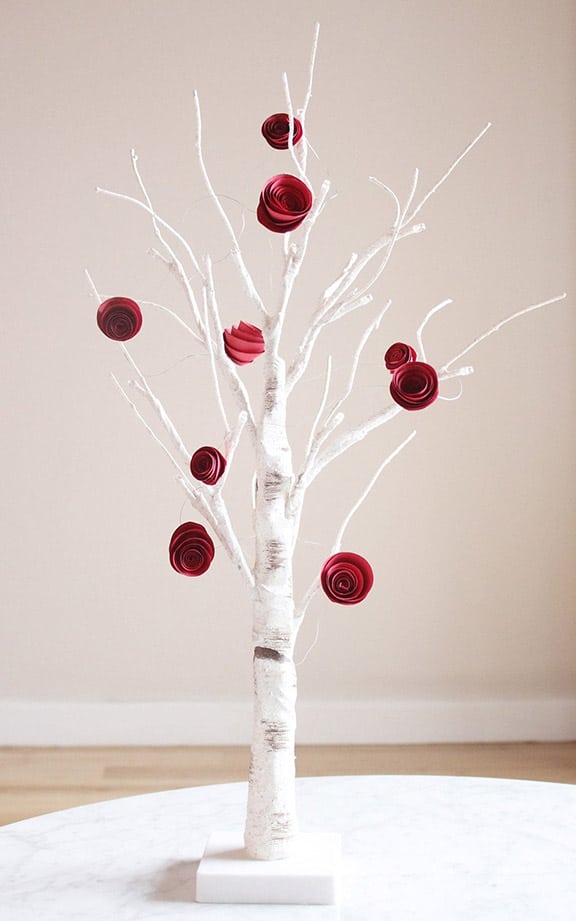
We love paper roses as a Valentine’s Day or Mother’s Day gift for moms, aunts, and grandmothers—and as home decor. Paper roses are easy to make and are much more chic than the simple instructions suggest. They require limited supplies—just some craft paper, a pen, scissors, and glue!
This is also an excellent project for kids (and adults!) because it doesn’t require perfection. In fact, some variation in the size and shape of the roses gives them a more natural look.
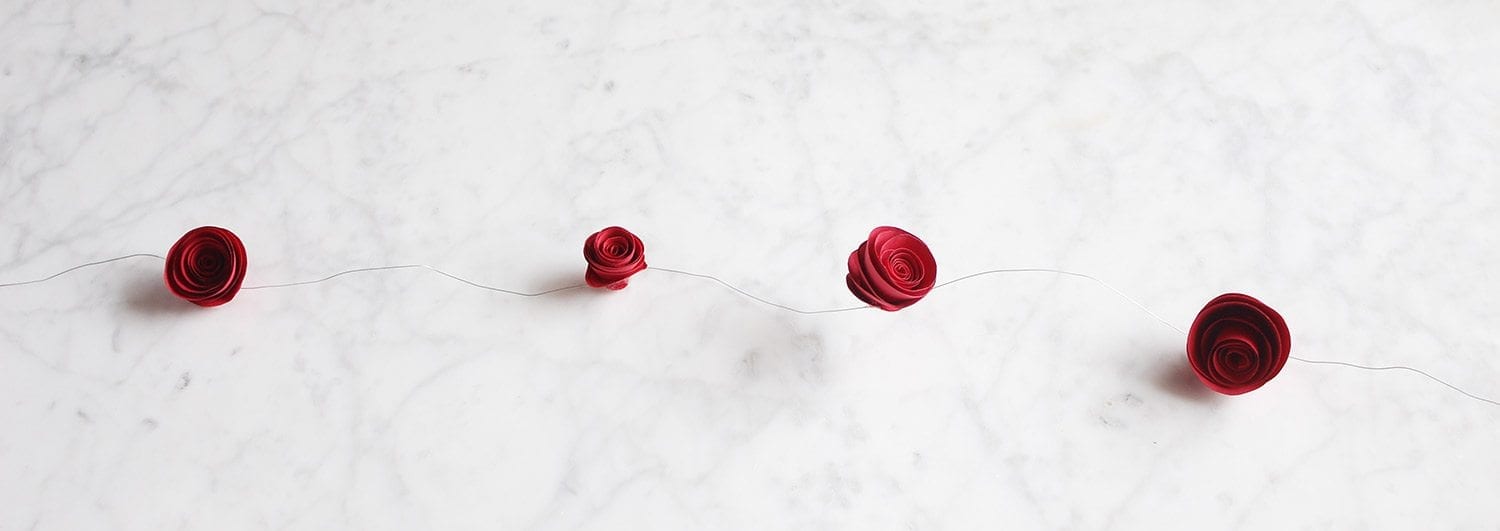
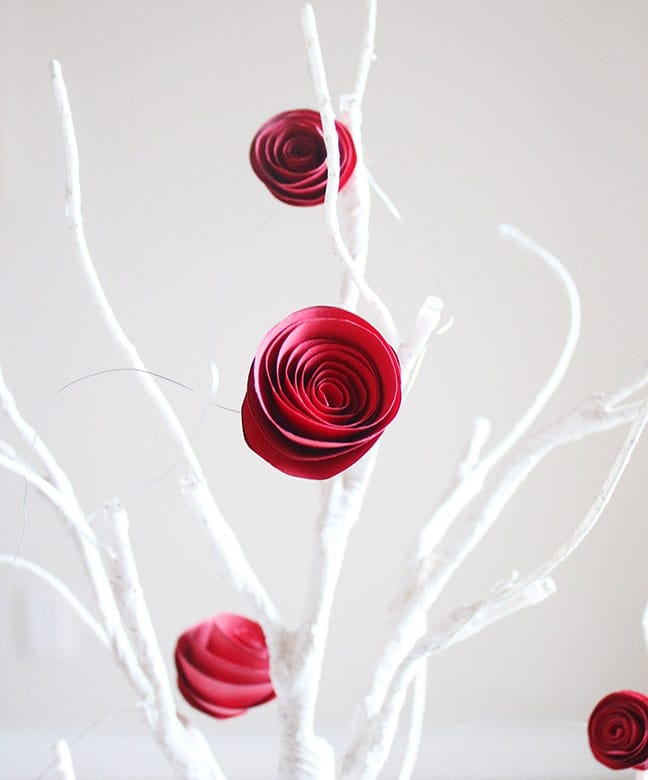
We created a garland with our roses by hot gluing them on small gauge wire, but for younger kids, tape or craft glue can be used to adhere the roses to yarn or string. Paper roses also look as beautiful as stemmed roses when glued to a stick or a green pipe cleaner.
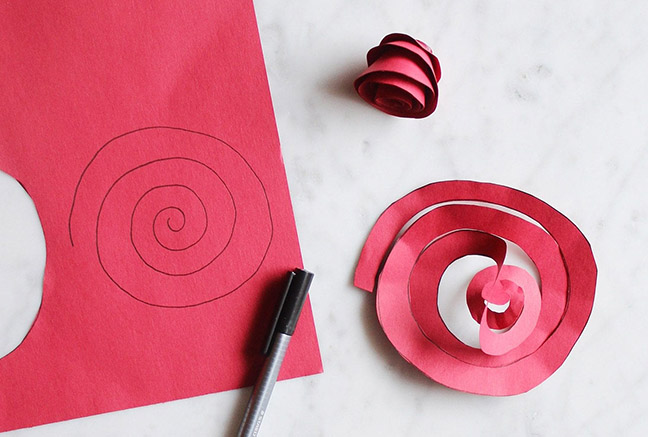
Step 1: Using a pen, create a spiral on the craft paper. For our roses, we used about a 4” inch square of the craft paper for our spiral, but included some variation in size to make smaller and larger roses.
Step 2: Follow the lines to cut out the spiral.
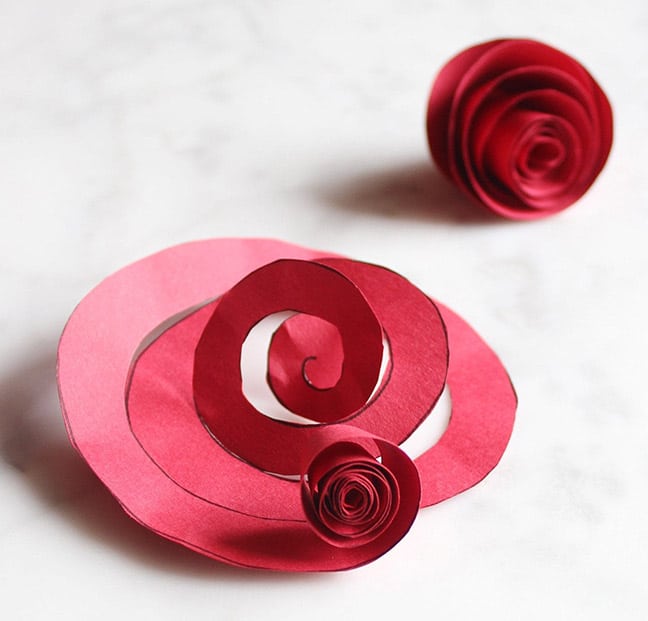
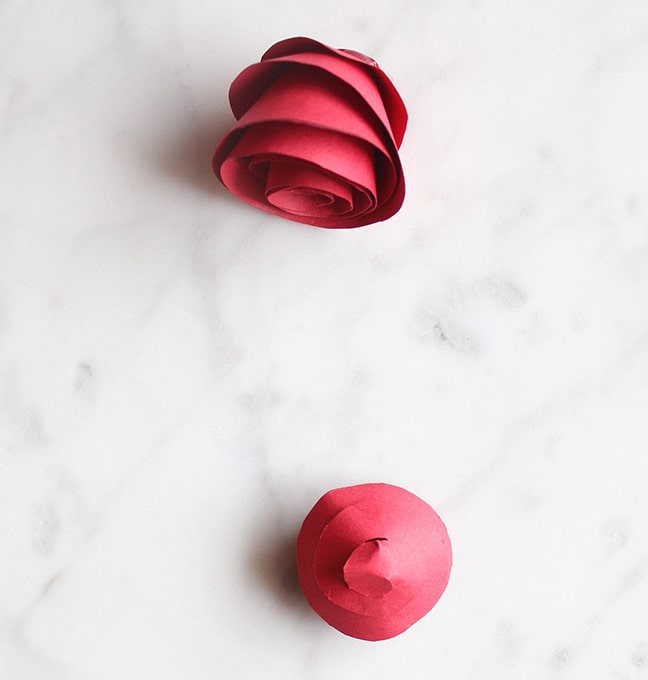
Step 3: Create the rose by rolling up the end furthest from the center of the spiral. Roll the center of the rose tightly and loosen up the roll as you reach the center of the spiral.
Step 4: Once you reach the circle at the spiral’s center, flip your rose over and use Elmer’s glue to affix the circle to the inner rolls of the rose.
Step 5: Let the glue set for at least an hour.
Step 6: To create a garland, use a glue gun to glue the back of the roses to 26-gauge wire or use Elmer’s glue or tape to adhere the roses to yarn or string. To make stemmed roses, glue or tape the back of the roses to green piper cleaners or wooden skewers.
Need some Happy Mail? Join our mailing list to stay updated on the latest Dragonfly Designs news, latest offerings, and special promotions!
© 2025 Dragonfly Designs. All Rights Reserved | Proud to be a Woman-Owned Small Business
Join our mailing list today and also receive a FREE, beautifully illustrated coloring e-book. Time to unlease your creativity!