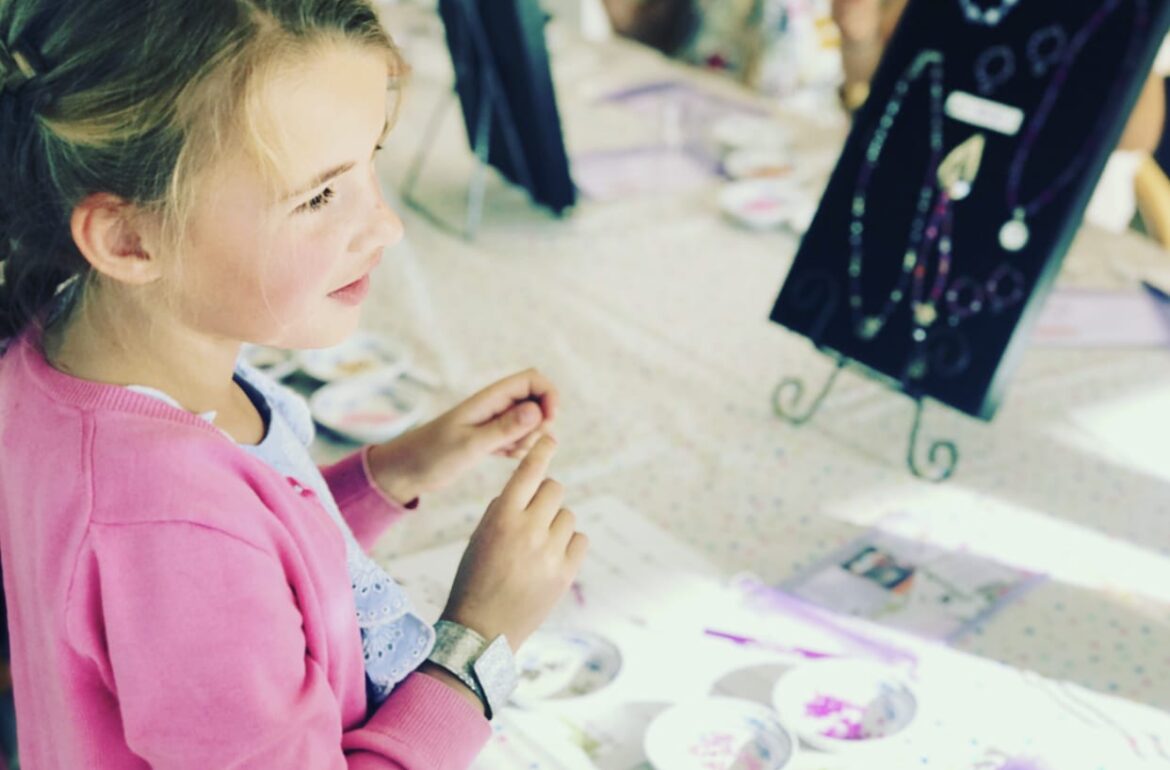
We totally get it – you’ve got a wonderfully artistic child and want to keep her birthday party simple, intimate and impactful.
You’ve done the bounce house, gone bowling, and she’s probably too old to get by with hiring her favorite costumed princess. All of those are fun ideas, and have their own purpose, but she’s ready for something that’s more significant and unique to her.
This year, instead of reusing an old idea, host a Jewelry-Making Birthday Party with her close friends! We’ve got a complete step-by-step guide to help you pull it off with ease and grace. We’ve been hosting jewelry making birthday parties since 2005, so you don’t have to worry! We’ll make it easy for you, even if your personal creativity normally comes in the form of complex and exquisite Pinterest boards.
In order to help you create and host a beautiful jewelry-making party, we’ve created DIY Jewelry-Making Party Kits that have everything you need to host the most amazing party! Our kits include all of the beads, clasps, goody bags, measuring charts, bead cups, dangle charms, and easy-to-follow instructions to save you time and money.
For some additional fun, add some beaded bookmarks, suncatchers, or earrings to your event!

Practice makes perfect: make a few sample pieces of jewelry yourself, both bracelets and necklaces. Practice measuring and adding your charm in the center. Practice crimping on the clasp and closing your piece without having the beading wire show in the finished product.
Pro Tip: when you create a pattern with beads, make sure to flip your pattern in the opposite direction after you add a charm so that the piece is symmetrical.
Tuck your extra beading wire back into your beads
You want your guests to have some jewelry making inspiration – try displaying your most beautiful pieces on a jewelry display board or velvet beading mat
Make ready to bead bracelets & necklace wires 2-3” longer than your completed piece will measure. Make 3-5 pre-made ready to bead “set-ups” per guest. This is a life-saving step on the day of the party. Guests will be able to continue beading their next piece while one person does all the closing crimping steps.
Hire a teenager or enlist the help of a 2nd mom or friend to help scoop & put away the beads for each guest during the party.
Having an adult or designated helper scoop & put away the beads will help prevent your beads from getting disorganized. It’s much more inspiring and beautiful if the beads are always color coordinated and neat. We always organize our bead trays to inspire guests – depending on how many beads you plan to have at your event, try dedicating a bead organizer to 2 colors such as pink/purple, red/orange/yellow/brown, black/silver/white/gold, blue/green. If you don’t have that many beads or trays, you can organize them in rainbow order. Make sure the helper has time to practice scooping & putting away the beads before the party starts.
Pro Tip: invite your helper person over in advance of the party to make a couple of pieces of jewelry and practice with you – plan who will do what job(s) on the day of your event
Make sure each guest has a place to sit at a table. Invest in a bead organizer and color coordinate the beads you have into a beautiful rainbow array of color options
Create a designated space to keep your bead organizers NEAR the host mom or hired or volunteer helper (maybe they get “paid” in some extra jewelry making time before or after the party). One person should be in charge of scooping beads for guests and pouring them back into their designated tray after the guest completes each piece. Then they choose new beads for the next piece.
Bead scooping spoons – maybe decorate your bead scooping spoons with craft wire for added flair. Whoever will be finalizing the finished jewelry pieces will need to have a “findings tray” with lots of crimp beads, jewelry making tools, jump rings, extension chains, and extra clasps.
Charms: set the available charm choices out on a bead mat near the beads. When guests select their beads they can also pick up a charm
Set the partygoer guest table by placing sample jewelry in the center of the table. In front of each guest place:
Give clear instructions to all guests at the beginning of the party.
Acknowledge the birthday child: “Today we are here to celebrate Audrey’s 10th birthday with a jewelry-making party!”
Then, share the itinerary, “We are going to start off by making a charm bracelet, and after we make our first piece everyone at the party can choose to make another bracelet or necklace”
Everyone also has a string with a clasp on the end (then hold up the bracelet sample).
“This is what we will use to make our first piece of jewelry. In just a few moments we will line up behind the birthday girl to chose our beads, then we will come back to the table and our helper will measure your wrist. When she does, she will tell you which measuring line will fit you best. Once you know what size you are then you can hold your string up to the measuring chart like this (demonstrate) and add your beads, until you get to the center of the bracelet where you can add your charm!”
In front of the beads, tell the children that the helper will be scooping the beads and putting away the beads throughout the party. Let them know they can choose new beads each time they pick a new project or keep the same beads for color-coordinated pieces.
Once you add your charm, you’re going to flip your bead pattern in the opposite direction and bead backwards to give your piece a symmetrical design. If your pattern was red, white, and blue, add your charm and then put the beads on in a blue, white, red pattern.
Keep beading until you get to the end of your measuring chart line. Raise your hand and our helper will measure your piece on your wrist and then we will add the extension chain for you. After you are measured, you can pick new beads, charms and a new project to work on.
Decide in advance how many pieces each child can make and let them know. Setting the expectation up front will make it easier to move on to the next activity when it’s time to end beading.
Pro-tip: We tested our DIY Bead Party kits with different age groups. Older children ages 10 or 11 (maturity levels vary, so this is at parental discretion) can manage their own beading party and won’t need much help or supervision when using our kit. It’s always a good idea to go through the practice steps above with your child in advance of the party so they know what to explain to their guests.
After each guest makes about 3 pieces of jewelry each you can end the beading activity and move on to serving cake and ice cream. While you move on to help set out food, your helper can pour back any extra beads easily into the bead containers as the kids have kept them separate throughout the party in the individual bead cups. Your helper can help any slow beaders and finalize any last unfinished pieces of jewelry with the crimping technique that we outlined.
We’ve been hosting these parties since 2005, and we’ve included everything you need to have a successful event in our DIY Jewelry-Making Party Kit! Check out the kit and start planning the best birthday party ever.


Join our mailing list today and also receive a FREE, beautifully illustrated coloring e-book. Time to unlease your creativity!