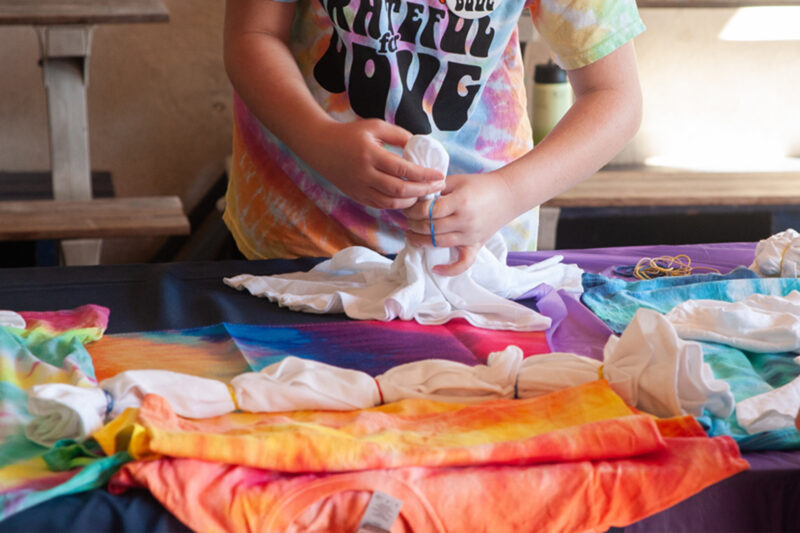
Tie dyeing has been a popular and timeless craft for decades for a reason: it’s a simple way to express your imagination by creating vibrant and unique patterns on fabric! Whether you’re a seasoned tie dye enthusiast or a beginner learning how to tie dye, mastering various techniques is key to achieving stunning results. Below, you’ll find step-by-step instructions for creating different tie dye patterns using a simple tool – rubber bands!
Unleash your creativity with classic designs like spirals and stripes, as well as more intricate ones like hearts and rainbows. Before you start, we recommend pre-washing your fabric to remove any finishes that might hinder the absorption of the dye. In addition, no matter what patterns you choose, ensure that your dye penetrates both the front and back of your fabric. Finally, make sure to download our helpful tie dye guide for reference as you create!
How to Tie Dye a Spiral
- Lay the fabric flat on your work surface.
- Pinch the center of the fabric where you want the center of the spiral to be.
- Twist the fabric in a clockwise direction, creating a tight spiral. Continue twisting until the entire fabric is coiled into a spiral shape.
- Once you have a tightly coiled spiral, use rubber bands to secure the fabric. Add multiple rubber bands to create pie-like sections. The more sections you create, the more defined the spiral will be.
- Apply your chosen colors to each section created by the rubber bands. You can alternate colors or use a single color for a classic spiral look.
How to Tie Dye Stripes
- Decide on the width of your stripes and fold the fabric accordion-style along the width of the fabric. The more folds you make, the thinner the stripes will be.
- Place rubber bands at intervals along the folded fabric to secure it. The areas between the rubber bands will remain white or light-colored, creating the stripes.
- Apply your chosen colors to each section created by the rubber bands. You can alternate colors or use a single color for a classic striped look.
- If you want to create a blended effect between the stripes, you can apply a second color along the edges or use a brush to mix colors slightly.
- Apply different colors to each section for a striped effect.
How to Tie Dye a Heart
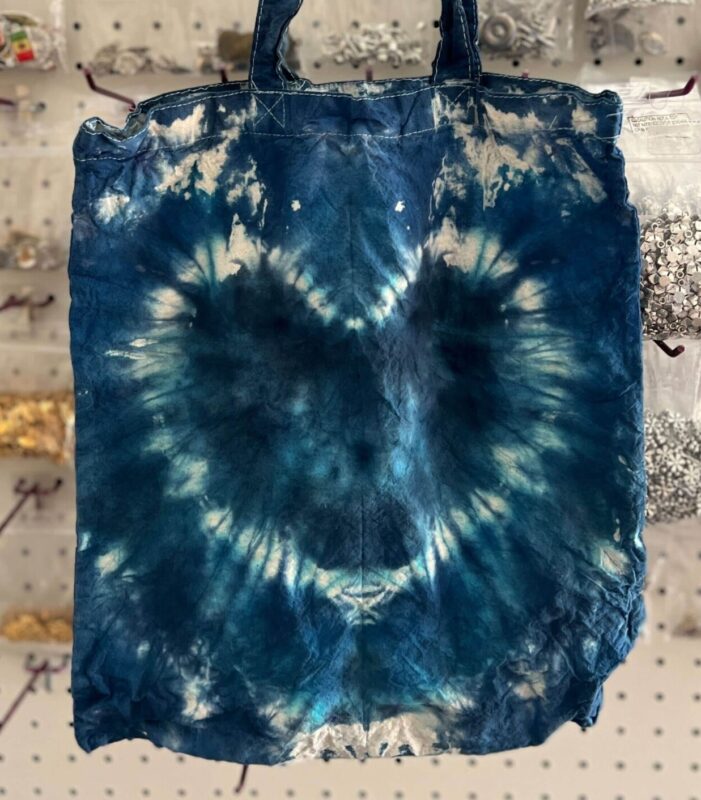
- Fold the fabric in half vertically.
- Use a washable or wearable marker to draw half of a heart shape on one side of the folded fabric. The center of the heart should align with the crease.
- Pinch the edges of the heart shape together along the crease.
- Secure the edges with rubber bands to create a well-defined heart outline. The more rubber bands you use, the more defined the heart shape will be.
- Starting from the outer edge of the heart, apply the dye in your chosen colors along the heart shape. You can use a single color or multiple colors for a vibrant effect.
- To create a gradient effect within the heart, you can apply a second color along the edges or use a brush to blend colors within the heart shape.
- Apply your chosen colors to the heart shape.
How to Tie Dye a Peace Sign
- Lay the shirt flat on your work surface.
- Find the center of the shirt where you want the peace sign to be located.
- Pinch the fabric at the center and lift it slightly.
- Use a rubber band to secure the pinched fabric, creating a small bundle at the center. This will be the central point of the peace sign.
- Imagine drawing lines radiating outward from the central bundle, dividing the shirt into sections. Use rubber bands to secure these sections individually. These will be the arms and legs of the peace sign.
- Apply your chosen colors to each section of the peace sign, ensuring that the dye penetrates both the front and back of the shirt.
- For a gradient effect within the arms and legs of the peace sign, you can apply a second color along the edges or use a brush to blend colors.
- Apply different colors to each section of the peace sign.
How to Tie Dye a Rainbow
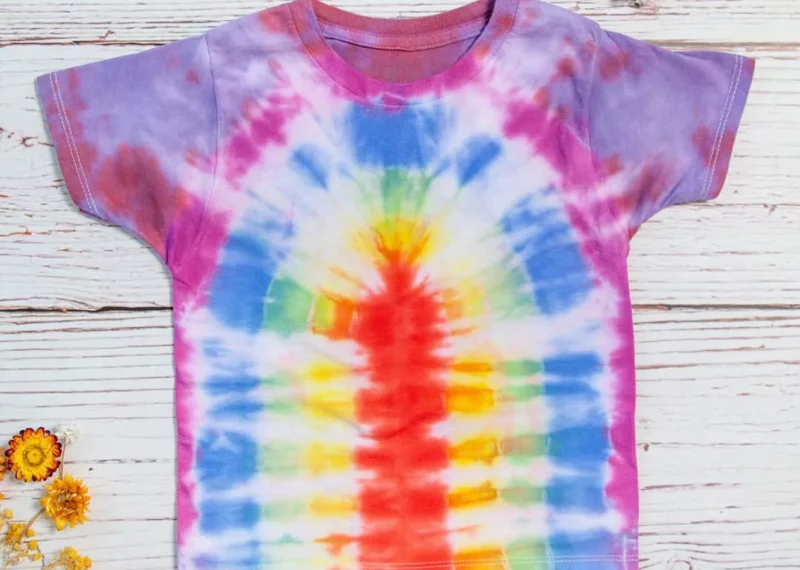
- Lay the fabric flat on your work surface.
- Decide how many sections you want for your rainbow and fold the fabric accordion-style accordingly. Each section will represent a color of the rainbow.
- Place rubber bands at intervals along the folded fabric to secure each section. The more sections you create, the more vibrant and defined the rainbow will be.
- Starting with one end of the folded fabric, apply each color of the rainbow to the corresponding section.
How to Tie Dye a Bullseye
- Lay the fabric flat on your work surface.
- Pinch the center of the fabric where you want the center of the bullseye to be.
- Twist the fabric in a clockwise direction from the center, creating a tight spiral. Continue twisting until the entire fabric is coiled into a spiral shape.
- Secure the spiral with rubber bands. Add multiple rubber bands at intervals to create concentric circles, resembling a bullseye. The more rubber bands you use, the more rings your bullseye will have.
- Apply your chosen colors to each ring created by the rubber bands. You can alternate colors or use a single color for each ring.
- For a blended effect between the rings of the bullseye, you can apply a second color along the edges or use a brush to mix colors slightly.
Tips for Successful Tie Dyeing
Feeling inspired? Don’t be afraid to experiment with color combinations, as mixing and matching colors to create your own unique palette can be the best part! Once you’ve created your patterns, ensure you allow sufficient time for setting. Always let the dyed fabric sit for the recommended time before rinsing to ensure the colors set properly.
Tie dyeing is a versatile and enjoyable craft that allows you to transform plain fabrics into works of art. By mastering various tie dye techniques, you can unleash your creativity and personalize clothing items with eye-catching patterns. Whether you prefer classic designs like spirals and stripes or want to try more intricate patterns like hearts and peace signs, the key is to experiment and have fun with the process.
Enjoy the Fun of Tie Dye at Home
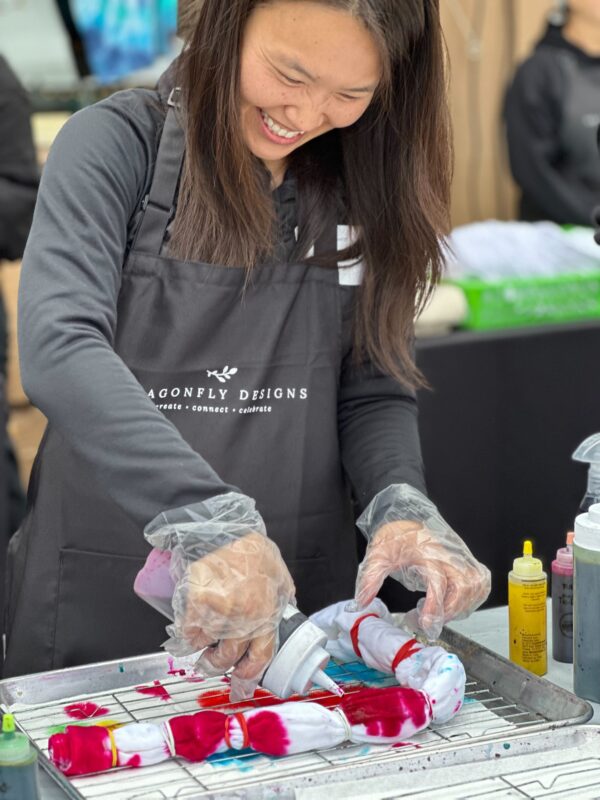
For a convenient and enjoyable tie dyeing experience, check out our Tie Dye Kit, which includes dyes, squeeze bottles, rubber bands, gloves, and a step-by-step guide. Our top-quality fabric dyes are the key to achieving vibrant and long-lasting results with your patterns! Whether you’re a novice or a tie dye pro, our kit is designed to make the process seamless and fun.
Make your next event unforgettable with a tie dye activity by Dragonfly Designs! As a woman-owned art education company serving the SF Bay Area and San Diego, we bring creativity and fun to all ages. Perfect for team-building or kids’ parties, tie dyeing creates lasting memories.
Ready to get colorful? Contact us today—budding artists of all ages will love this fun party activity!