You know that feeling when you’re hyped about a creative idea… then realize you’re not totally sure how to pull it off? Yep. Been there. And when it comes to stamp carving, we’ve seen it go from “this’ll be easy!” to “wait—how do I do this?” real quick.
That’s why stamping parties are one of our favorite ways to gather. They’re creative, a little bit messy, and a lot of fun—and guests walk away with a handmade stamp they can use again and again on cards, journals, wrapping paper, even fabric. But here’s the key: carving stamps takes a little direction, a little patience, and the right supplies.
Stamping is super versatile—great for quick cards or totally custom projects. Want to stretch the party? Set out butcher paper for DIY gift wrap or let guests bring shirts or tea towels to stamp.
Since carving tools are sharp, we suggest this activity for ages 10+, but adults love it too. Make it a wine and stamps night or a cozy holiday activity with cocoa and carving.
Pro tip: Start with a simple stencil—trust us. We’ve made a bunch of free designs you can use to get going without overthinking it.
Once everyone gets into the groove, you’ll be amazed at what they create—and they’ll leave with a stamp (and memory!) they actually want to keep.
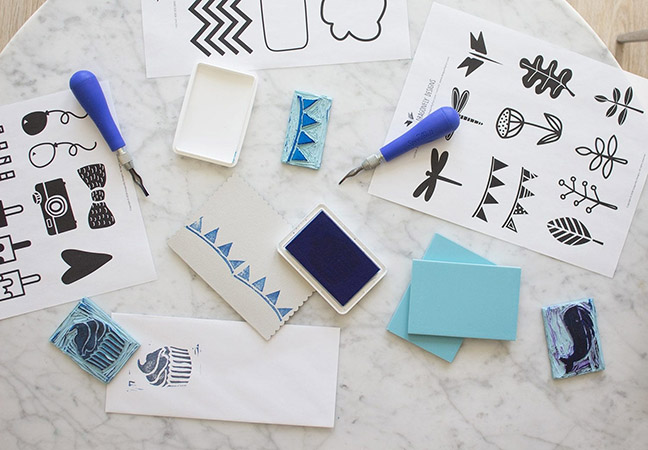
Step 1: Gather your supplies, including the rubber stamps, carving tools, scissors, and a pencil.
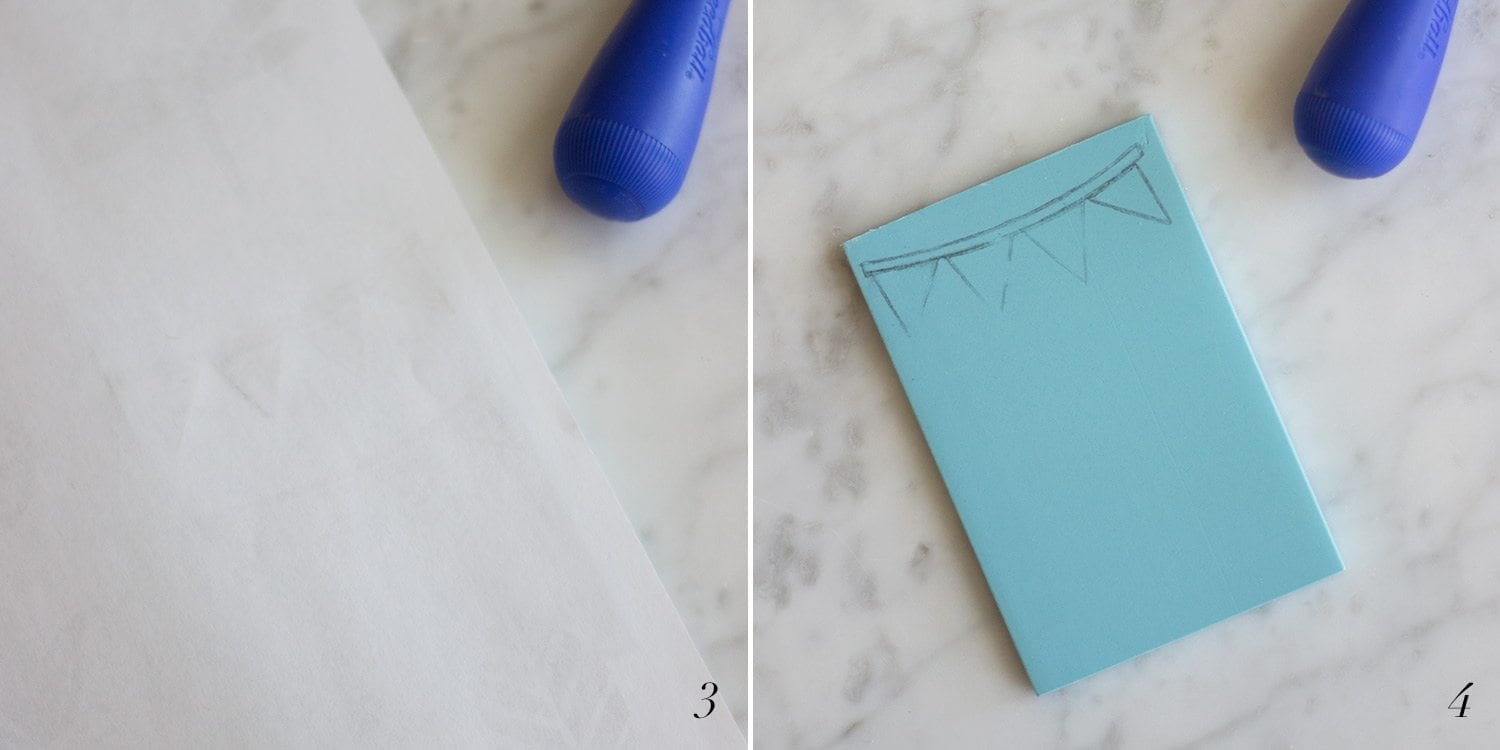
Step 2: Choose the first stamp you want to create from your stencils. Outline the stencil with a pencil. This outline will be transferred to the stamp to it’s important to firmly outline all sections of the stencil.

Step 3: Place the design side of the stencil on the stamp. Rub the end of the stamping tool over the paper to transfer the stencil design to your stamp.
Step 4: Use a pencil to fill in any parts of the stencil that didn’t transfer.
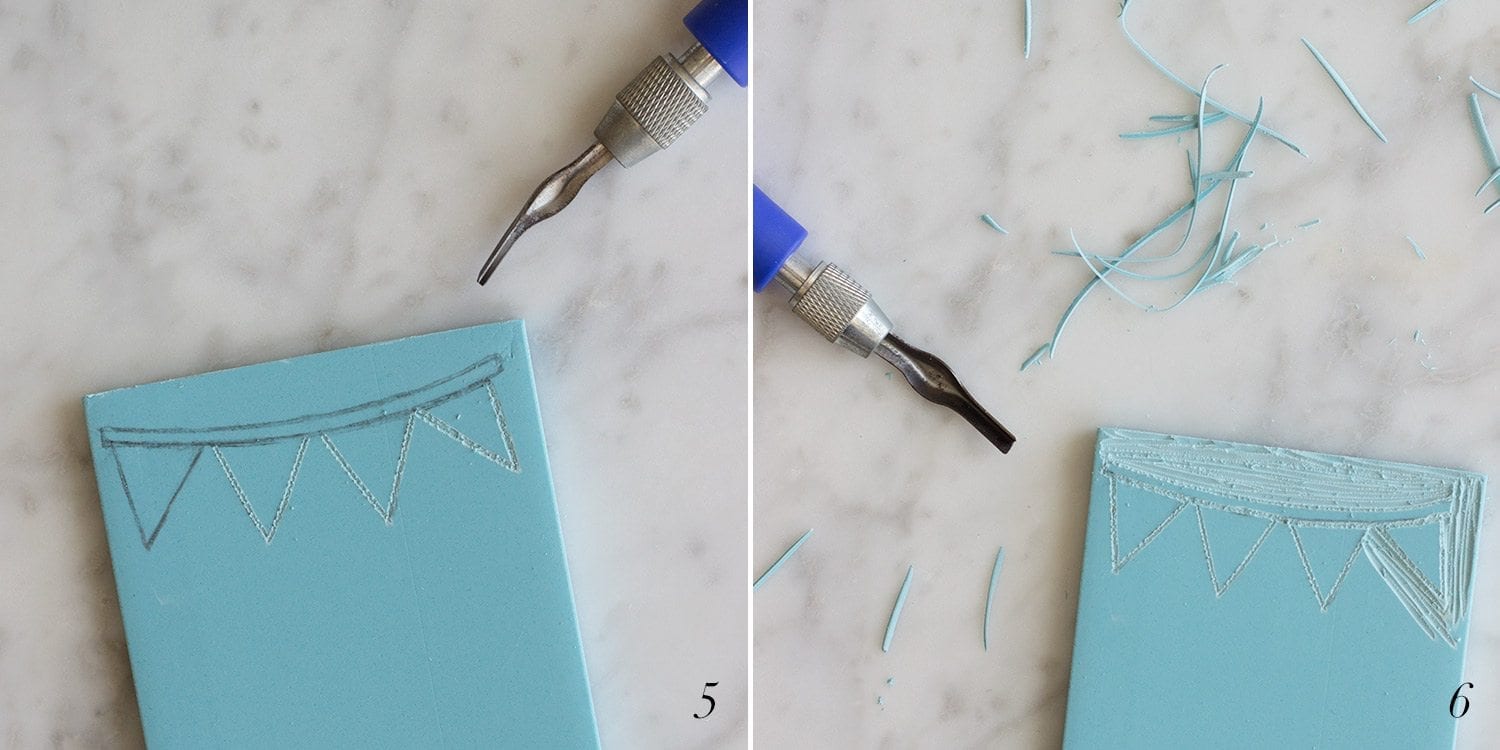
Step 5: Start creating your stamp by using one of the thin blade tips to outline the pencil marks.
Step 6: Once the detailed portion of the stamp is created, use a thicker blade tip to cut out the remaining portions of the stamp.
Step 7: If you have extra space on the stamp, use scissors or a kitchen knife to cut off the excess. Any extra stamp pieces can be used for smaller designs.
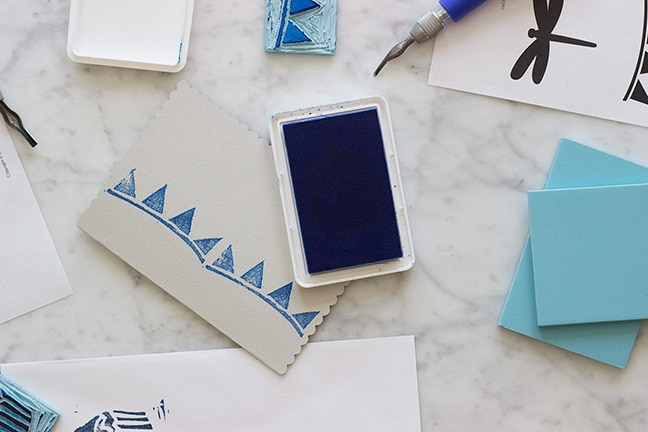
Step 8: Once your stamp is complete, test it on a piece of scratch paper to ensure it works properly. Use your carving tool to remove any portions of the stamp you don’t want visible on your final design.