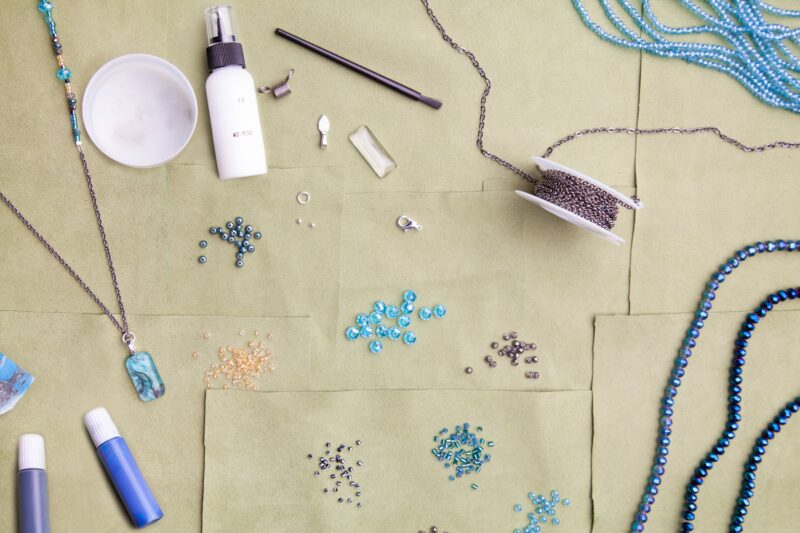
Pro Tip: If you are new to making jewelry and this list looks a bit intimidating, we offer a jewelry-making kit that has everything you need to get started, such as tools, clasps, beads, and wire. It’s the perfect way to gather most of the materials you need in one beautiful kit!
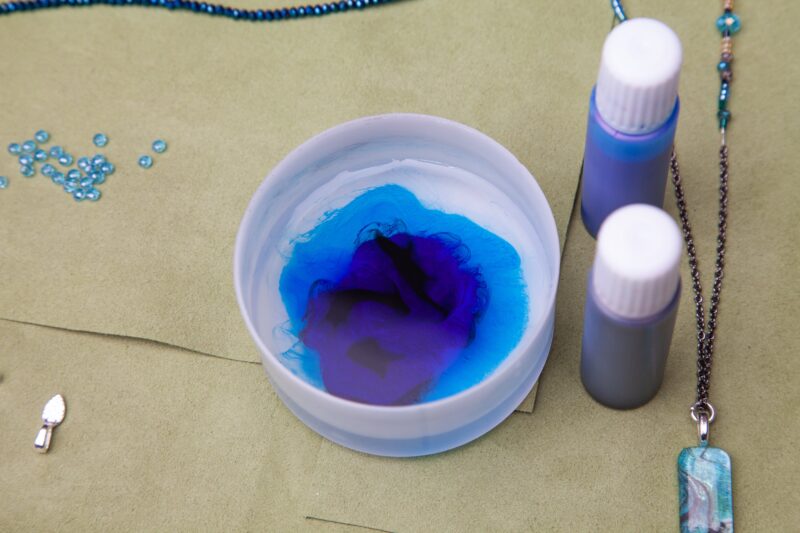
Step 1: Read the description of your water marbling kit. Some kits come with a marbling medium, and others come pre-mixed in ink-dropper bottles. Ours came with tiny floating pieces of paper that help your ink float on top of the water. Make sure you’re using a technique appropriate for your tools and materials!
Step 2: Prepare your work area. If you’re doing this project with children, cover your table and have paper towels ready. If you’re doing this by yourself, a tub of water should suffice.
Step 3: Use a tub just a little bit bigger than the piece of paper you’re marbling. Anything too big would cause you to waste ink, and a container that’s too small will be too hard to work with. Fill the container with water.
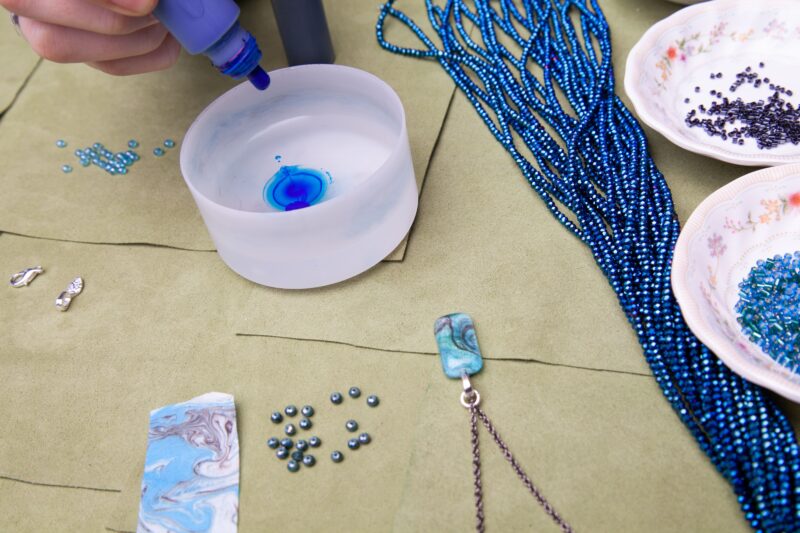
Step 4: Start adding ink to the tub, drop by drop. Add two or three drops from one color at a time, alternating between the colors you wish to use.
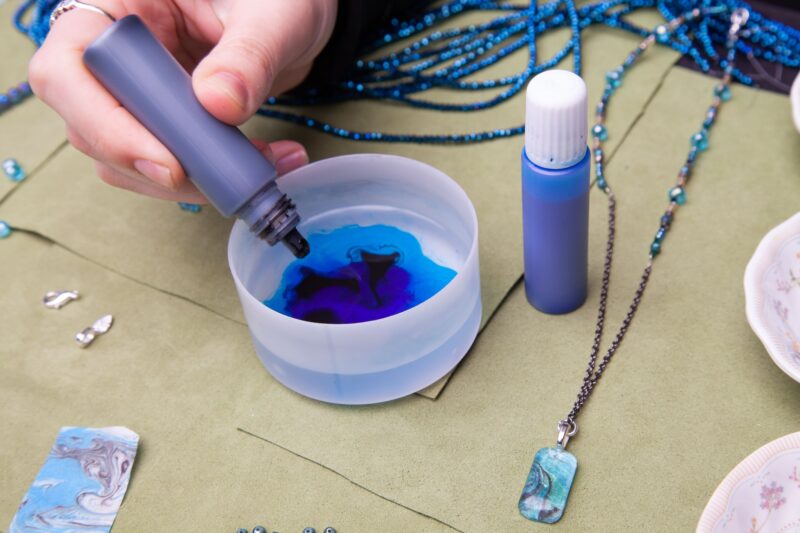
Step 5: Once you’re content with the amount of ink and color floating on top of the water, you can start creating your design. Use the back of the paintbrush or a toothpick to gently and slowly drag colors into each other, resulting in a marbled effect. You can also try gently blowing the surface of the water to create further ripples and lines.
Pro tip: don’t overdo this step! Mixing too fast or too much could result in your colors blending together and turning brown. That’s not what you want! Go slow, and enjoy being mesmerized by the ink floating and moving on top of the water. A DIY project that’s also relaxing? We are so here for it.
Step 6: Once you’re happy with how your lines and colors look, it’s time to dip your paper in. Gently position one edge of the paper over the water and slowly lay it down on the surface. Once one side is completely facing down on the water, gently push down on the paper and remove it from the water container.
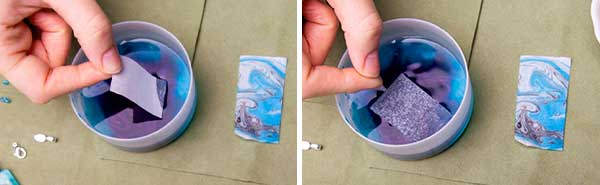
Step 7: Your pattern might move while dipping, but don’t fret! Happenstance and chance are where the beauty of this project comes from. If you’re not happy with how your marbling is looking, just try again! You can always save the bits you don’t end up using for your pendant for journaling and scrapbooking.
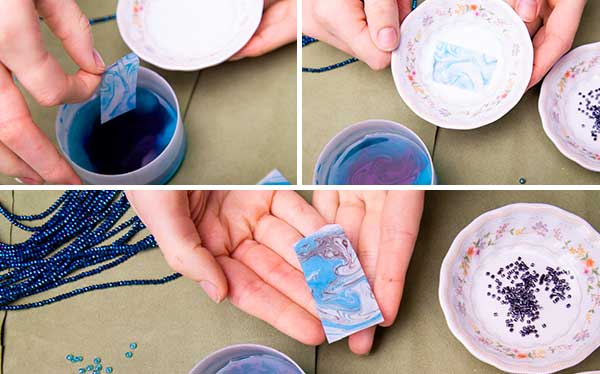
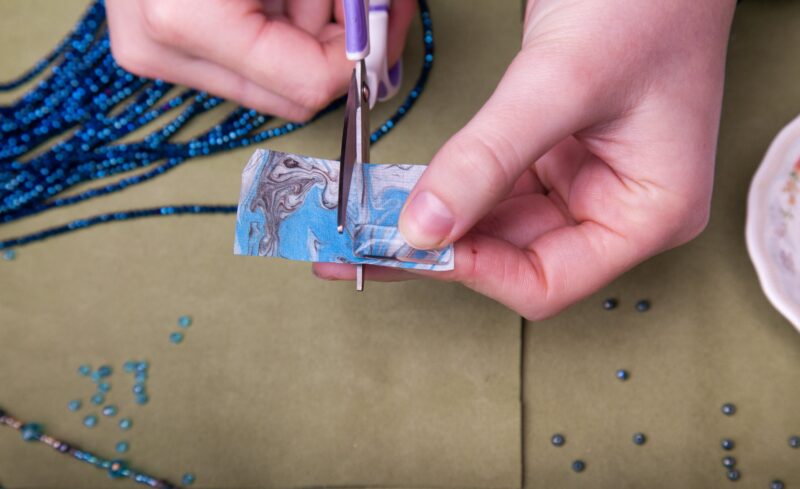
Step 8: Once you’re happy with the marbled effect you’ve created, let it dry. Trace around your resin charm on the back of your paper and cut out the desired shape
Step 9: Adhere the marbled paper to the back of the pendant using mod podge. Wait for it to dry completely. Note that it will dry clear!
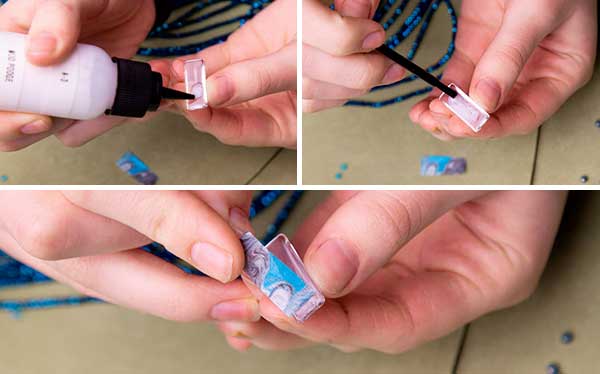
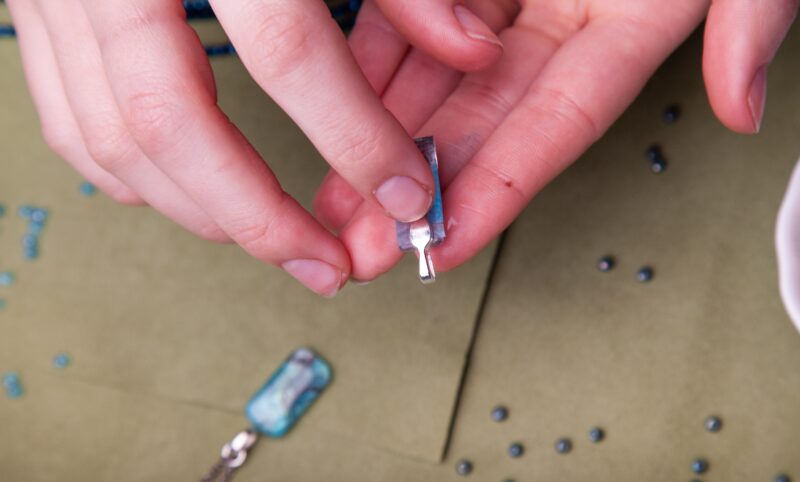
Step 10: Use E6000 or super glue to add the jewelry bail to the back of the pendant.
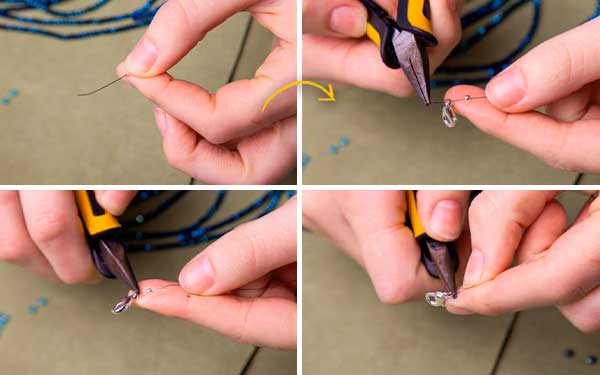
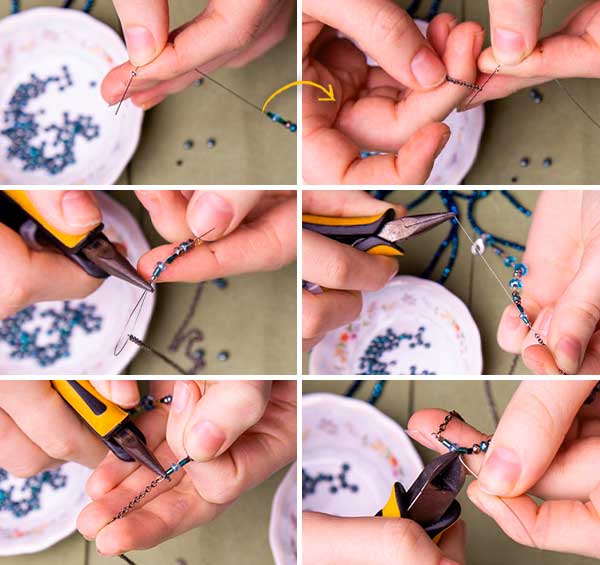
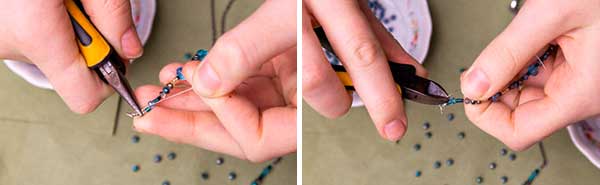
Step 11: Grab your crimp bead, lobster clasp, and beading wire. Use our free measuring chart to ensure your necklace is the desired length. String on your crimp bead and then your lobster clasp. Feed the end of the beading wire back through the crimp bead, affixing the lobster clasp in a small loop. With your chain-nose pliers, squish the crimp bead flat.
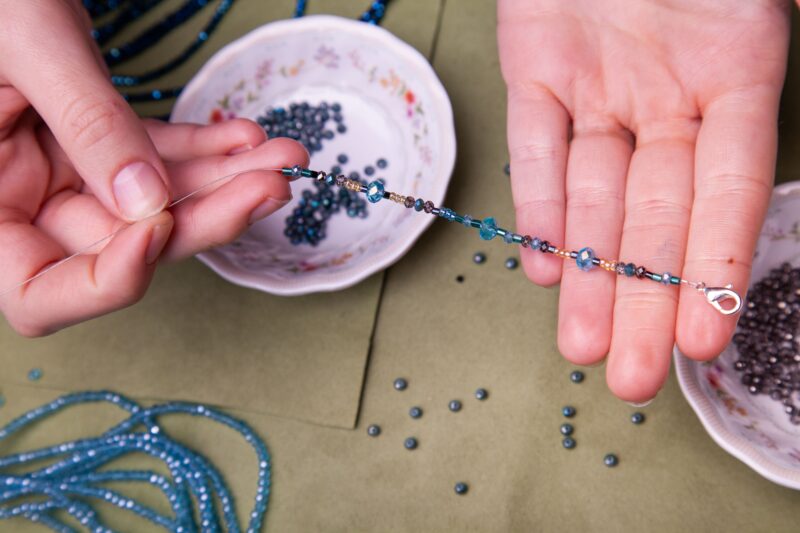
Step 12: Bead your desired pattern onto your jewelry wire.
Step 13: Attach your jewelry chain to the other end of your beaded section using a crimp bead. Remember to tuck the end of your beading wire into the last few beads to avoid any wire sticking out that could hurt your skin, then cut off any excess with your wire cutters.
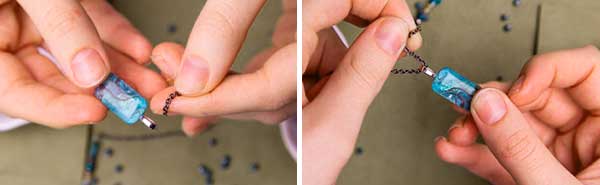
Step 14: String the bail of your Suminagashi charm onto your jewelry chain.
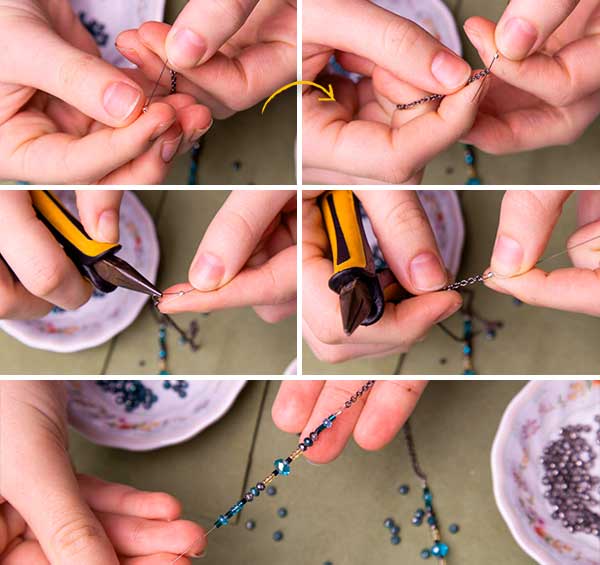
Step 15: Crimp another piece of beading wire onto the other end of your chain. Bead your design onto the wire – this should be the same length as the other half of your necklace.
Step 16: When you’re done beading, add a crimp bead and a jump ring to your beading wire. Lead the end of your beading wire back through the crimp bead, creating a small loop. Tighten your beading wire to secure the jump ring in place.
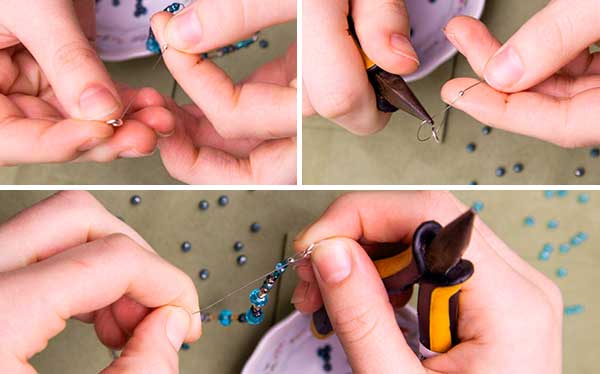
Step 17: Using your chain-nose pliers, flatten the crimp bead, and use your wire cutter to get rid of any excess wire. Your jewelry is complete!
We hope this project has piqued your interest in the world of DIY and inspired you to try out some new techniques. Isn’t there something truly satisfying about creating something with your own two hands and seeing the end result? If you’re looking for more ideas and inspo, we have plenty of DIY projects and all-inclusive kits for you to check out. There’s no limit to what you can create, so let your imagination run wild.