We think you KNEAD to do this fun fall project! Polymer clay is a really cool medium to work with. It’s a modeling clay made from vinyl, so it stays soft and doesn’t dry out. These adorable fall-inspired earrings are on-trend and completely customizable. Be sure to make extras for your gal pals. These make a really thoughtful gift for a teacher or healthcare worker in your life!
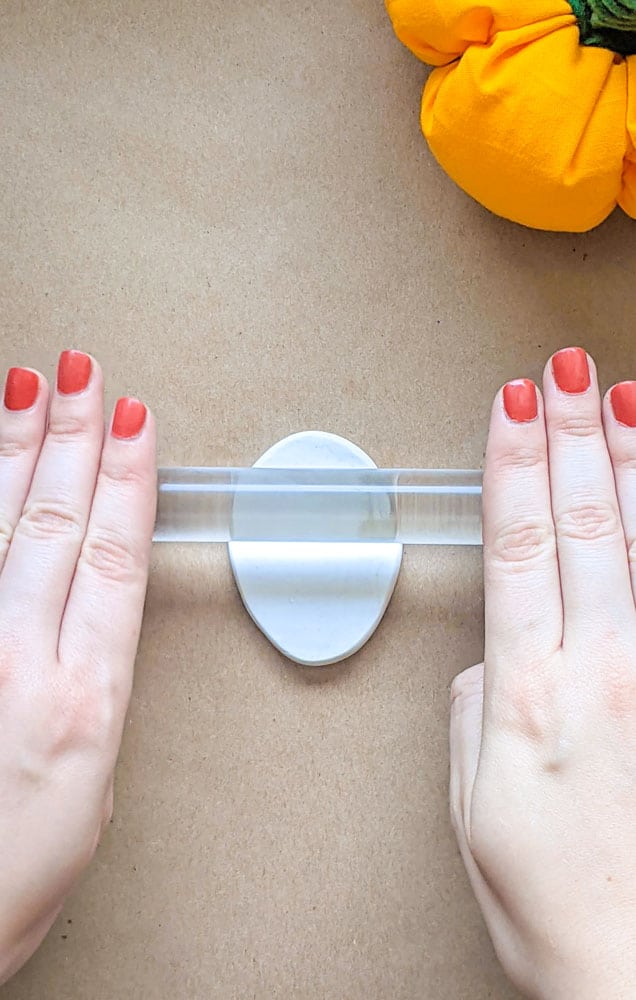
Step 1: With the acrylic rolling pin, start by rolling out a “slab” which is the base of the earring.
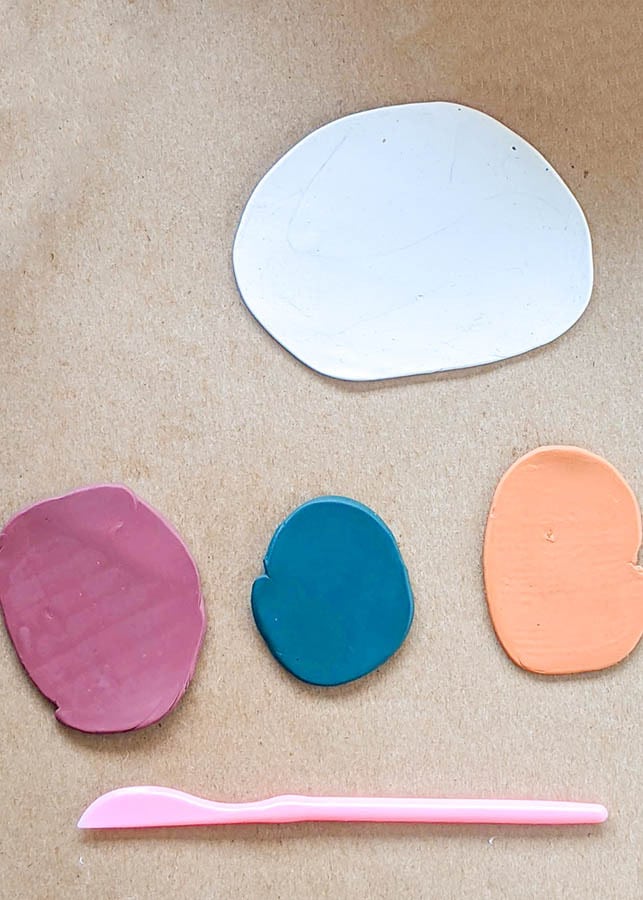
Step 2: Roll out three colors for the design of the Autumn leaves.
Step 3: Cut out leaf shapes with an X-Acto knife or toothpick and place them all around the slab.
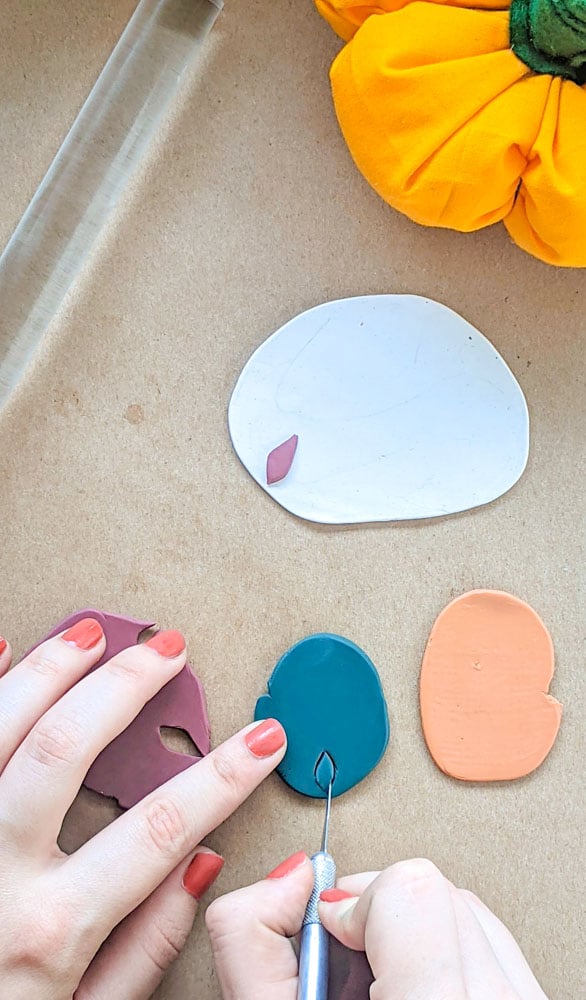
Step 4: Next, roll the leaves into the slab until it is smooth and blended.
Tip: use parchment paper on top of the slab so the clay doesn’t stick to the rolling pin.

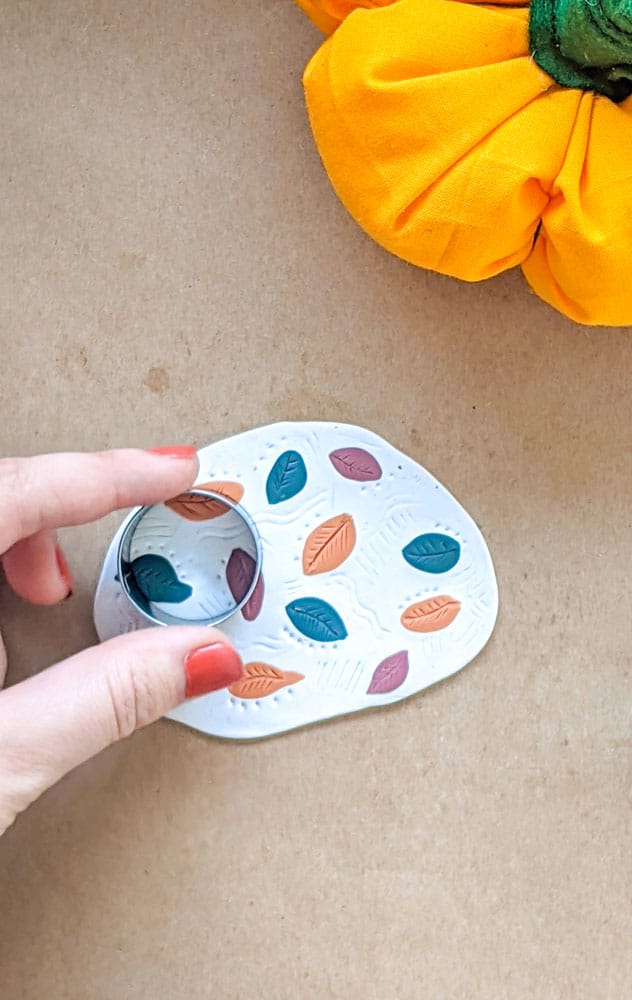
Step 5: Add texture to the leaves and the negative spaces to make a more interesting design. You can add squiggles, dots, lines, etc.

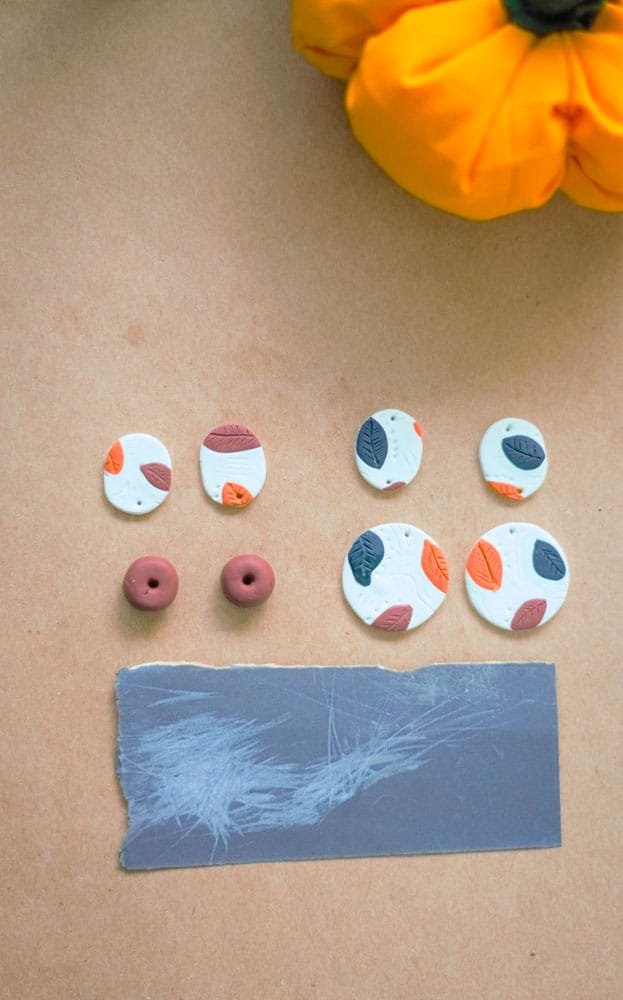
Step 6: Once you are satisfied with the design and textures you can cut out the shape of the earrings. We used a cookie cutter to make circles, but you can also make a stencil from paper and cut it out with an X-Acto knife.
Step 7: Puncture holes into the top of the earrings or wherever you will be adding jump rings. Then, bake the earrings on parchment paper for 20 minutes at 275°F.

Step 8: Allow earrings to cool. Sand the edges for a smooth, clean look.
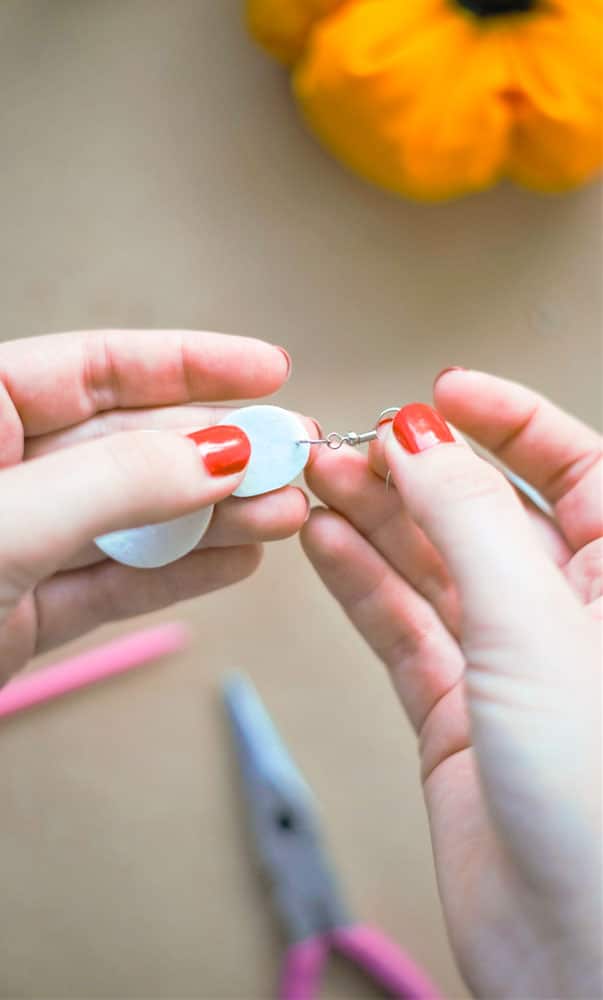
Step 9: Next, open the jump ring by using the pliers to pry it open. Connect the two pieces of the earrings together and tighten the jump ring.
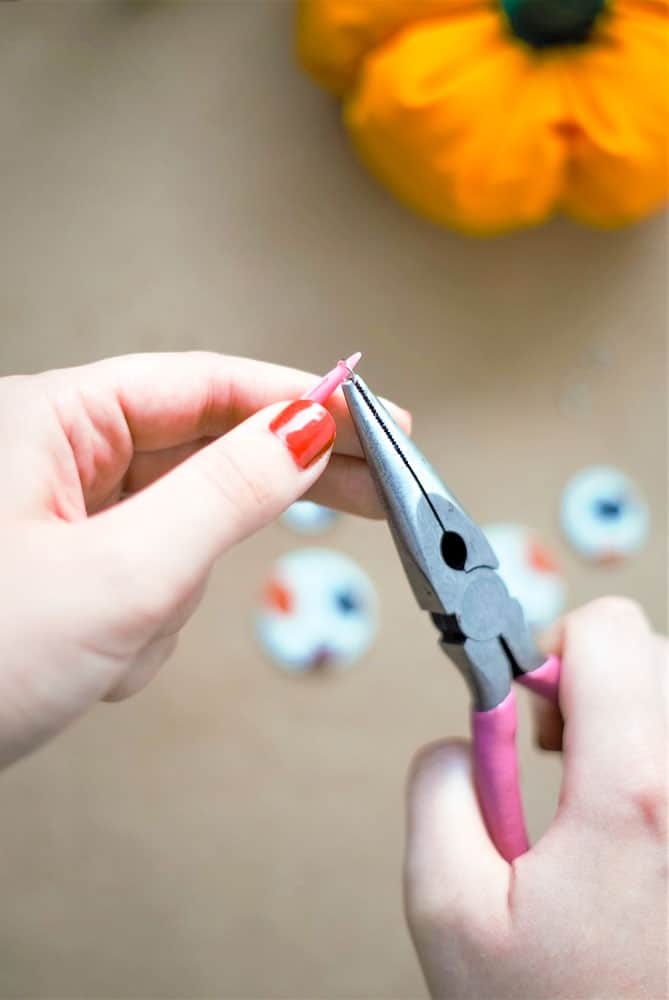
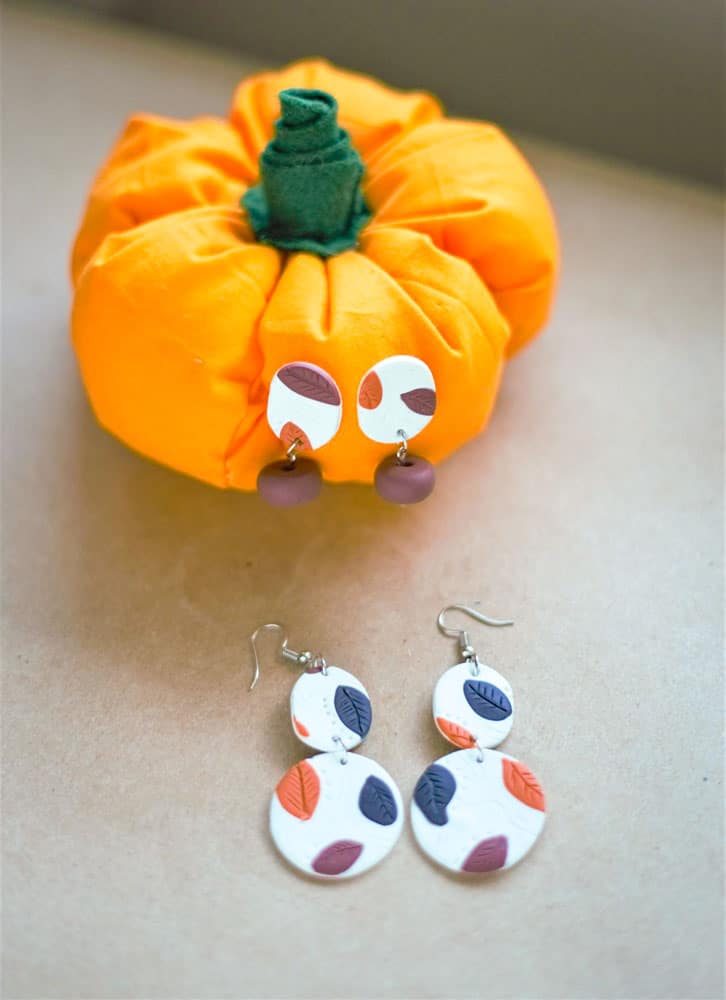
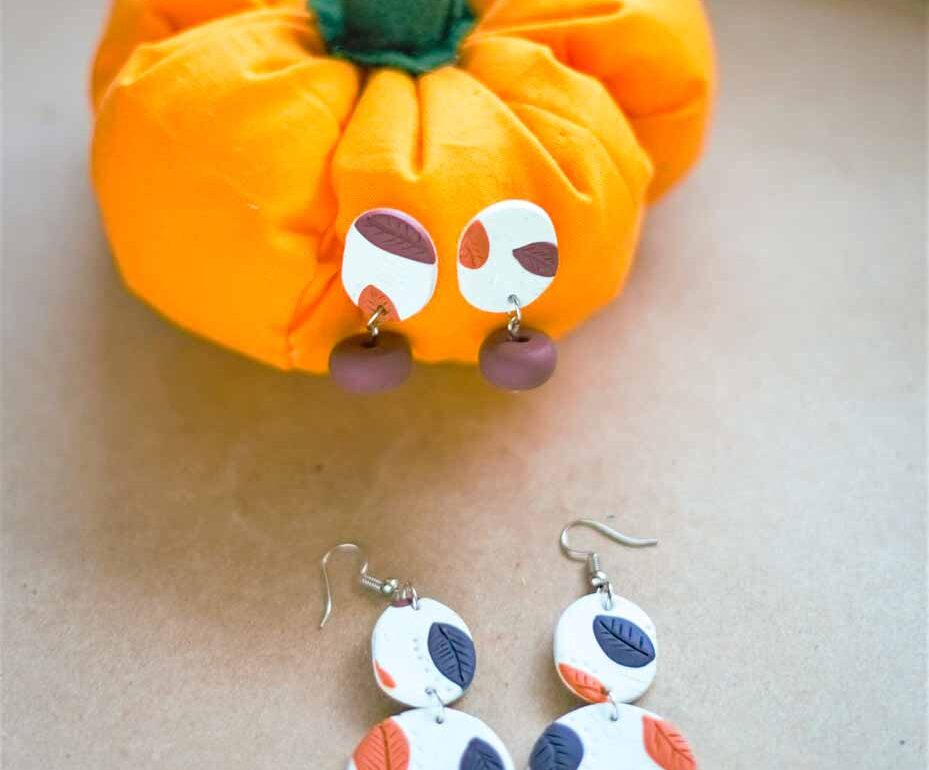
Step 10: Open another jump ring and connect the hook to the earring and tighten it. You are done! Enjoy your new autumn earrings, and keep the jewelry-making spirit alive with our Earring Making Kits!