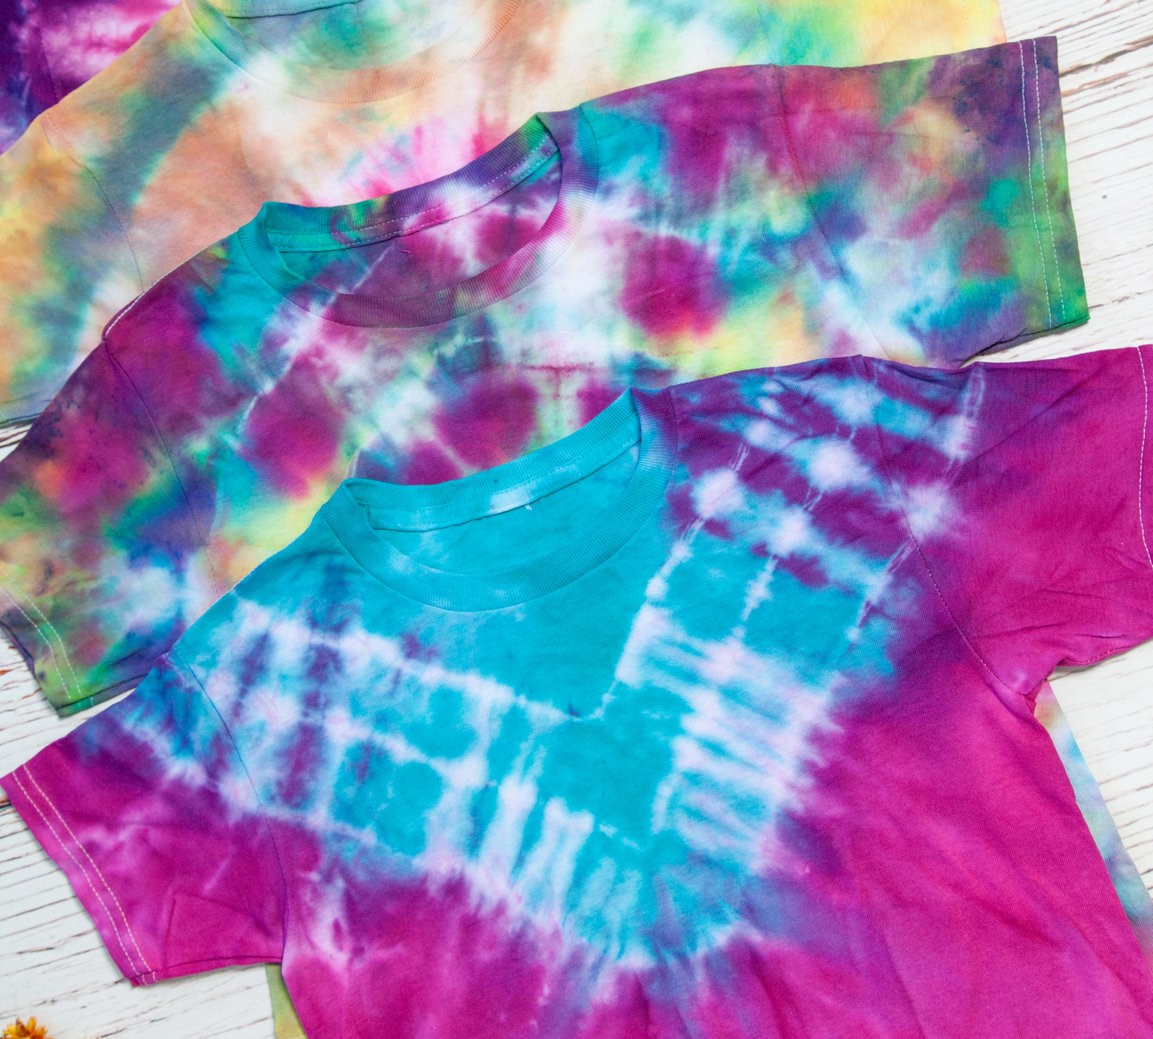
Tie dye, the quintessential symbol of self-expression and creativity, has been brightening up wardrobes and spreading good vibes since its inception in ancient times. Yes, you heard it right – tie dye isn’t just a product of the groovy ’60s; it has roots that trace back thousands of years to cultures like the ancient Egyptians and Chinese. These early practitioners used tie dye techniques to add vibrant hues to their textiles so they could stand out in a crowd!
While tie dyeing is a blast all on its own, there’s a little secret to making those colors pop even brighter: vinegar! Yes, that humble kitchen staple can work wonders on your tie dye creations, intensifying the colors and ensuring they stay vibrant wash after wash.
Before we delve into the step-by-step process, let’s understand why vinegar is a game-changer in tie dyeing. Vinegar, specifically white vinegar, is acidic, and this acidity helps to set the dye in the fabric. When you soak your tie dye creation in a vinegar solution, it not only helps the dye adhere better to the fabric but also prevents the colors from fading over time. Plus, it acts as a fixative, ensuring your vibrant designs stay put!
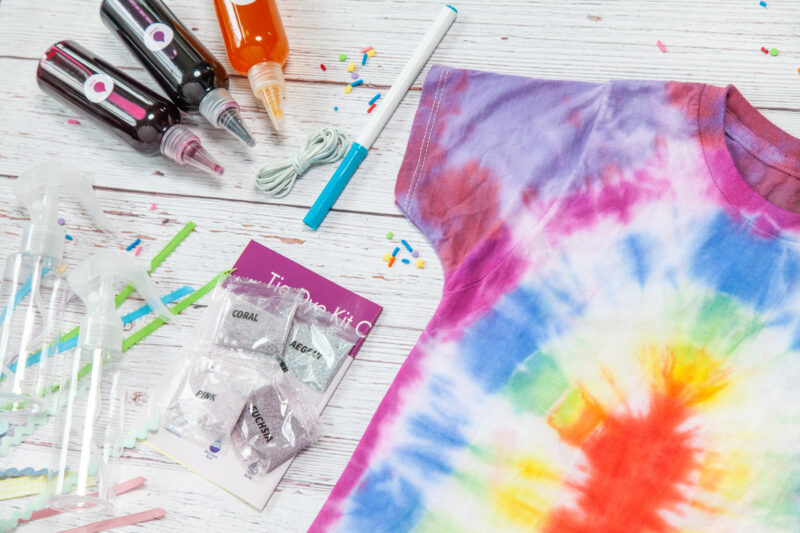
To get started, make sure you have all the necessary materials on hand. If you’re new to tie dye or looking to simplify the process, consider using our curated DIY tie dye kit. Our kit comes with everything you need to unleash your inner tie dye artist, including dye, rubber bands, gloves, and a variety of apparel. All you need to supply is, of course, vinegar!
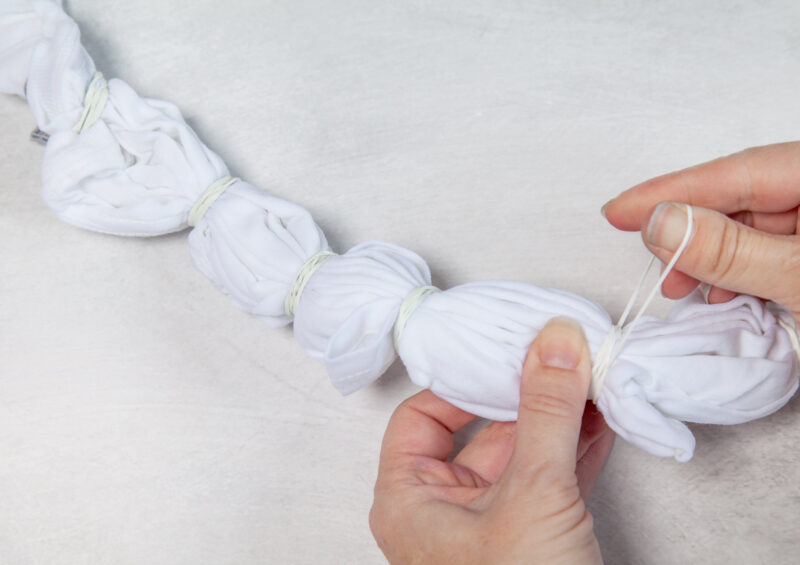
Now comes the fun part – creating your tie dye masterpiece! Whether you opt for classic swirls, funky spirals, or random bursts of color, the choice is yours. Download our handy-dandy tie dye guide for step-by-step pattern instructions. Use rubber bands to secure your desired patterns, ensuring they’re tight enough to resist the dye but loose enough to allow it to seep through.
Follow the instructions on your tie dye kit to mix your dye colors. Once you have your vibrant concoctions ready, it’s time to move on to the next step.
Fill a large basin or bucket with water and add white vinegar at a ratio of 1 part vinegar to 4 parts water. Submerge your tied fabric into the vinegar solution and let it soak for at least 30 minutes. This step ensures that the fabric is thoroughly saturated with vinegar, setting the stage for those brilliant colors to shine.
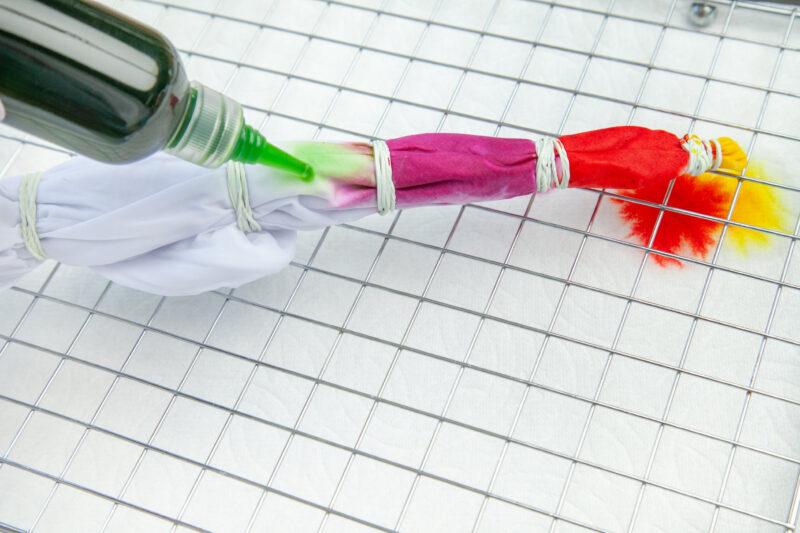
With your fabric thoroughly soaked in vinegar, it’s time to apply the dye! Get creative as you add your chosen colors to different sections of the fabric, ensuring each hue is saturated and vibrant.
Once you’ve applied the dye, carefully transfer your tie dye creation to a plastic bag or wrap it in plastic wrap to keep it moist. Let it sit for a minimum of 6-8 hours, allowing the dye to fully penetrate the fabric and set.
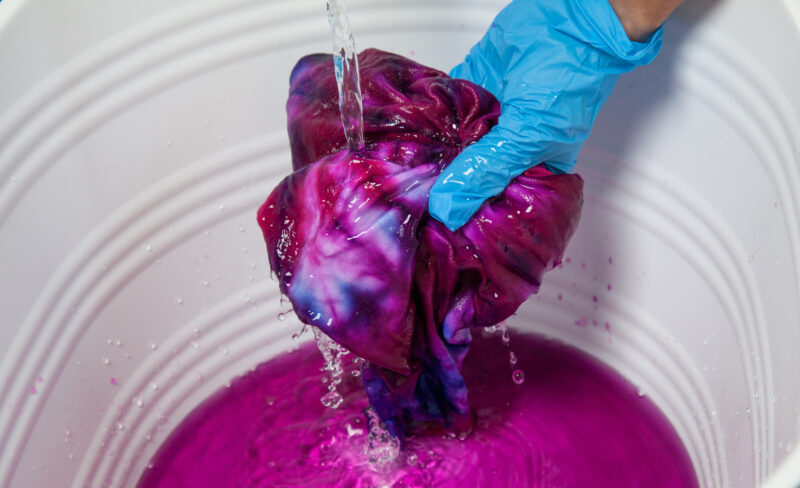
After the dye has had time to set, rinse your tie dye creation under cold water until the water runs clear. Remove the rubber bands and marvel at your vibrant, vinegar-enhanced masterpiece!
Finally, wash your tie dye creation separately in cold water with a mild detergent to remove any excess dye. Once washed and dried, your tie dye masterpiece is ready to rock – brighter and bolder than ever before!
So there you have it – a step-by-step guide to making your tie dye creations even brighter with vinegar! With a little creativity and a splash of vinegar, you can elevate your tie dye game to new heights. And remember, for hassle-free tie dye fun, check out our curated DIY tie dye kits – because life’s too short for dull colors!