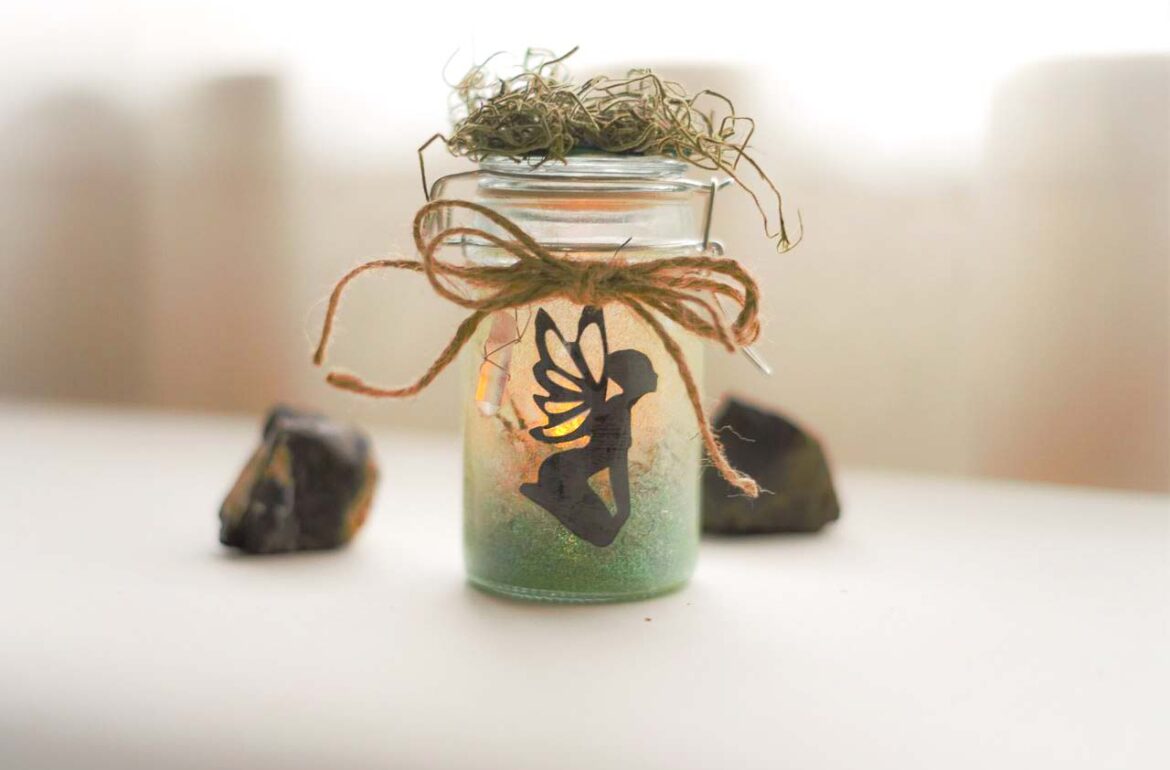
If you don’t already believe in fairies, you will after you make this magical DIY Fairy Lantern! When the lights are low, it’s positively mesmerizing. It makes a delightful night light or patio luminary. Or, use it as a guiding light to hunt for those mysterious pixies in your backyard.
Click here to download our free Fairy Lantern template for easy crafting!
Step 1: After collecting all of your materials, coat the Mason jar with an even amount of Mod Podge, making sure your strokes are in the same direction. Let it dry for a couple of minutes, then add a second layer of Mod Podge and let it dry.

Step 2: Use our fairy silhouette or one you’ve found and print it out. Cut the silhouette with scissors or an Exacto knife.

Step 3: Carefully place the fairy into the jar. Use the Mod Podge to securely attach the fairy to the inside of the jar. Be very gentle with this part sothe fairy doesn’trip.

Step 4: Add Mod Podge evenly around the entire jar, then add sparkles. Close the jar and give it a little shake so all the sparkles spread evenly.

Step 5: Make a circle for the lid of your jar with the felt (or cardboard) and cut it out so that it fits nicely on top.
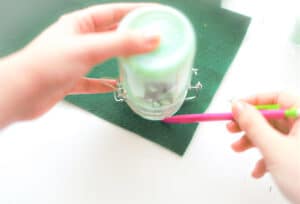
Step 6: Hot glue some artificial moss onto the felt until evenly covered. Then glue the felt to the lid of the jar.

Step 7: Add a bit of the artificial moss into the jar, then place the LED tea light inside.

Step 8: Add some finishing touches such as twine and crystals to complete your mystical fairy lantern!


Need some Happy Mail? Join our mailing list to stay updated on the latest Dragonfly Designs news, latest offerings, and special promotions!
© 2025 Dragonfly Designs. All Rights Reserved | Proud to be a Woman-Owned Small Business

Join our mailing list today and also receive a FREE, beautifully illustrated coloring e-book. Time to unlease your creativity!