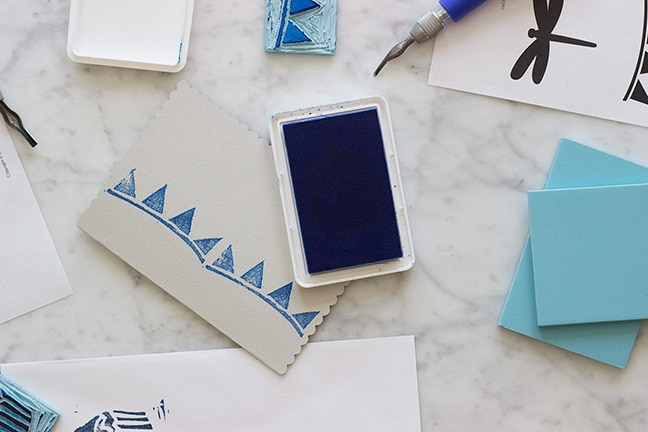
Have you ever gotten a great idea, been totally stoked on that idea, and then went to execute it and found out you might not know how to get your vision to come to life? Us too! Isn’t that the classic struggle of an artist, though? One of the things we’ve noticed in our classes, camps, and parties, is that there’s one activity, in particular, that seems so easy and effortless, exciting and straightforward, and yet can suddenly be wildly frustrating. I’m talking about the art of creating and using stamps!
We personally love our stamping parties because guests learn a new skill and they figure out how to create something that can be used for creative endeavors long after the party. We obviously can’t be everywhere all the time, and carving and using stamps is something that is much easier to learn with a little bit of direction! In order to eliminate this in-person need, we decided to harness the direction we’d give in person to a DIY kit. By following a few easy instructions partygoers will now be able to create stamps that can be used to make beautiful cards that can be used for birthdays, weddings, showers, holidays, etc.
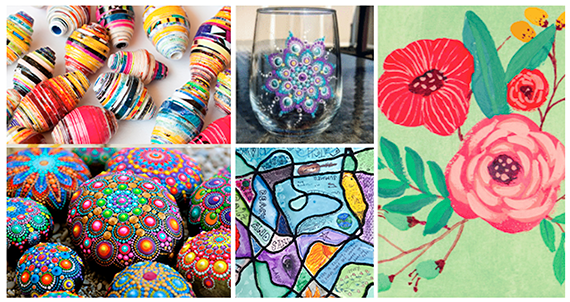
Stamps, realistically, can be used for anything. Cards are only a single option — stamps are great to use on simple wood projects (a painted frame, perhaps?), on scrapbooking, and for adding a little pizazz to your journaling. These, of course, are merely a few examples of how our staff here use stamps in their daily lives. Furthermore, stamps can be used on their own for a pretty minimalistic look, or you can add some art pens for writing text, scissors for making cutouts, and glitter or beads for partygoers to add their own flourish to the cards.
We include pre-folded cardstock for cards in this kit, but don’t be afraid to use them as a launching point and let your creativity run wild! The cards themselves are enough to get guests excited about stamping, but for longer parties, recycled paper bags or butcher paper (or whatever long and sturdy paper you have at your disposal), can be used to create stamped wrapping paper, or try stamping t-shirts or tea towels using stamp pads made for fabric. (Yes, there’s a difference in stamp types!)
Stamping is fun and easy, but carving a stamp yourself takes a little bit of guidance and effort. Carving stamps is a project that requires patience and dedication — hack at it too fast, and you’re going to be pretty frustrated with yourself! Carve too slow and meticulously and you’ll be halfway through your stamp by the time the party ends! If you’re doing this on your own time for yourself, take as long as you like, of course. There is truly an art to stamp carving, and our goal is to teach it to you and help you and your friends get into a rhythm that works for you! With stamp carving, you will need to use pretty sharp blades. Because of this, we typically recommend a stamping party (where stamps are being carved) for kids ten years and older, but stamping is fun for adults too! Get the ladies together for a stamping and wine party (may we recommend calling it a stamp and shmooze?), or gather the whole family for a holiday activity when everyone is in town (coco and carving, anyone?)!
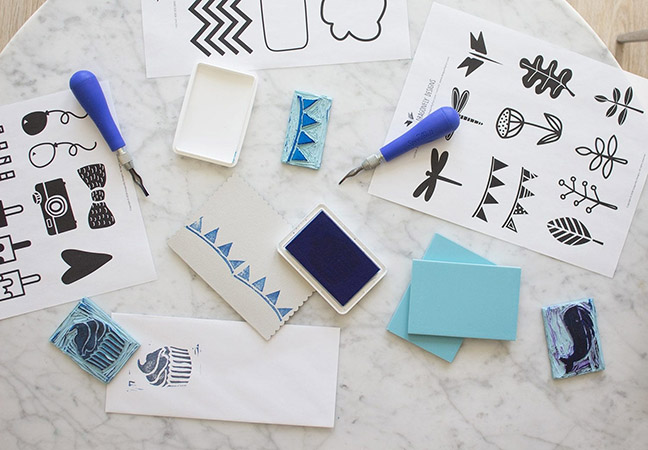
To host a stamping party you’ll need: rubber stamps, carving tools, stamp pads, and a few common supplies like scissors and a pencil. In order to help preserve your sanity and answer a lot of the questions around stamping, we now have it so you can purchase a Stamping Kit which includes professional-quality stamping supplies on our website here.
Below are the instructions for making stamps. Although there are a few steps involved, after your first stamp you’ll likely get the hang of it and may not even need to refer back to the instructions. For the stamping beginners, we recommend choosing a simple stencil before moving on to detailed ones with lots of cutouts. (We’re not kidding here, folks. Keep it simple!)
To help spark creativity, we’ve created dozens of free stamp stencils in a variety of designs.
Supplies:
Skip the craft store and get the materials you need to create stamps at home here.
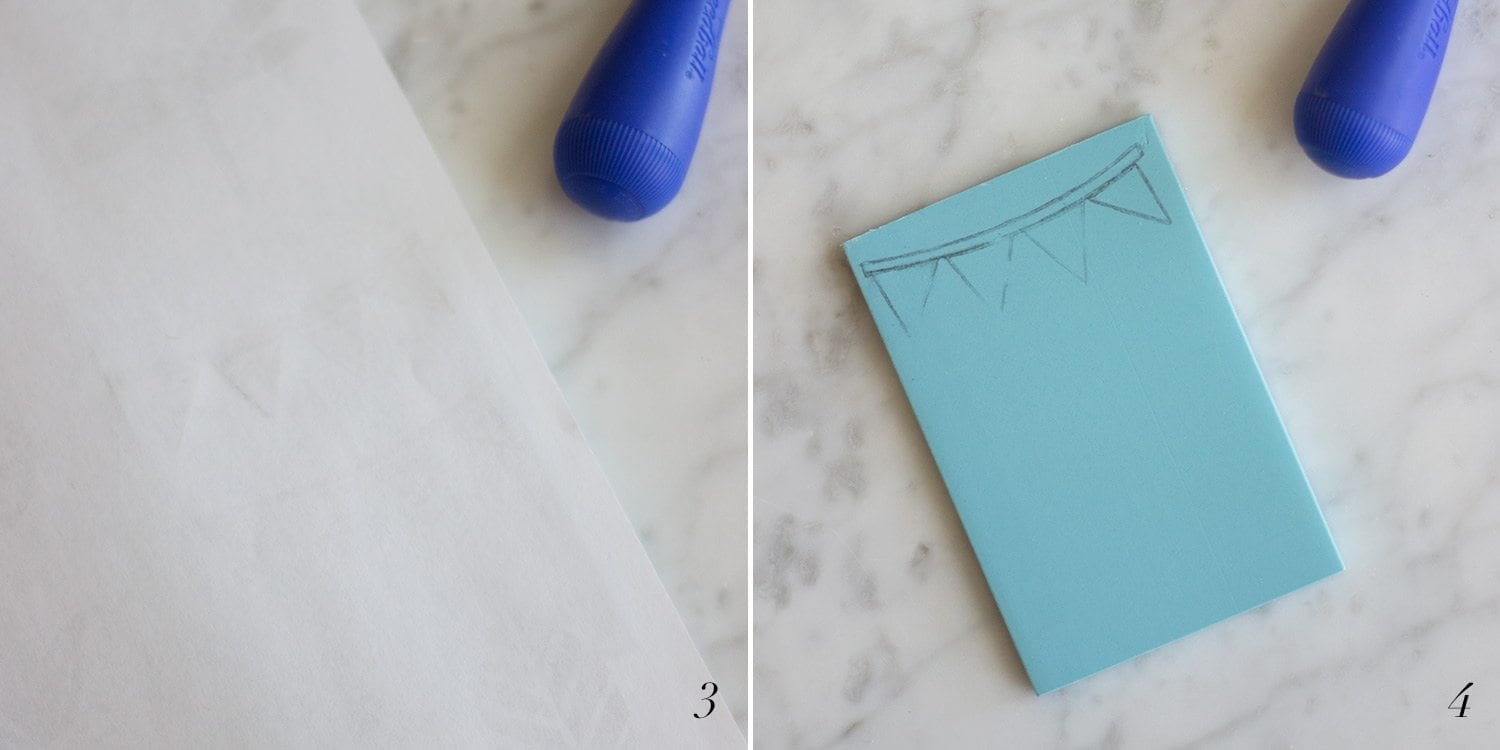
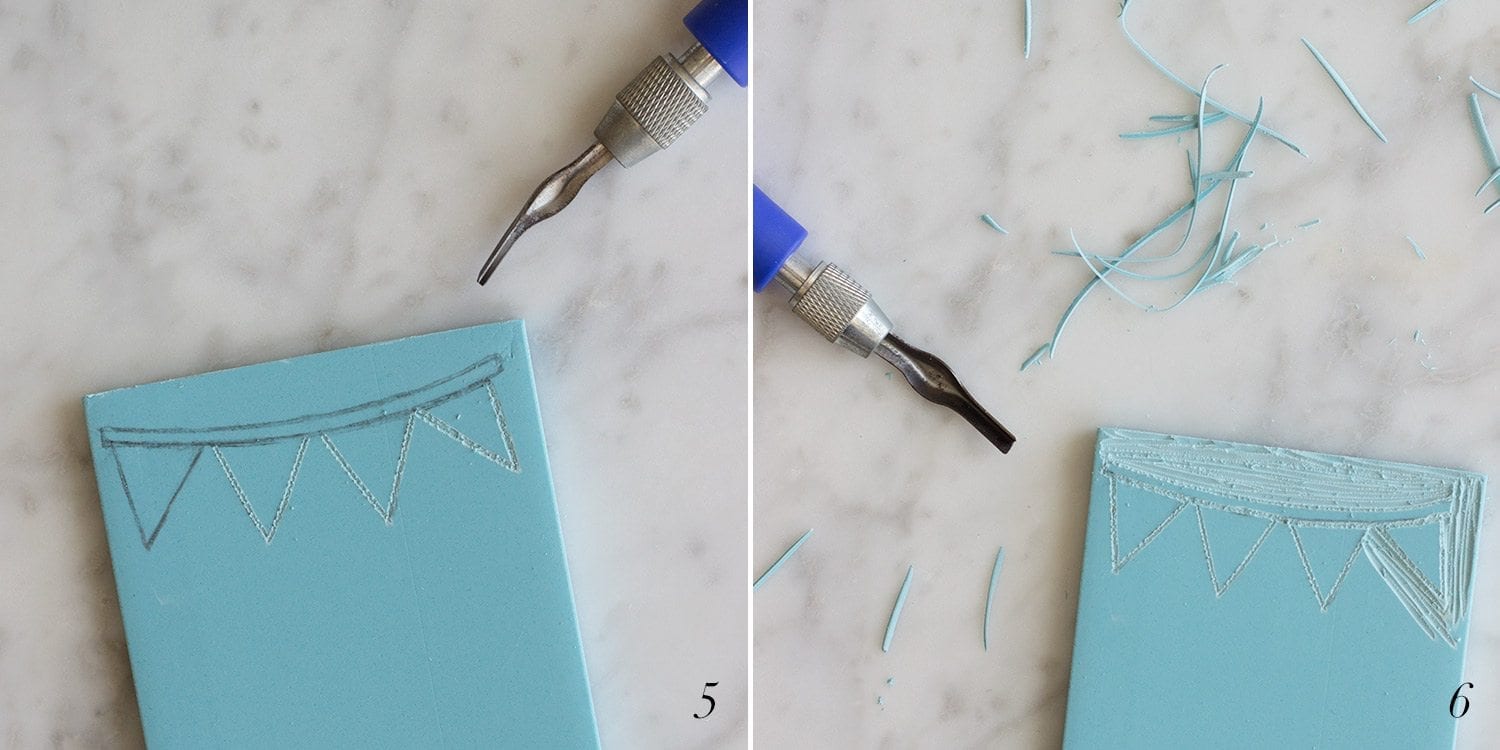
Steps: (Correspond with each image below)