Are you ready to add a splash of color to your wardrobe or home decor? Look no further than the captivating world of tie dye! In this step-by-step guide, we’ll explore the mesmerizing ice dyeing technique that will leave you with stunning, one-of-a-kind creations. But before we dive into the colorful process, let’s dip our toes into a bit of tie dye history!
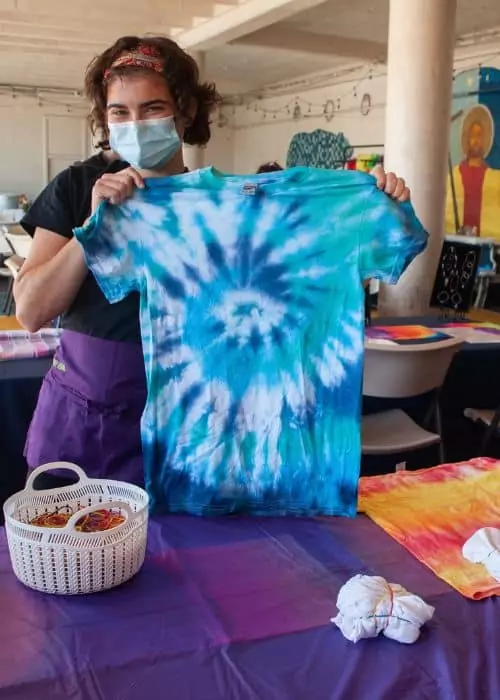
Tie dye isn’t just a trend; it’s a timeless art form that dates back centuries. Originating in ancient civilizations such as China and India, tie dye gained popularity in the 1960s during the counterculture movement. It became synonymous with freedom, expression, and individuality. Today, tie dye continues to inspire creativity and self-expression across the globe.
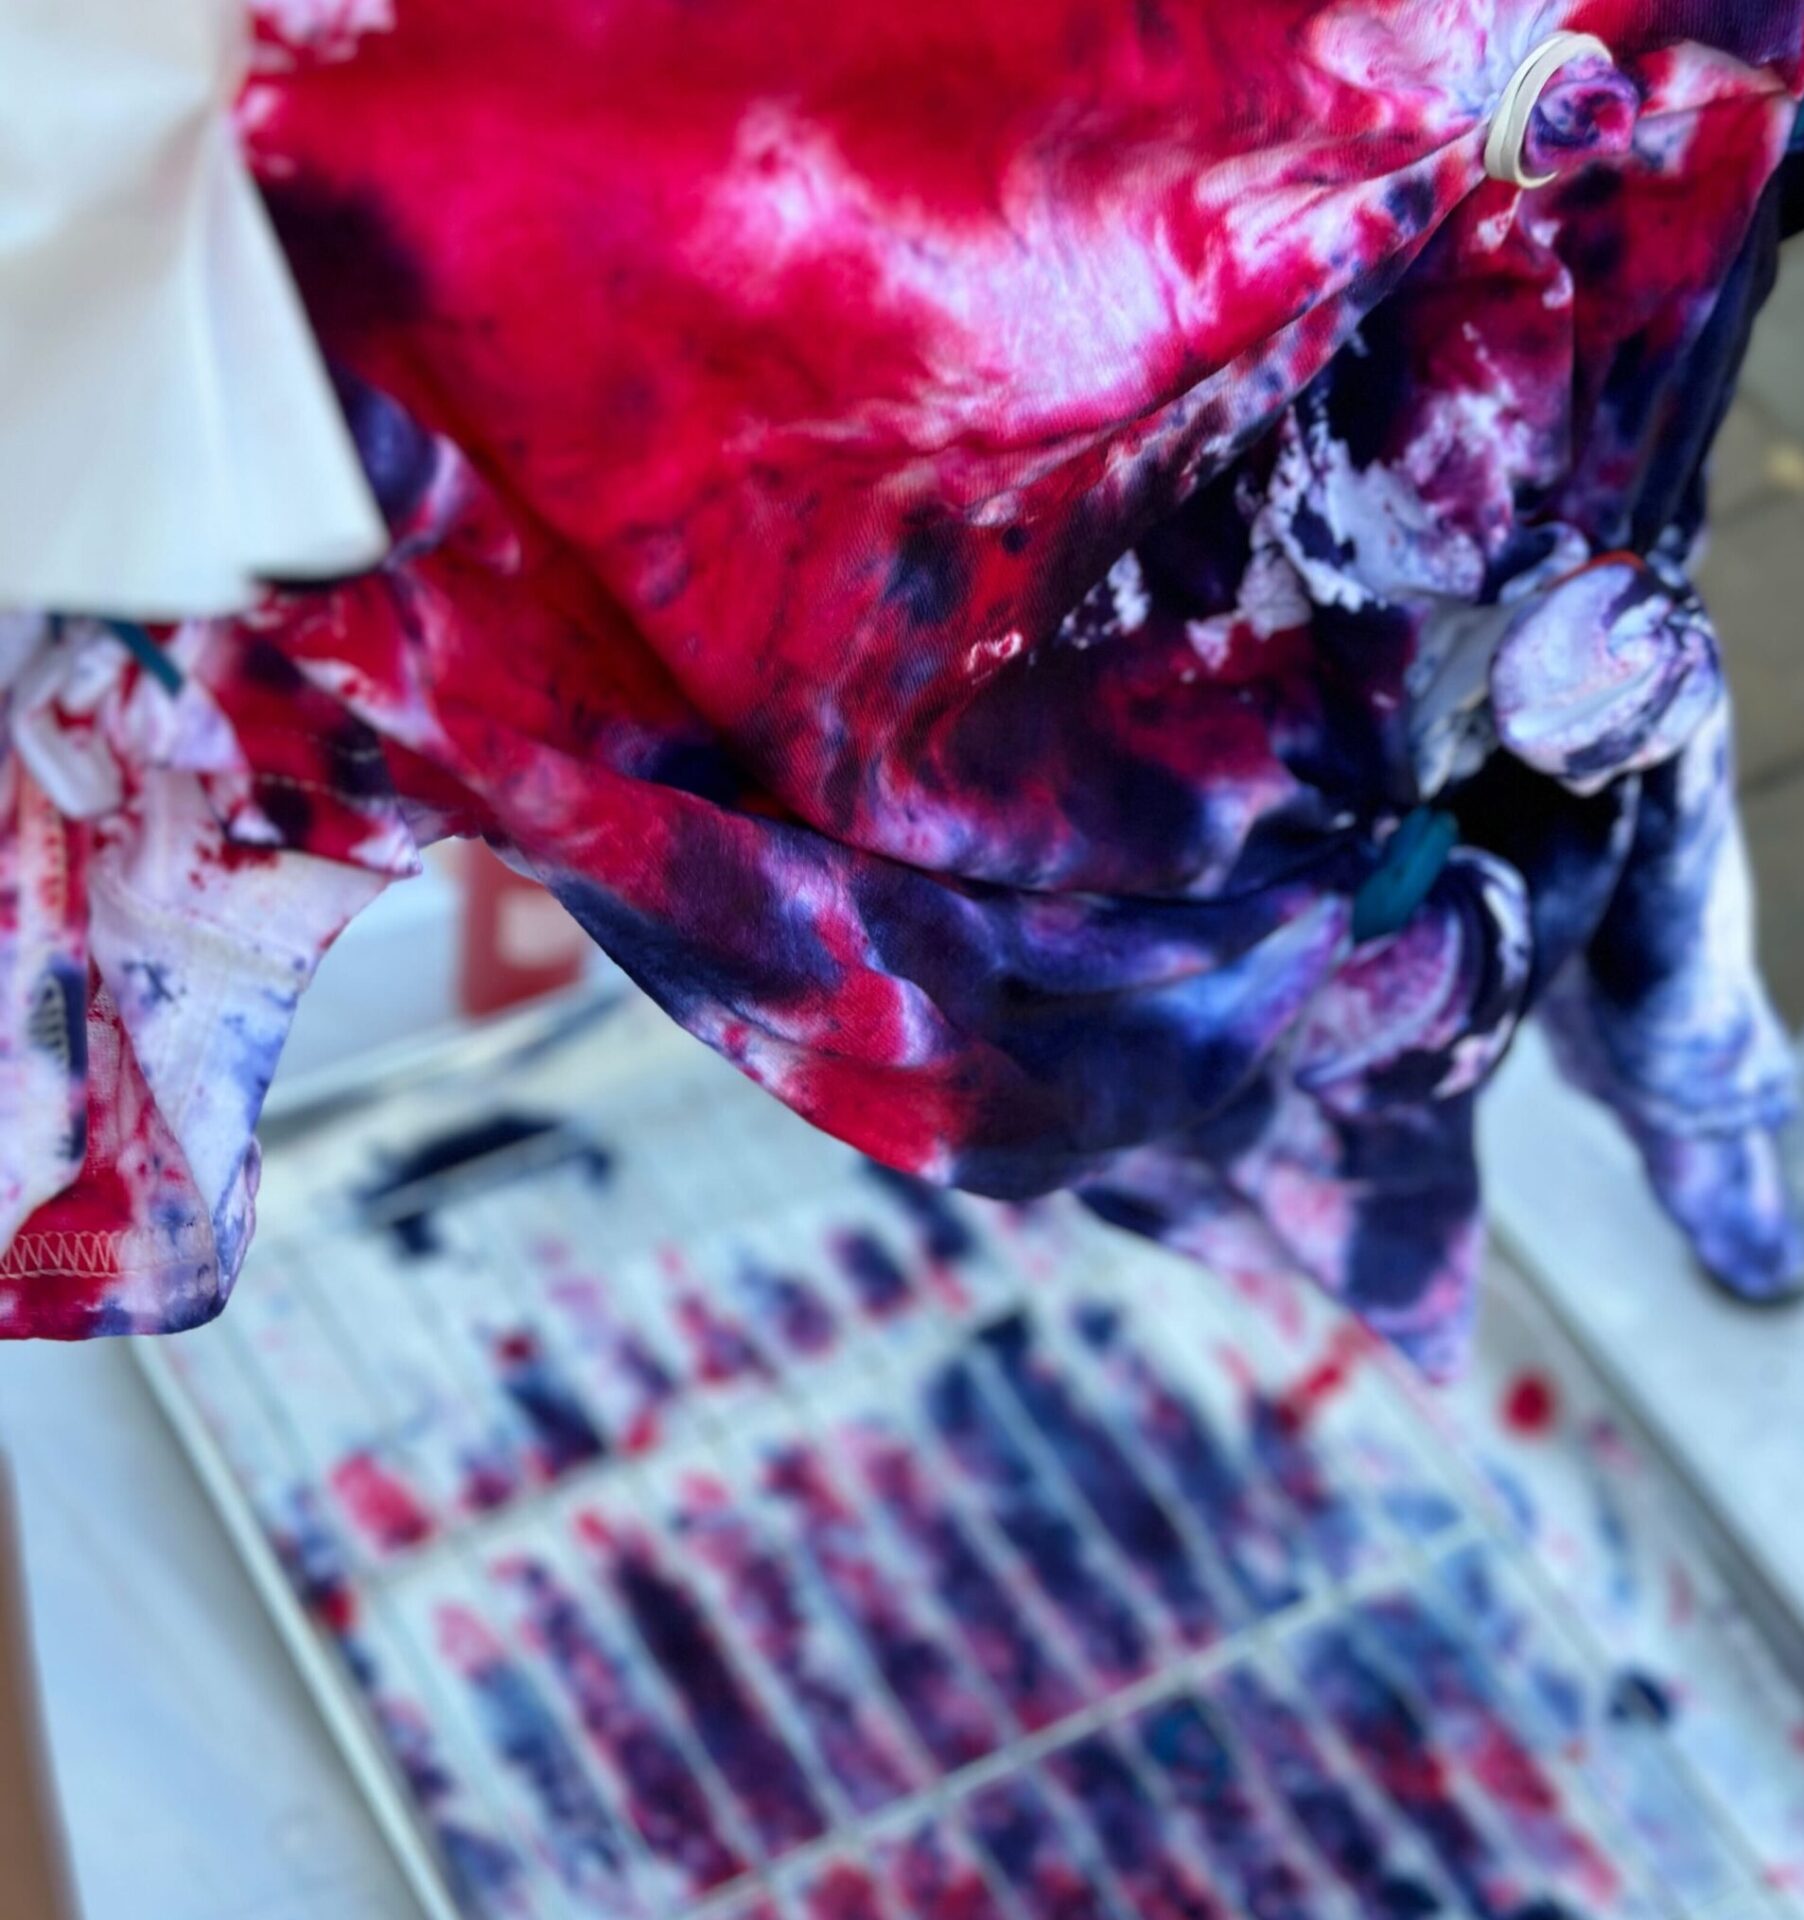
Ice dyeing is a modern twist on traditional tie dye methods. Instead of using liquid dyes, ice dyeing involves sprinkling powdered dye onto fabric-covered ice, allowing the colors to gradually melt and blend, creating beautiful, watercolor-like patterns.

At Dragonfly Designs, we’re passionate about art education and experiences. As a small, woman-owned company serving the San Francisco Bay Area and San Diego, we specialize in bringing the joy of tie dye to people of all ages, from 5 to 99! Whether you’re planning a themed party, team-building event, or children’s birthday party, tie dye is a fantastic activity that promotes creativity and camaraderie. Let us help facilitate a tie dye extravaganza at your next event, where fun and vibrant memories await!
So, what are you waiting for? Grab your dye and let’s make a splash with ice dyeing. Happy creating! 🌈✨
Need some Happy Mail? Join our mailing list to stay updated on the latest Dragonfly Designs news, latest offerings, and special promotions!
© 2025 Dragonfly Designs. All Rights Reserved | Proud to be a Woman-Owned Small Business

Join our mailing list today and also receive a FREE, beautifully illustrated coloring e-book. Time to unlease your creativity!