Marble and gold luster have become synonymous with luxury home décor, but their cost can be prohibitive. Luckily, with a few clever techniques, you can achieve these luxe looks for less!
Before we dive into the DIY, it’s worth exploring the beauty of gold luster and why it has become so popular. Gold luster is a decorative accent used in ceramics to create a gold surface. It is made with real gold dissolved in an oil. It usually comes in small 2-gram bottles, which retail at around $55 each.
To apply gold luster, you will paint it on the pottery after it has already been bisque and glaze fired, then fire it a third time at a much lower temperature. For these reasons, gold luster is quite expensive!
The Japanese art of kintsugi has also given way to the popularity of gold luster. Kintsugi, which translates to “golden joinery” is the art of mending broken pottery using resin and metallic dust to highlight the breakage, rather than disguise it. This art has gained recent popularity not only because of its beautiful aesthetic, but because of its philosophical implications – kintsugi embraces the flawed or imperfect.
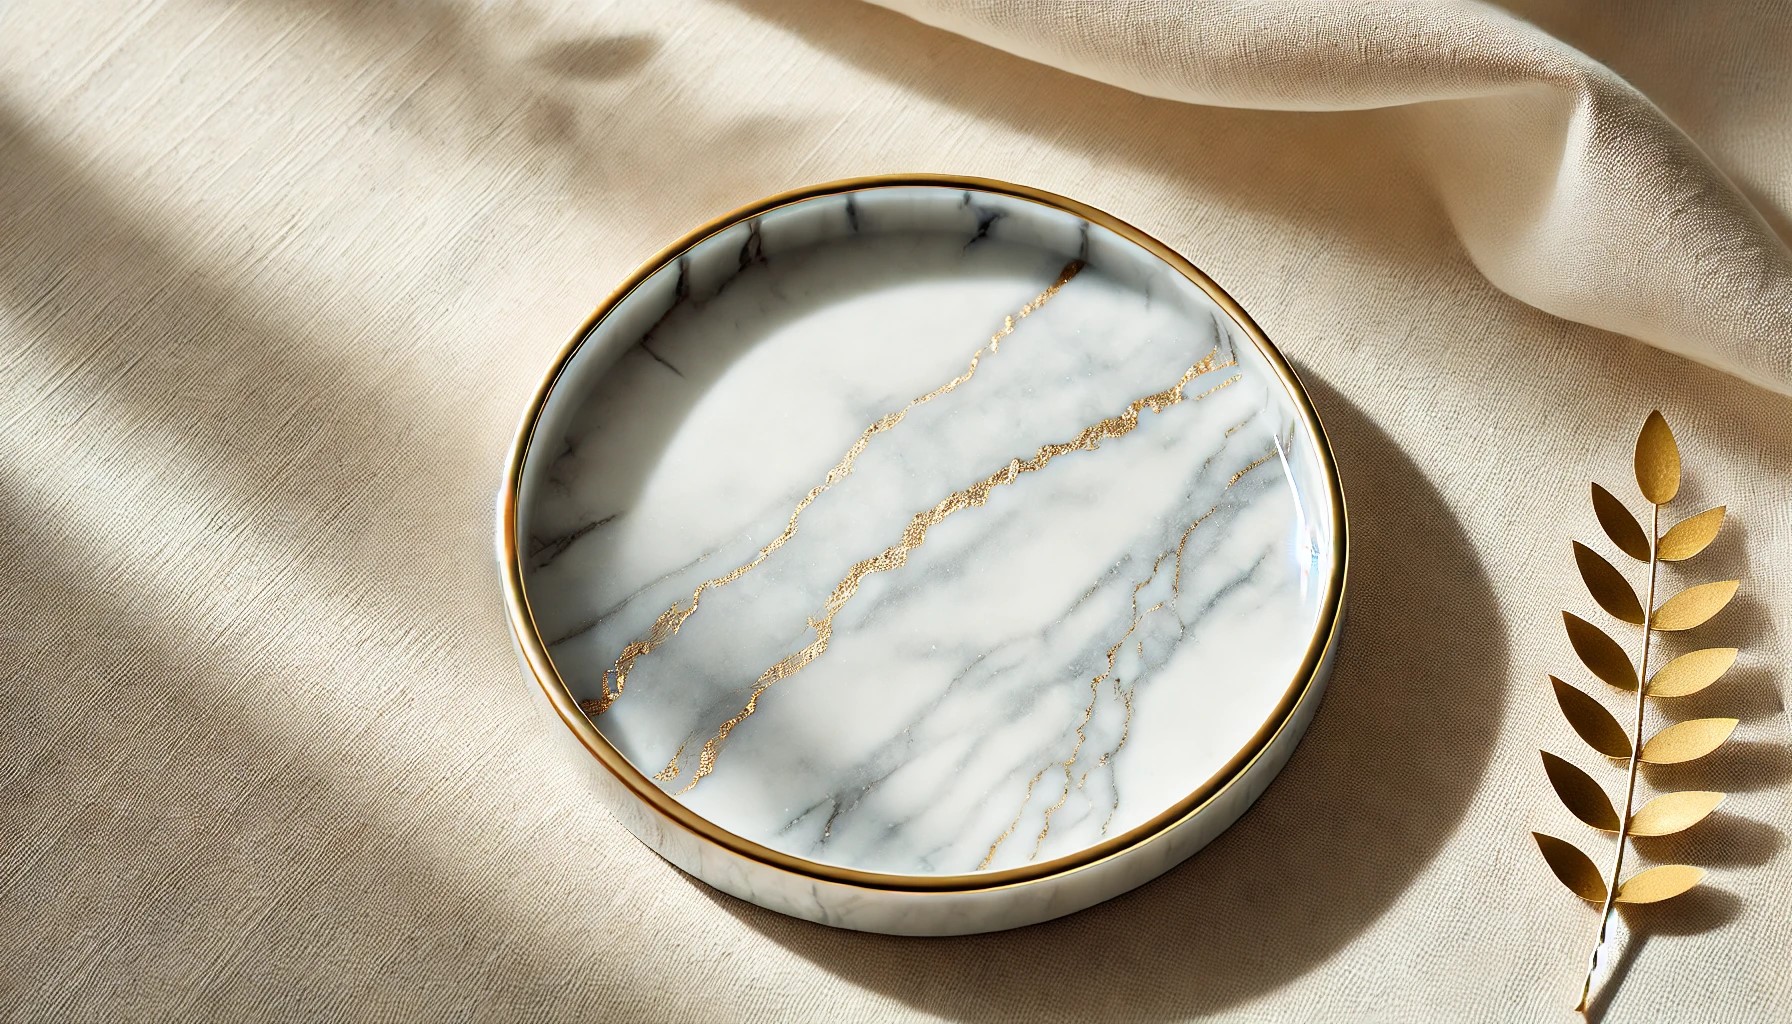
Similarly, marble is known for its timeless elegance, but its price tag reflects the labor-intensive process of mining and preparing this natural stone. With this project, though, you’ll discover how easy it is to imitate the marbled look using polymer clay, giving you a budget-friendly yet equally impressive result.
Now that we’ve covered the appeal of marble and gold luster, let’s move on to creating a faux version that’s simple and cost-effective. Using polymer clay, pastels, and gold nail polish, you’ll be able to craft a chic ring dish that looks like it belongs in a high-end store.
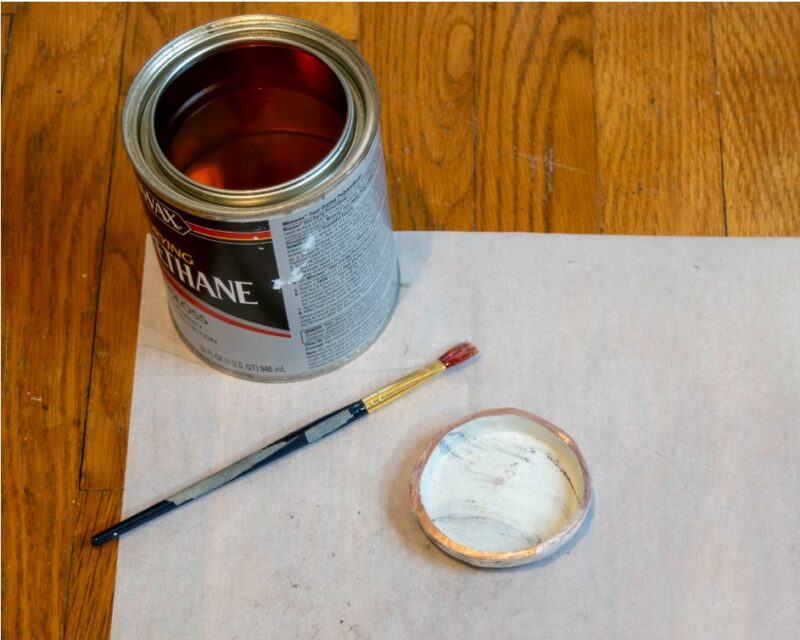
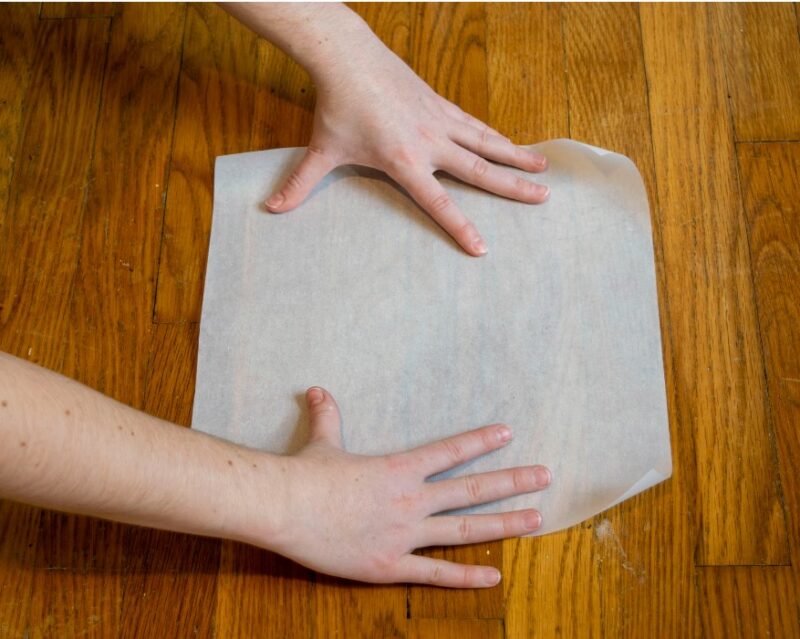
Step 1 (optional): Start by prepping your workspace. While this step is optional, laying out parchment paper will protect your surface and help transfer the clay to the oven later.
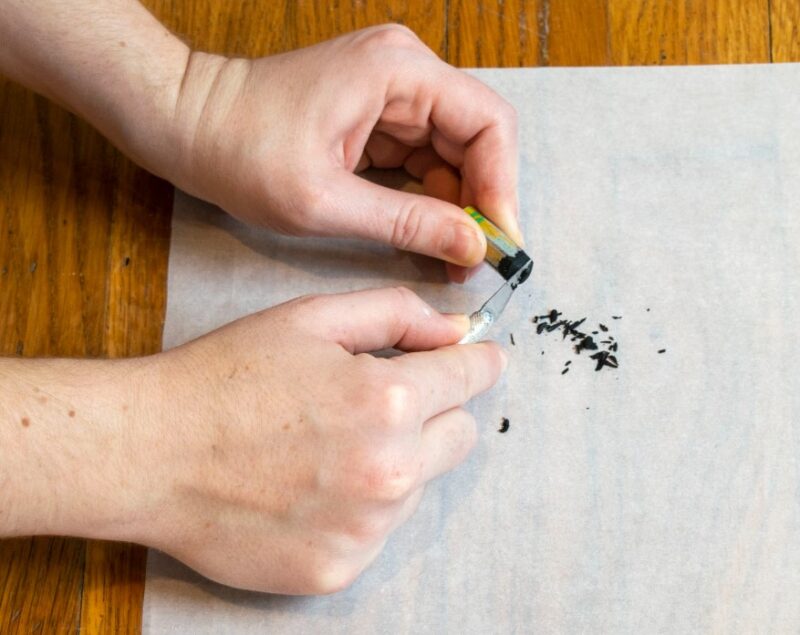
Step 2: Now, let’s dive into marbling the clay! Use a knife to make shavings from a black or gray pastel or crayon and knead the white clay into them.

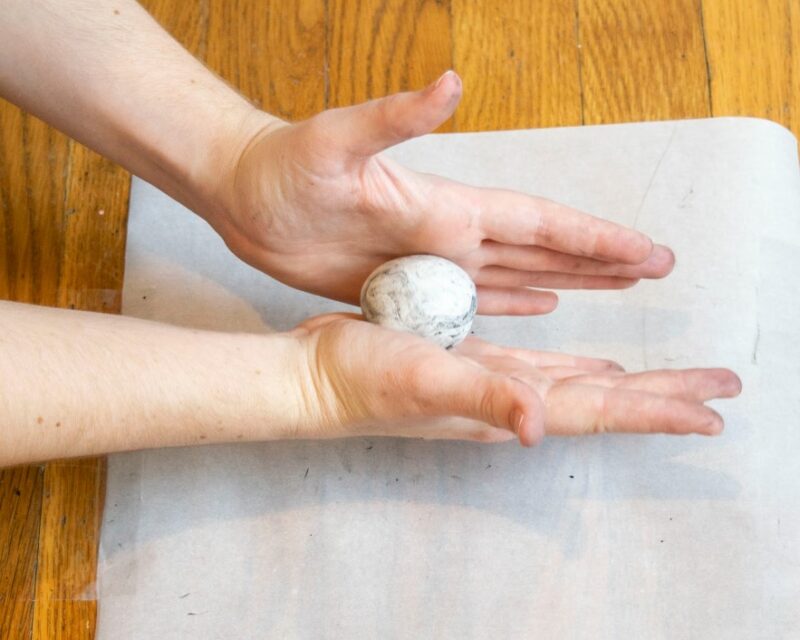
Step 3: Roll your clay into a flat slab about 1/4” thick using a jar or rolling pin.

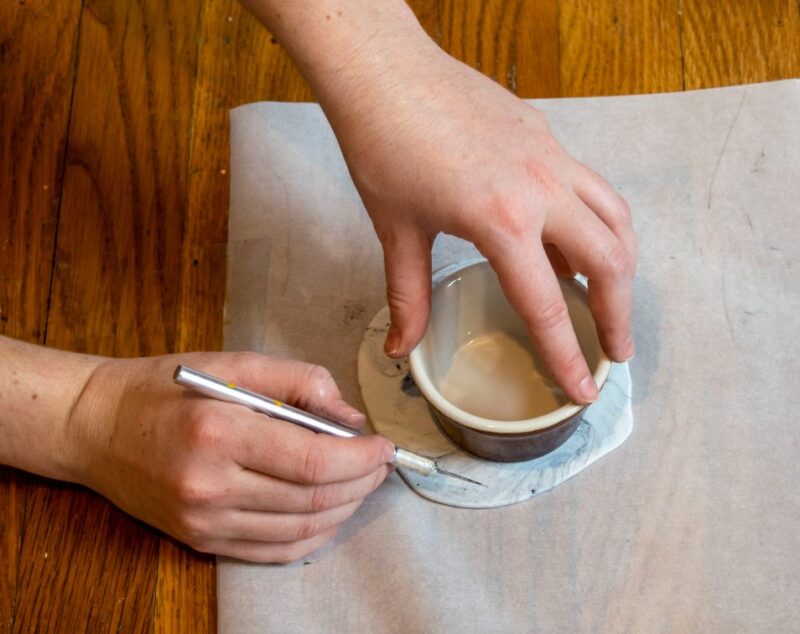
Step 4: Cut out your clay by using an oven-safe cup as a template to cut the shape of your ring dish, being sure to leave more room than you need. You can always cut off any excess, but you can’t add more. Next, shape your clay around the cup to create the ring dish form.
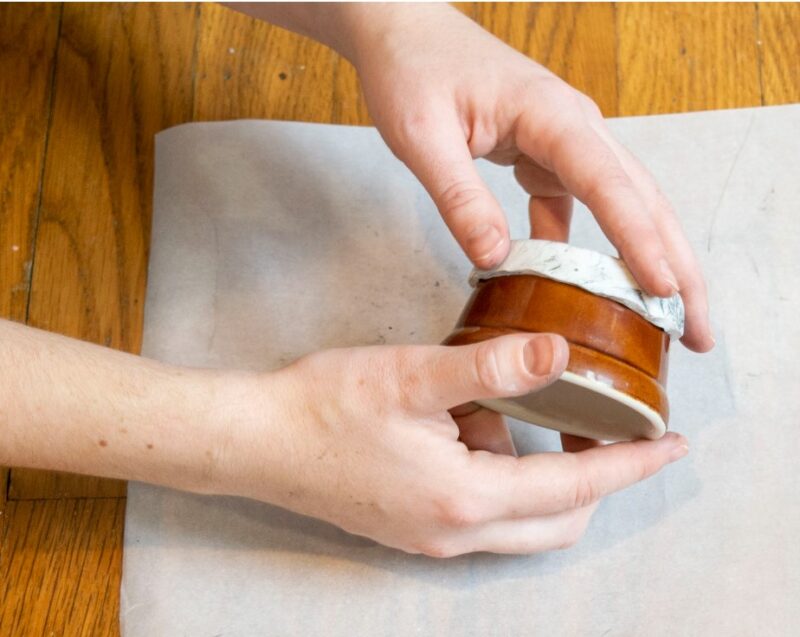
Step 5: Follow the directions on your clay packaging and bake your ring dish, leaving it on the oven-safe cup so that it keeps its shape during baking.

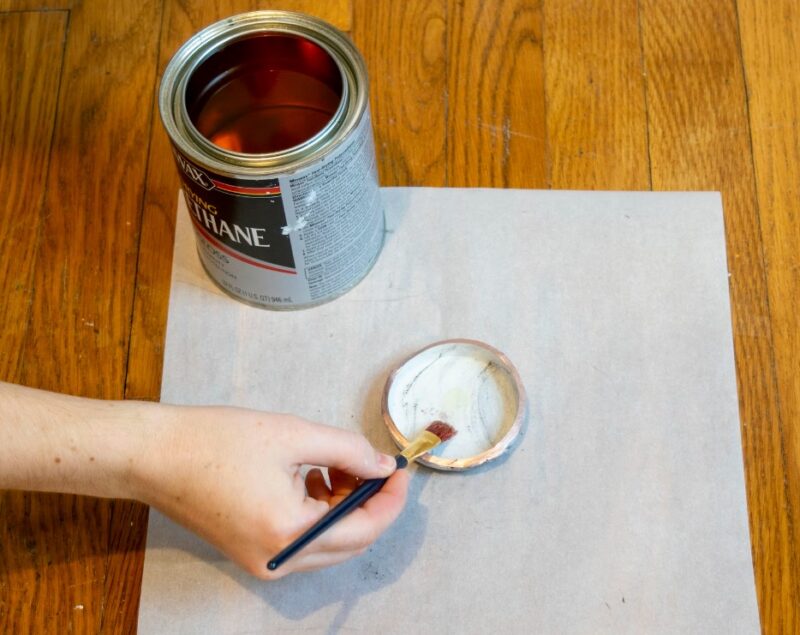
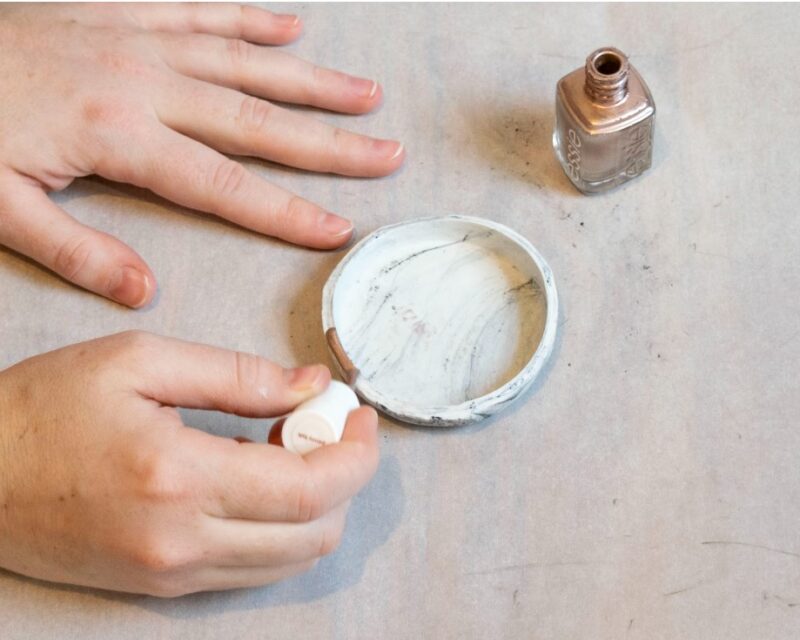
Step 6: Once the clay has cooled, remove it from the cup and paint the rim with gold nail polish to imitate gold luster.
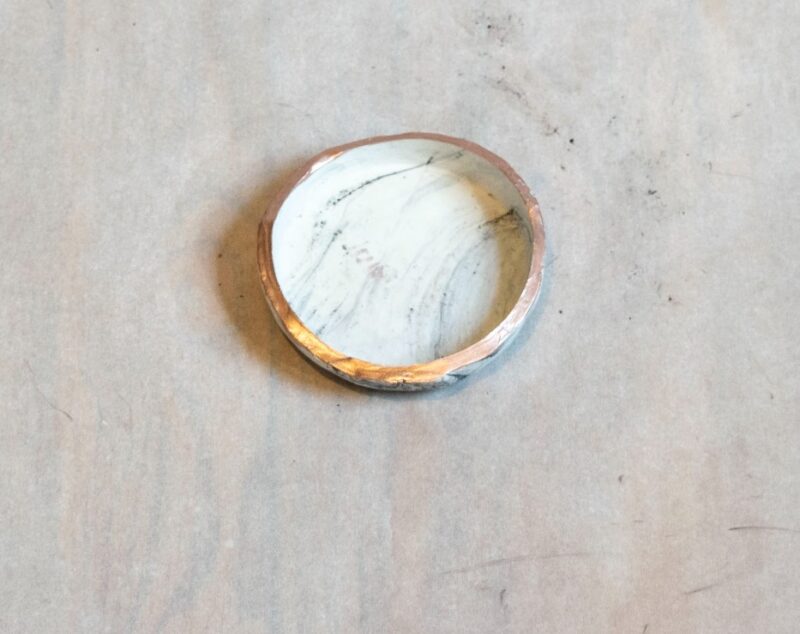
Step 7 (optional): If you want a glossy look, paint a coat of polyurethane or other clear sealant onto the ring dish.