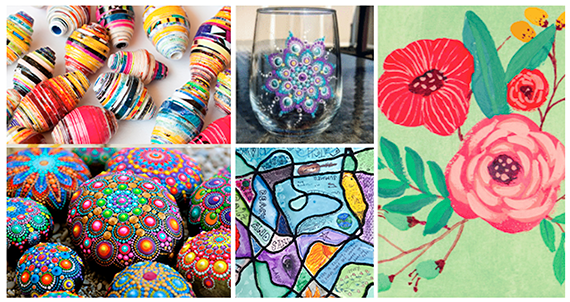
Are you ready to add a splash of color and personality to your wardrobe? Look no further than tie-dying your very own bucket hat! Tie-dye is a beloved craft, offering endless opportunities for creativity and self-expression. Join us as we transform a plain bucket hat into a wearable work of art.
The bucket hat, once considered a niche accessory, has experienced a resurgence in recent years, becoming a staple in streetwear and fashion alike. Originally designed for functionality, with its wide, downward-sloping brim providing protection from the sun and rain, the bucket hat first gained traction in the 1960s and 1970s. Its practical design, coupled with endorsements from celebrities and musicians, propelled it into the spotlight as a must-have accessory. Over the decades, the bucket hat has evolved from its utilitarian roots to become a symbol of coolness and casual style, making it the perfect canvas for tie-dye experimentation.
Before we dive into the tie-dyeing process, let’s explore why certain textiles are better suited for this craft. Natural fibers like cotton, hemp, and rayon are ideal for tie-dyeing due to their absorbent properties and ability to hold vibrant colors. These materials allow the dye to penetrate deeply, resulting in bold and long-lasting designs.
When it comes to tie-dyeing, the possibilities are endless! While the traditional method involves using rubber bands to create intricate patterns, there are other techniques to explore, such as using spray bottles to apply dye. This method offers more control, making it perfect for intricate designs on smaller items like bucket hats.
You’ll need a plain white bucket hat, fabric dye (preferably in vibrant colors), rubber bands, gloves, plastic squeeze bottles or spray bottles, plastic wrap, and a plastic cover or tarp to protect your work surface.
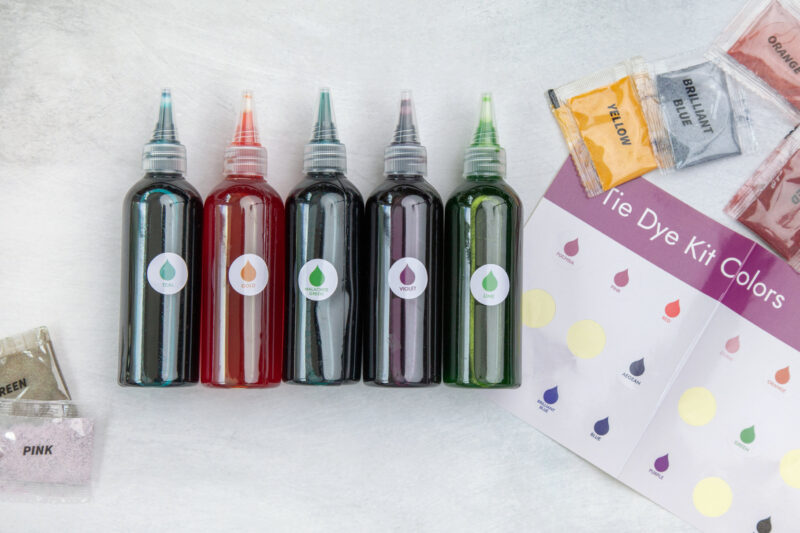
Follow the instructions on your fabric dye packaging to mix the dye with water in squeeze bottles or spray bottles. Remember to wear gloves to protect your hands from staining.
Lay your bucket hat flat on a protected surface. If you’re using the traditional tie-dye method, gather sections of the hat and secure them with rubber bands to create your desired pattern. For a more freeform approach, you can skip this step. If you’re looking for step-by-step pattern instructions, download our handy-dandy tie-dye guide!
Get creative and start applying the dye to your hat! Use different colors and techniques to achieve your desired look. Whether you’re spraying, dripping, or pouring the dye, don’t be afraid to experiment and have fun with it.
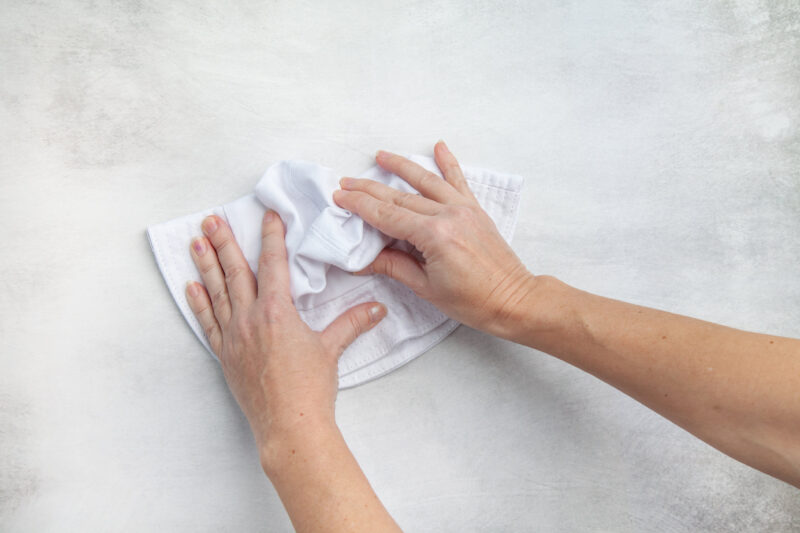
Once you’ve applied the dye, carefully wrap the hat in plastic wrap to keep it moist and let it set for the recommended time specified on your dye packaging. This allows the colors to fully penetrate the fabric.
After the dye has set, rinse the hat under cold water until the water runs clear. Then, wash the hat separately in cold water with a mild detergent to remove any excess dye. Hang it to dry in a well-ventilated area.
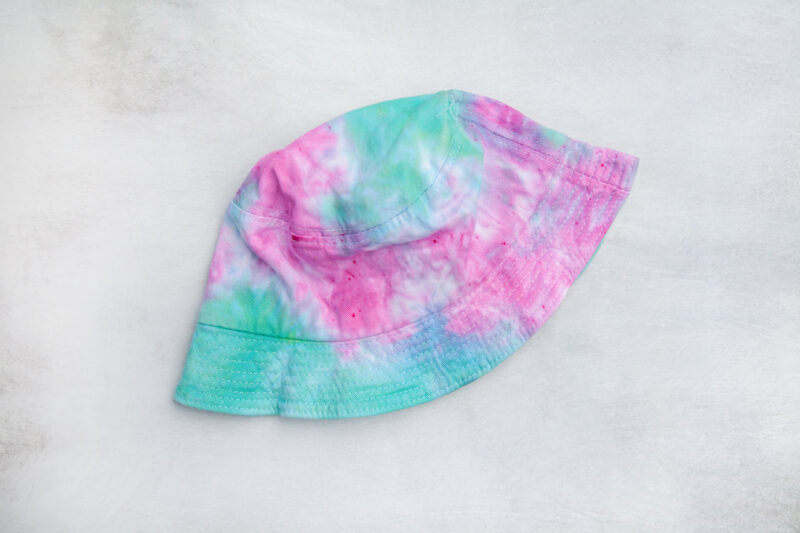
Once your tie-dye bucket hat is dry, it’s ready to wear and show off to the world! Rock your vibrant creation with pride and let your unique style shine.
Looking to dive into the world of tie-dye but not sure where to start? Look no further than Dragonfly Designs! Our curated and tested DIY tie-dye kits come with everything you need to master the art of tie-dyeing, including high-quality dyes and easy-to-follow instructions.