You can’t judge a book by its cover, but you sure can make it pretty! Our DIY Journal project is an intro into the world of bookbinding, a technique going back to the 5th century. Fun Fact: Before books, Romans wrote on wax tablets and then scratched off the text to use again. You could say it was an ancient white board! With just a few supplies and basic sewing skills, you can create personalized journals for yourself, family and friends. A great way to upcycle leftover scrapbook or construction paper and craft embellishments.
-Scissors
-Card Stock or other sturdy paper (same size as your book pages)
-Pencil & Eraser
-Medium-Thickness Thread
-Sturdy Needle
-Glue Stick
-Assorted Paper for pages (wrapping paper, newspaper, old book pages, magazines, binder paper, construction paper, old sheet music) Pro Tip: Don’t use more than 5 pages, or else it will be too difficult to stitch through and your binding will weaken
-Sustainability opportunity! Use paper that would have otherwise been thrown away to become pages in your new book.
Optional Decorations (use whatever strikes your fancy):
-Stickers
-Ribbon
-Stamps
-Pressed Flowers/leaves
-Washi Tape
-Fairy Dust
-Beads
Is it important to use waxed thread for bookbinding?
Waxed thread does have advantages. It holds together nicely, making it easier to thread through a needle. It also sticks to itself and binds when a knot is tied, making the knot more secure and the trimmed ends less likely to fray. However, if you don’t have any on hand and you’re in a bookbinding mood, I have found that regular thread does not create any serious disadvantage. I use embroidery floss often, and really any sturdy and strong thread will work just as well as waxed thread.
What is paper grain?
Paper grain is the direction in which the fibers of a sheet of paper lie. Depending on the type of paper you have, this can be very difficult or easy to find. However, with most paper you will find that bending the paper is a lot easier in one direction than the other. This is the direction of the grain. I always mark the direction of the grain with a little arrow if I am making a hardcover book in order to keep track as I’m working.
Why is paper grain important?
It is important when gluing sheets of paper together, or even paper and book board, that the grains go in the same direction. Otherwise, the board and paper will begin to warp with the moisture from the glue, and you will end up with a bent cover.
Step 1
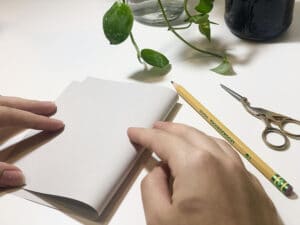
Start by gathering all the paper you are going to use for your inside pages. Fold each page in half. Make sure your crease is nice and neat.
Step 2
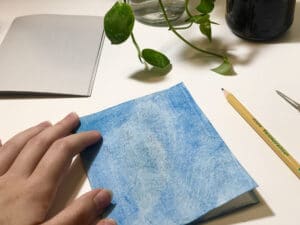
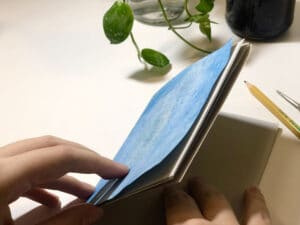
Choose your cover material. This could be a blank sheet of cardstock, colored construction paper, etc. It should be the same size as your inside pages. Fold it in half just like you did with your pages. Crease down the fold nicely.
Step 3
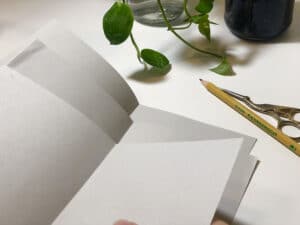
Layer your pages into each other so that they form one packet with the cover on the outside.
Step 4
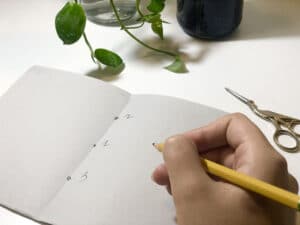
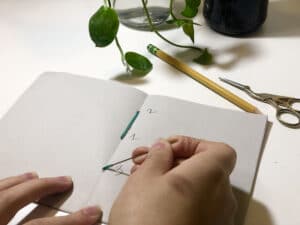
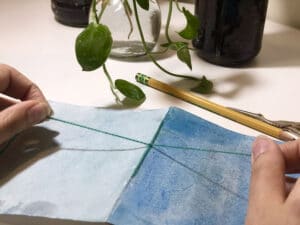
Mark three dots on the inside fold of the middle page of your packet. These are called stations. Space them evenly apart from each other. These are the points where you will sew through.

Step 5
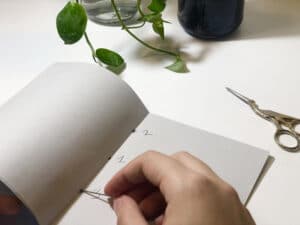
Label your stations 1 to 3 to help keep track later. 1 =the middle station, 2 =the head of your book, and 3 =the tail.
Step 6
Poke through all of your pages and cover at the places where you marked your stations with your needle. This will be a helpful guide and make sewing easier later. It may be challenging to push through, depending on how much paper you have. If you are having difficulty, poke through the pages in batches rather than all at once. Be careful not to have your hand where the needle comes out!
Step 7
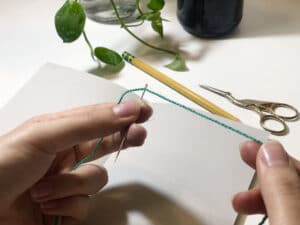
Thread your needle. You don’t need a knot at the end, just make sure you have a fair amount of excess thread. Your thread should be approximately 3x the length of your book.
Step 8
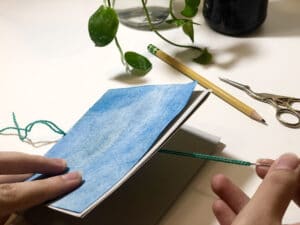
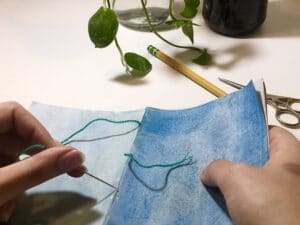
Start sewing from the back where your cover is. Stitch through station 1 from the cover side to the inside. Leave quite a bit of thread left over at the end.
Step 9
Stitch through from the inside to the outside from station 1 through station 2. You should now have one stitch on the inside of your book, your needle should be coming out of the cover side, and there should be a tail trailing from the middle of the cover side.
Step 10
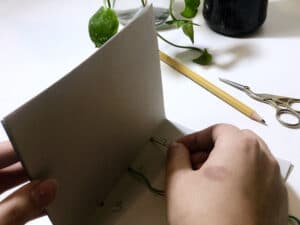
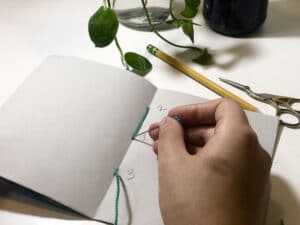
Bring your thread from station two, cross over station 1 and stitch back to the inside of the book from station 3. You should now have one big stitch on the cover side, and your needle should be on the inside of the book where there is one small stitch.
Step 11
Stitch from the inside to the outside back through station 1. You will now have two small stitches on the inside, one large on the cover side, and your needle and tail should be on the outside.
Step 12
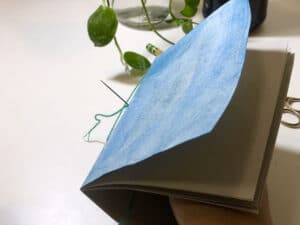
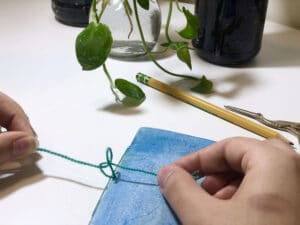
Bring your tail to one side of your large stitch, and your extra thread with your needle to the other. Tie a knot over the stitch. Double knot it just to be safe. Trim excess thread but still leave some extra.
Step 13
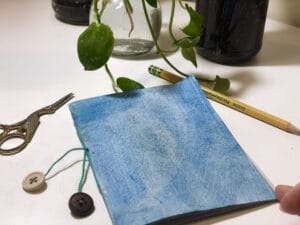
Tie on whatever decorations you like to the extra string you have. These could be beads, feathers, pom poms, etc. We used buttons.
Step 14
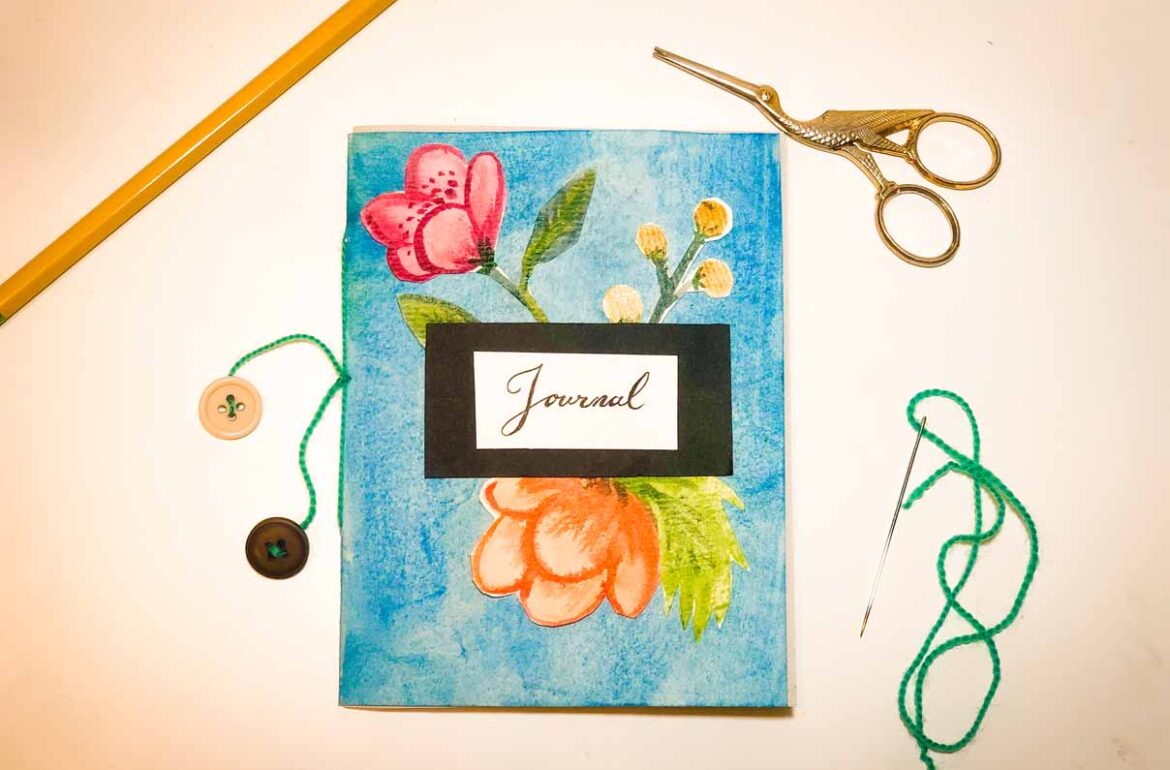
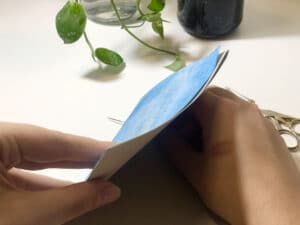
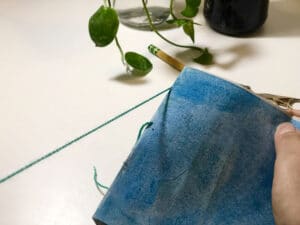
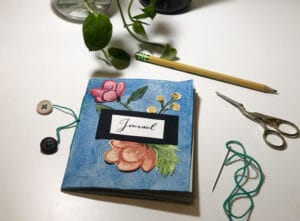
Decorate the cover and get creative. Stamps are a great way to decorate the cover, as well as pressed flowers or leaves. We painted some watercolor flowers, glued them on, and added a label.
Step 15
Time to fill up your journal! Jot down your thoughts and ideas, memories, great movie quotes, recipes for potions, or whatever else you dream up!.
Let your imagination fly off the page! Be sure to make extra journals so you always have one on hand. Turn into a sweet handmade gift by including a pen and a bookmark! If you are in the creative zone and want more DIY, visit our blog for dozens of free tutorials! Our Beaded Boomark DIY Kit is the perfect companion to this journal.