There’s something magical about putting pen to paper—and even more so when the journal itself is something you made by hand. Our DIY Journal project is a creative introduction to the timeless art of bookbinding, using just a few simple tools and your imagination.
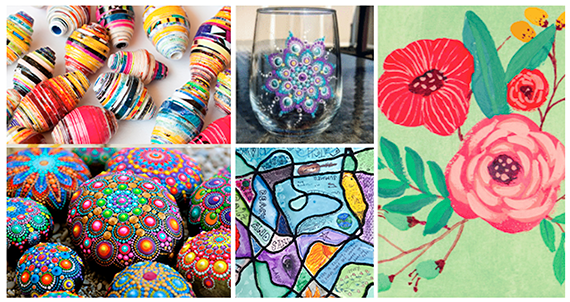
This hands-on craft is perfect for kids and adults alike, whether you’re looking for a screen-free afternoon, a thoughtful handmade gift, or a way to repurpose old paper into something beautiful. Plus, it’s an amazing opportunity to teach sustainability and spark creativity through design, color, and personal expression.
Fun fact: Bookbinding dates all the way back to the 5th century—and today, you’re adding your own chapter to that story!
Optional Decorations (use whatever strikes your fancy):
Is it important to use waxed thread for bookbinding?
Waxed thread does have advantages. It holds together nicely, making it easier to thread through a needle. It also sticks to itself and binds when a knot is tied, making the knot more secure and the trimmed ends less likely to fray. However, if you don’t have any on hand and you’re in a bookbinding mood, I have found that regular thread does not create any serious disadvantage. I use embroidery floss often, and really any sturdy and strong thread will work just as well as waxed thread.
What is paper grain?
Paper grain is the direction in which the fibers of a sheet of paper lie. Depending on the type of paper you have, this can be very difficult or easy to find. However, with most paper, you will find that bending the paper is a lot easier in one direction than the other. This is the direction of the grain. I always mark the direction of the grain with a small arrow when making a hardcover book, to keep track as I work.
Why is paper grain important?
It is important when gluing sheets of paper together, or even paper and book board, that the grains run in the same direction. Otherwise, the board and paper will begin to warp with the moisture from the glue, and you will end up with a bent cover.
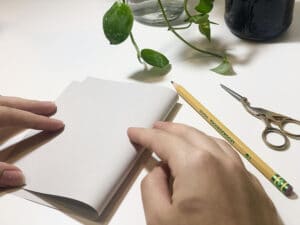
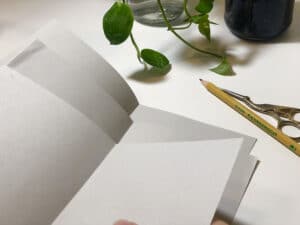
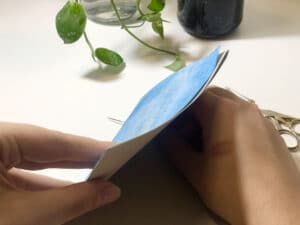
Step 1: Gather all the paper you will use for your inside pages. Fold each page in half. Ensure your crease is neat and tidy.
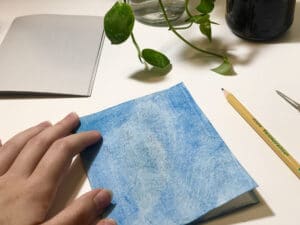
Step 2: Choose your cover material. This could be a blank sheet of cardstock, colored construction paper, or similar materials. It should be the same size as your inside pages. Fold it in half just like you did with your pages. Crease down the fold nicely.
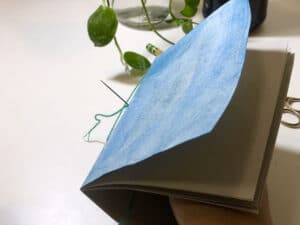
Step 3: Layer your pages on top of each other so that they form one packet with the cover on the outside.
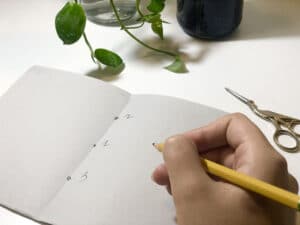
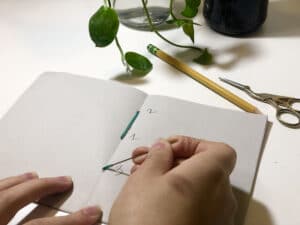
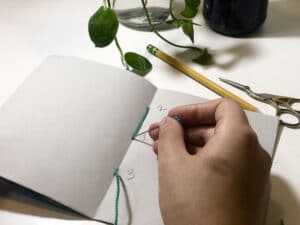
Step 4: Mark three dots on the inside fold of the middle page of your packet. These are called stations. Space them evenly apart from each other. These are the points where you will sew through.

Step 5: Label your stations 1 to 3 to help keep track later. 1 =the middle station, 2 =the head of your book, and 3 =the tail.
Step 6: Poke through all of your pages and cover at the places where you marked your stations with your needle. This will be a helpful guide and make sewing easier later. It may be challenging to push through, depending on the amount of paper you have. If you are having difficulty, poke through the pages in batches rather than all at once. Be careful not to have your hand where the needle comes out!
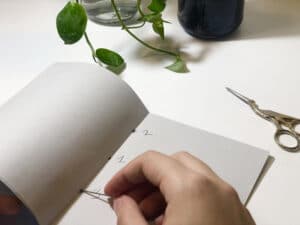
Step 7: Thread your needle. You don’t need a knot at the end, just make sure you have a fair amount of excess thread. Your thread should be approximately 3x the length of your book.
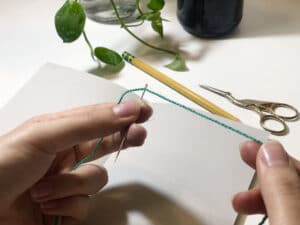
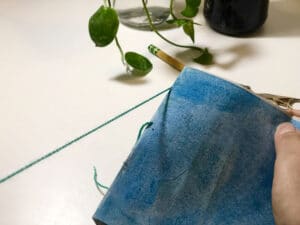
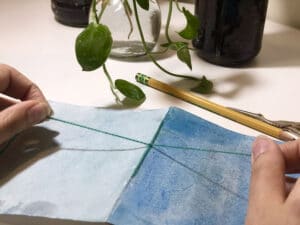
Step 8: Start sewing from the back where your cover is. Stitch through station 1 from the cover side to the inside. Leave quite a bit of thread left over at the end.
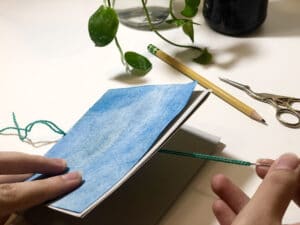
Step 9: Stitch through from the inside to the outside from station 1 through station 2. You should now have one stitch on the inside of your book, your needle should be coming out of the cover side, and there should be a tail trailing from the middle of the cover side.
Step 10: Bring your thread from station two, cross over station 1, and stitch back to the inside of the book from station 3. You should now have one big stitch on the cover side, and your needle should be on the inside of the book where there is one small stitch.
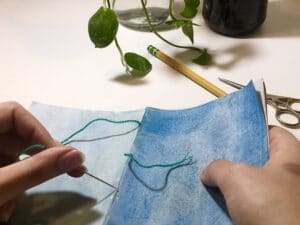
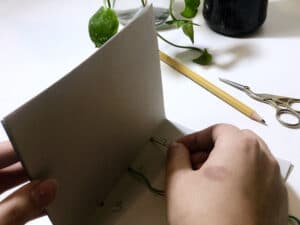
Step 11: Stitch from the inside to the outside back through station 1. You will now have two small stitches on the inside, one large on the cover side, and your needle and tail should be on the outside.
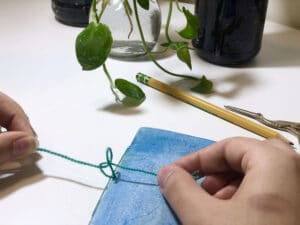
Step 12: Bring your tail to one side of your large stitch, and your extra thread with your needle to the other. Tie a knot over the stitch. Double knot it just to be safe. Trim the excess thread, but leave some extra.
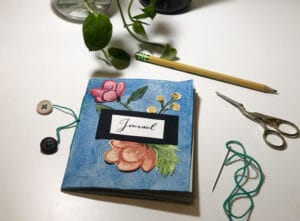
Step 13: Attach your desired decorations to the extra string. These could include beads, feathers, pom-poms, and so on. We used buttons.
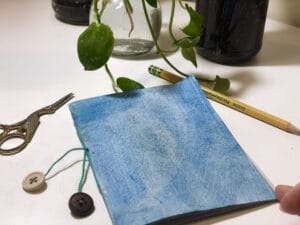
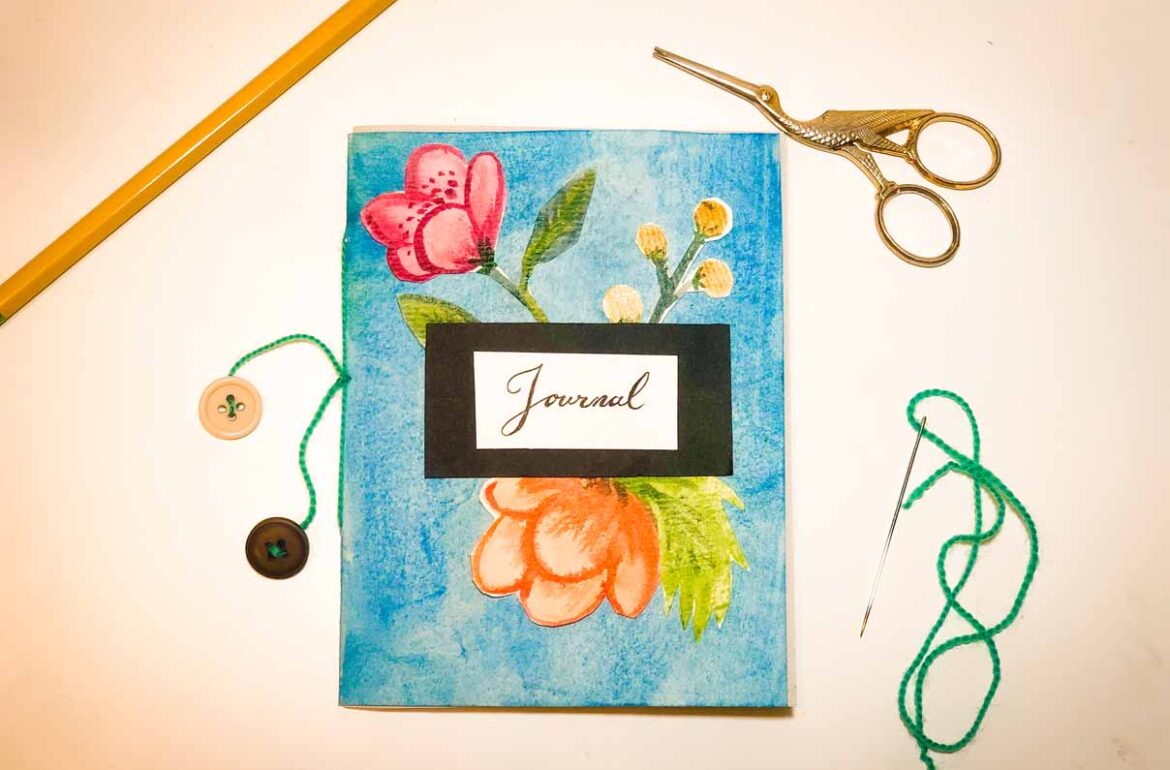
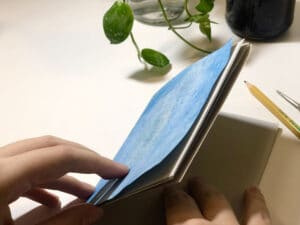
Step 14: Decorate the cover and get creative. Stamps are a great way to decorate the cover, as well as pressed flowers or leaves. We painted some watercolor flowers, glued them onto the page, and added a label.
Step 15: Time to fill up your journal! Jot down your thoughts and ideas, memories, great movie quotes, recipes for potions, or whatever else you dream up!
You did it! You’ve created a completely custom, totally charming journal with your own two hands. Whether you’re planning to fill it with doodles, dreams, daily notes, or secrets between friends, this is more than just paper and thread—it’s a piece of you.
Feeling inspired? Pair your journal with our Beaded Bookmark DIY Kit to complete the look and add even more sparkle to your reading or writing ritual. These thoughtful touches also make beautiful gifts for birthdays, teacher appreciation, or just-because moments.
We hope this project sparked something special. Keep experimenting with different papers, decorations, and themes—and don’t forget to check out the rest of our DIY tutorials for even more creative adventures. Happy crafting!